
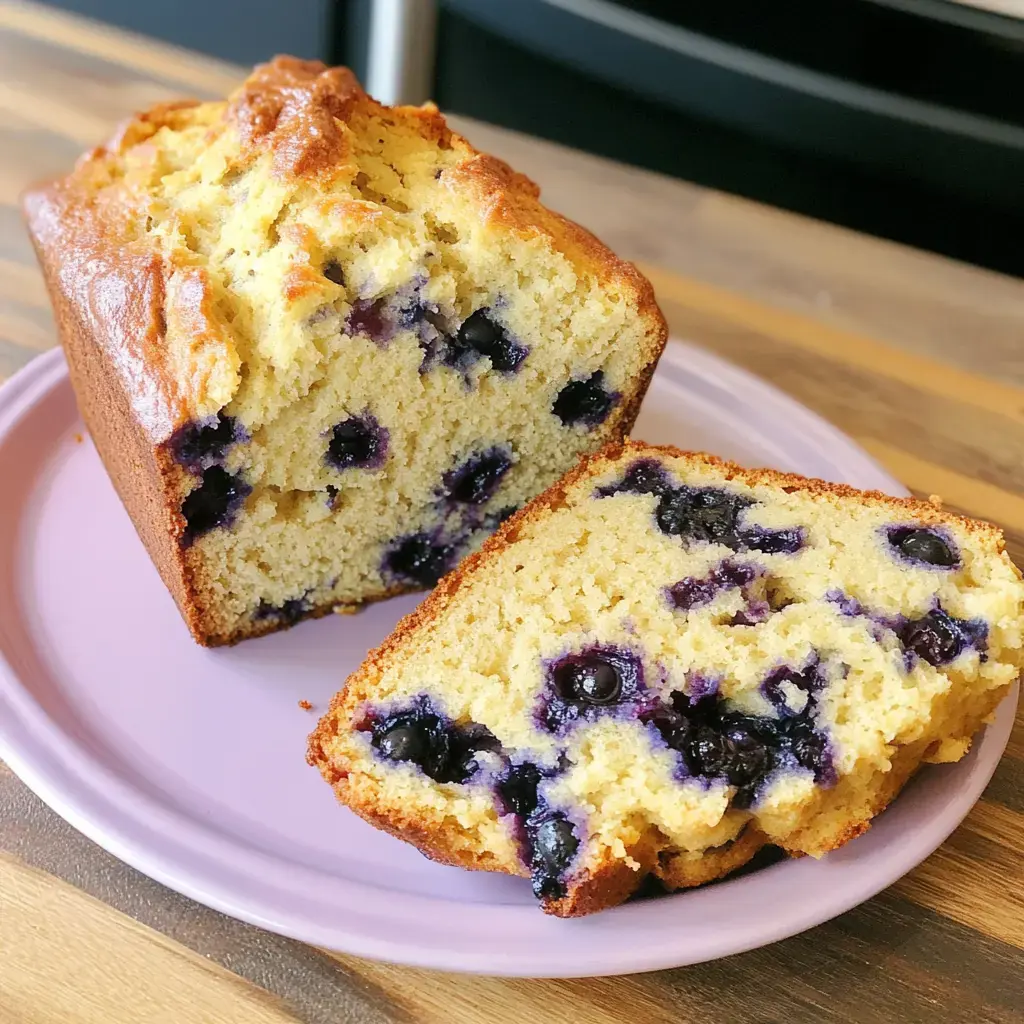
 Pin it
Sunday mornings at grandma's always meant this special bread, and now I'm carrying on the tradition with my own kids. That wonderful mix of blueberry and vanilla scents wafting through our home instantly takes me back to her kitchen! I've adjusted her original instructions a bit over time (shh, our secret), but it's still that same snuggly comfort food everyone in our family adores. It's so cute how my children hang around waiting for the first warm piece with melting butter - exactly like I did years ago. When I brought it to my daughter's school breakfast recently, I got messages from three different moms desperately wanting to know how to make it!
What Makes This Treat So Popular
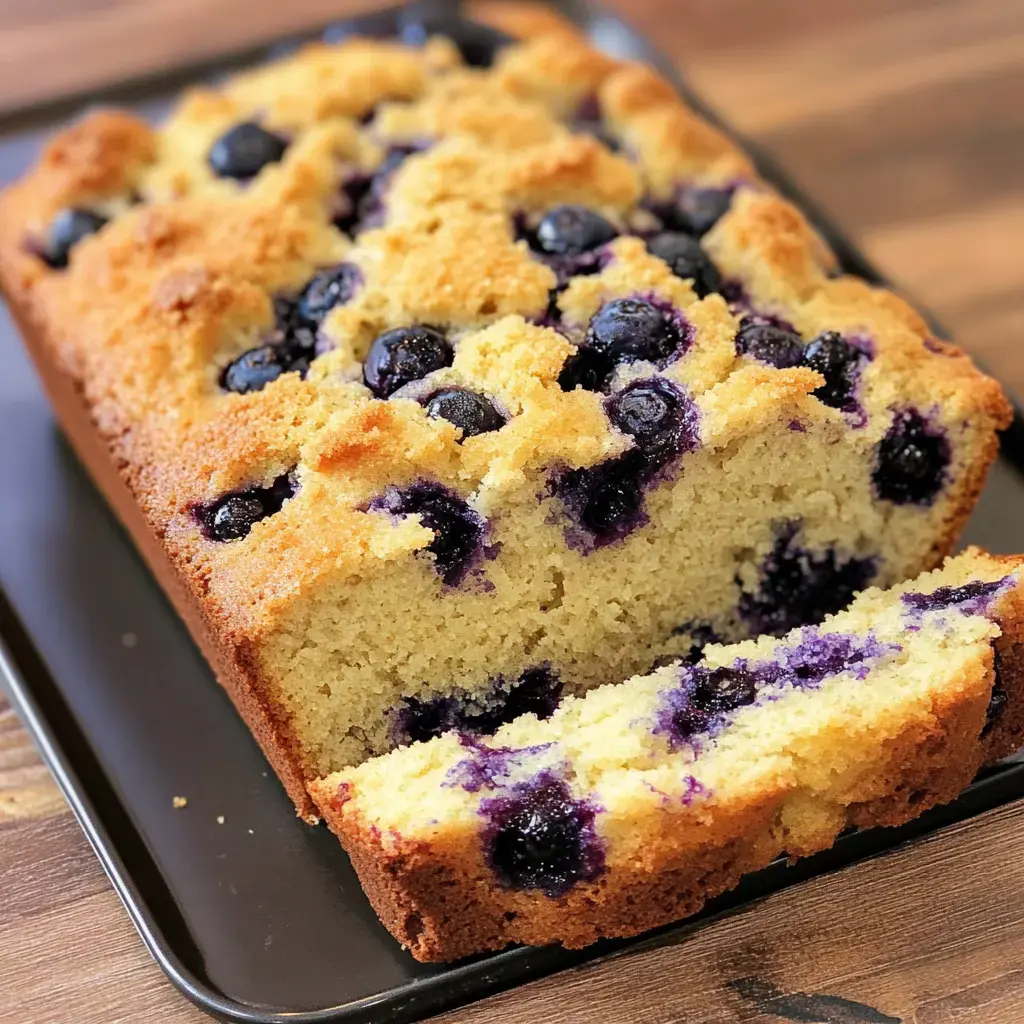
There's a reason this bread vanishes within 24 hours at my place! It's so much quicker than making separate muffins - just throw everything into one container and you're set. My high schooler even whips it up on his own now (though afterwards the kitchen looks like it's been hit by a snowstorm of flour). You get this wonderfully crunchy top while inside stays incredibly tender with those juicy blueberries throughout. It's perfect for chaotic mornings too - just grab a chunk and run out the door. And have you tried it toasted? Absolutely divine!
Kitchen Essentials You'll Want
- Butter and Sugar: Get that butter properly softened - I typically set mine out the night before. I've forgotten plenty of times and ended up in a wrestling match between my mixer and rock-hard butter!
- Eggs: Pull them from the refrigerator first thing and they'll warm up while you gather your other stuff
- Vanilla: Go for the genuine extract because it really makes everything better - that's one thing grandma always insisted on
- Milk: Full-fat gives you the richest result but any kind works in a pinch
- Baking Powder and Flour: Just your everyday kitchen staples nothing fancy required here
- Blueberries: Seasonal fresh ones are fantastic but I always keep frozen ones handy for unexpected cravings
- Those Crunchy Sugar Bits: You know those chunky sugar crystals? Sprinkling some on top makes everyone think you bought it from an expensive bakery
Creating Tasty Traditions
- Begin Here
- Start by heating that oven and getting your baking dish prepped. Trust me, coat every single bit of that pan or you'll be scraping bread off later with a knife!
- The Enjoyable Stage
- Mix your butter and sugar until it looks light and airy. Drop those eggs in one after another - my little ones always argue about who gets to break them. Then pour in your milk and vanilla.
- The Crucial Section
- Here's the mistake lots of folks make - don't overmix when adding flour! Just stir until barely combined. My little girl calls this the 'zombie mixture' because it should be just barely alive.
- Berry Addition
- Here's my favorite trick - coat those berries with a bit of flour beforehand so they don't all sink down. Fold them in super carefully unless you want entirely purple bread!
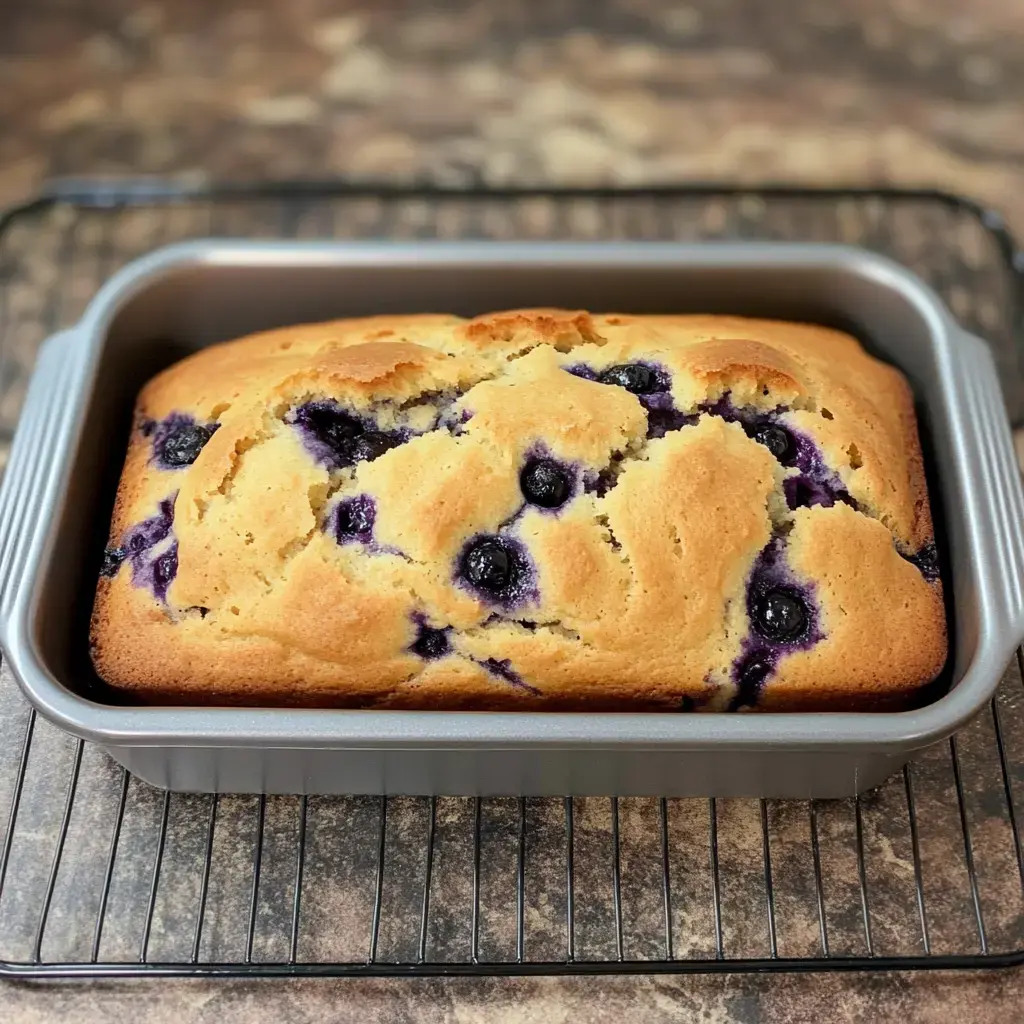
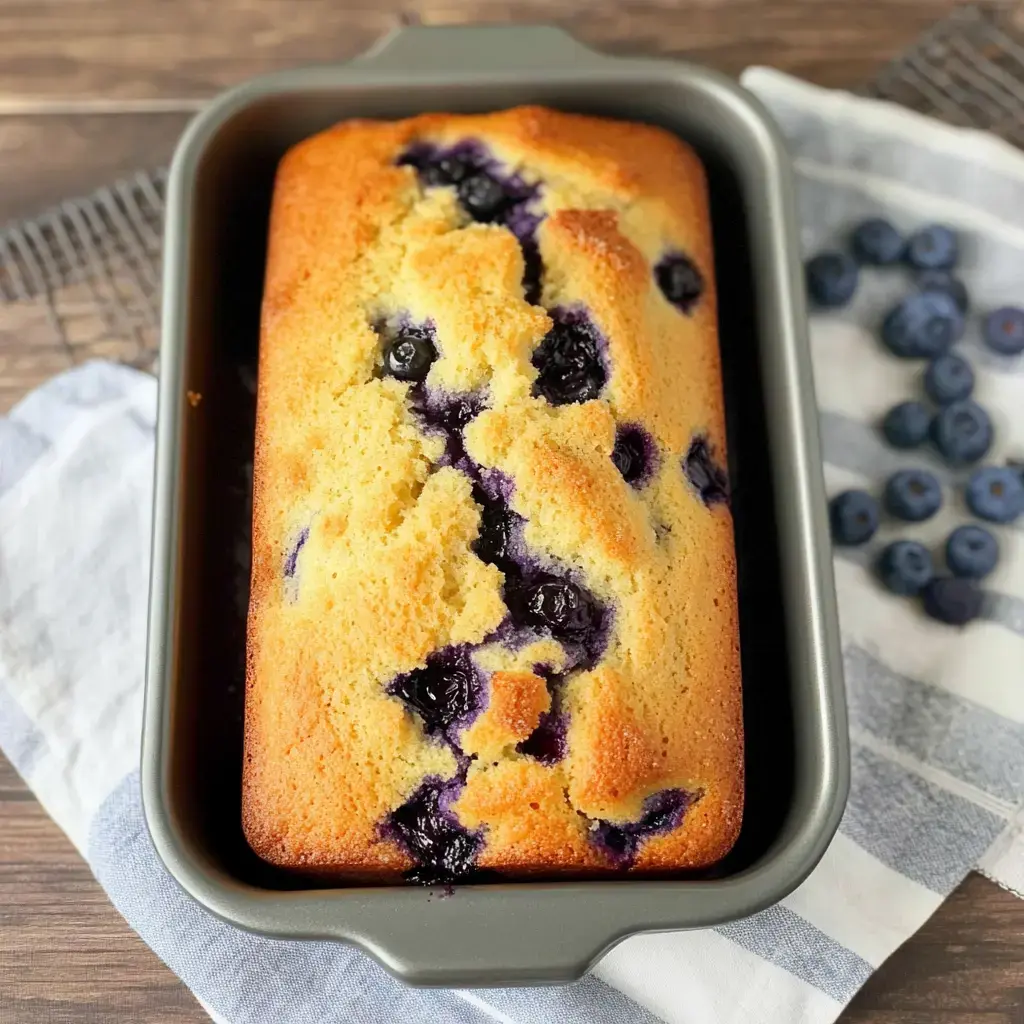
- Baking Time
- Transfer to your pan and sprinkle sugar on top if you're feeling fancy. Then comes the worst part - waiting! Your house will smell absolutely incredible.
 Pin it
Helpful Baking Secrets
Keep an eye on your bread during those final 15 minutes - it can turn from golden to burnt super fast! If the top starts getting too brown, just toss some aluminum foil over it. And try to wait at least 10 minutes before cutting into it. I know it's hard but cutting too early makes it all mushy. Though honestly, sometimes I can't help myself and just rip off a piece of that crispy top edge!
Add Your Personal Touch
Sometimes I switch things up with different berries - raspberries work amazingly well! My buddy adds orange peel and claims it's unbeatable. Last December I mixed in cranberries with white chocolate chips and wow was that good! And for extra texture, a handful of chopped walnuts gives you this wonderful crunch. Just don't let my husband's mom know I've changed up her recipe!
 Pin it
Storage Tips
On the rare chance you don't finish it all, this bread keeps wonderfully. Just cover it tightly in foil or store in a sealed container. It'll stay good on your counter for several days but honestly at our house it never sticks around that long! Want a real treat? Try it toasted with some butter and a little honey drizzled on top for breakfast. My kids say it's birthday morning food but we eat it any random day!
Perfect Occasions
I turn to this bread for practically everything! From school fundraisers to morning get-togethers or unexpected visitors. It's nice enough for guests but simple enough for an ordinary Tuesday. During blueberry season I always bake two loaves and stash one in the freezer. My future self is always thankful especially on those hectic mornings when we're running behind schedule!
 Pin it
Frequently Asked Questions
- → What about frozen blueberries?
- No need to defrost! Use them straight from the freezer to avoid color bleeding, and toss in flour so they don’t sink.
- → Why are my berries at the bottom?
- Coat the berries with flour, use a thick batter, and don’t stir too much to help keep them spread out.
- → How can I tell if it’s ready?
- Stick a toothpick in the middle—if it’s clean, you’re good! The top should feel firm and bounce back when tapped.
- → Can I leave off the sugar topping?
- The sugar gives a nice crunch, but you can skip it if you want. It’ll still taste amazing.
- → What’s the best way to store it?
- Wrap it tight and leave it on the counter for a couple of days, or refrigerate up to a week. For longer storage, freeze it!
Conclusion
A sweet blueberry loaf packed with all the yummy goodness you love in muffins. Ideal for anytime—breakfast, snacks, or even dessert.