
 Pin it
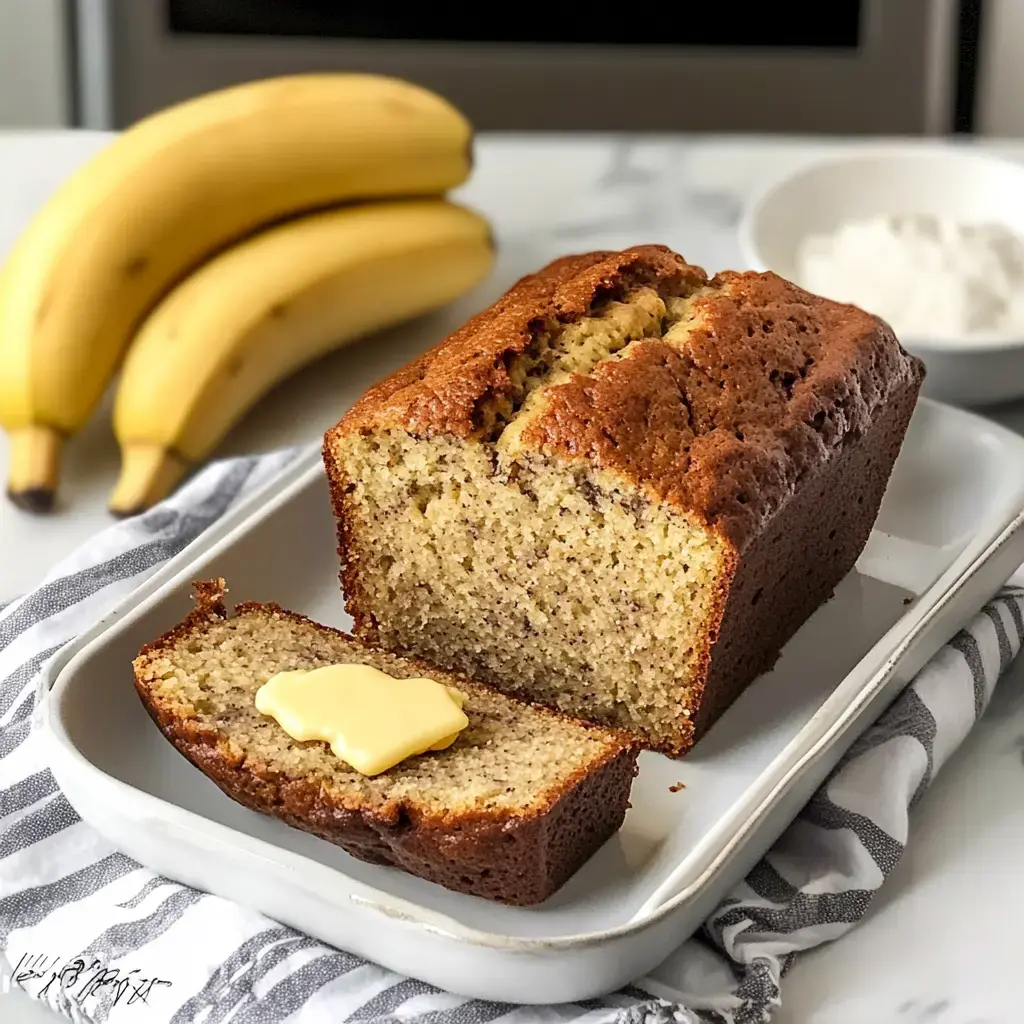
Need a quick way to use those spotty bananas? Transform them into something delicious! This foolproof banana bread comes together in minutes - ideal for beginners or seasoned bakers who want something that works every time. Countless home cooks swear by how straightforward this approach is, and you'll soon see why.
What Makes This Treat So Good
This simple banana loaf has been our go-to for generations. What's the secret? We use melted butter for richer taste, and you only need basic tools - just grab a fork and bowl! Want to toss in nuts? Maybe sprinkle in chocolate chips? This adaptable base works with any additions. Great for morning snacking or as a thoughtful homemade gift, this loaf always gets rave reviews.
Ingredients You'll Want
- Bananas: Those dark, overripe ones make the tastiest bread
- Butter: Gives your loaf that melt-in-your-mouth softness
- Baking Soda: The magic behind your bread's perfect rise
- Salt: A tiny bit enhances all other flavors
- Sugar: Brings sweetness - cut back for a lighter version
- Egg: Works as the natural binder
- Vanilla: Adds that warm background taste
- Flour: Standard all-purpose does the job wonderfully
Easy Making Instructions
- Prep Your Oven:
- Start by warming your oven to 350°F. While waiting, thoroughly butter your loaf pan, getting into every nook. For super easy removal, try adding a parchment paper sling.
- Prepare Your Bananas:
- Grab a big bowl and squash those ripe bananas until mostly smooth with a few small lumps left - this creates amazing texture. Add your warm melted butter and mix until everything's nicely combined.
- Combine Ingredients:
- Now mix in your sugar, eggs, and vanilla without overdoing it. Then carefully add your flour mixture with a light touch. Adding extras like chocolate? Now's the time. Just mix until barely combined - too much stirring makes the bread tough.
- Into The Oven:
- Transfer your mixture to your greased pan, using your spatula to level the top. For a pretty finish, drop a few extra chocolate chips on top if you want. Slide it into the oven and let it bake around 60 minutes, checking with a toothpick for doneness.
- Let It Rest:
- Here comes the tricky part - patience! Let your bread sit in the pan for 15 minutes after baking. Then carefully turn it onto a cooling rack to finish. For clean slices, try to wait until it's just slightly warm. But we get it if you can't hold back!
Why Everyone Loves This Bread
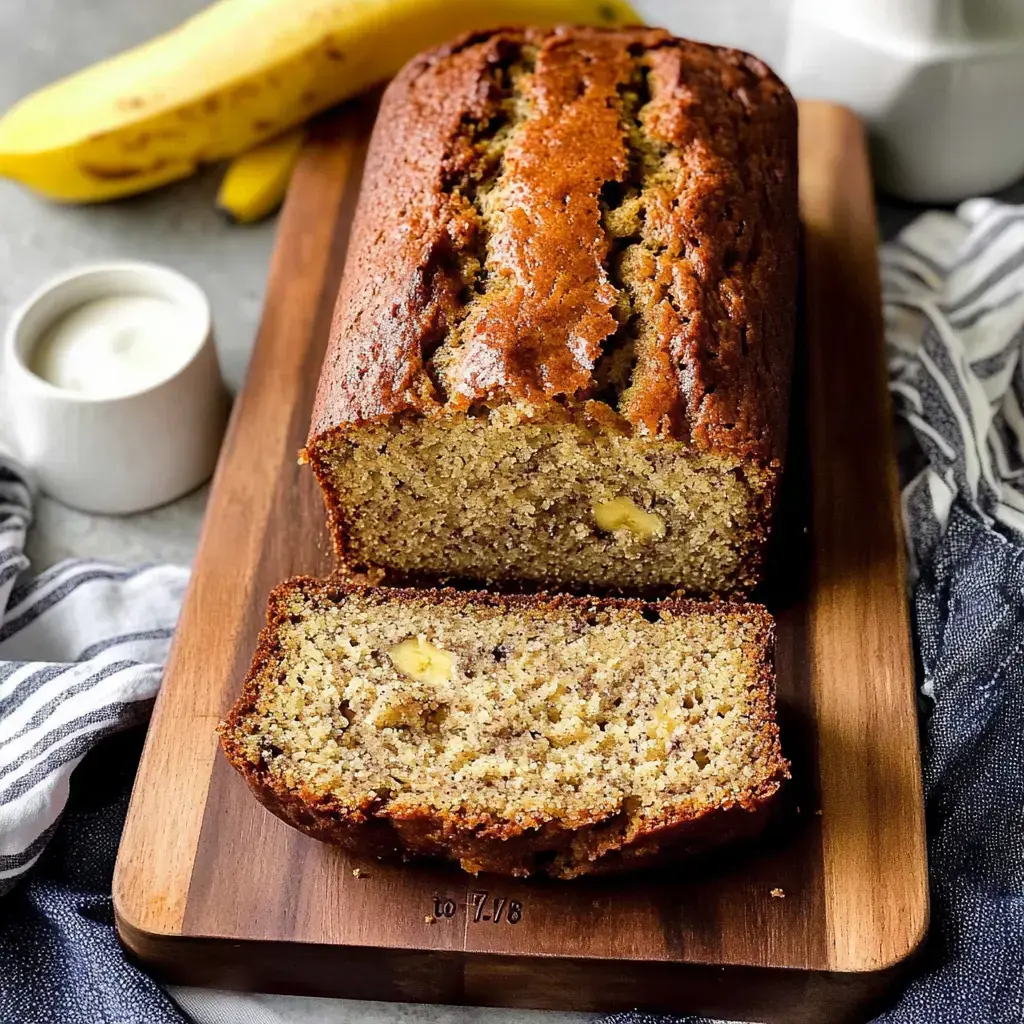
A standout banana bread needs to be uncomplicated and tasty. This hits both marks! The aroma that fills your kitchen is worth making it alone. It's the perfect solution for using up old fruit, and it turns out moist every single time. No wonder it's become a household favorite!
Finding The Ideal Baking Dish
For this simple loaf, your choice of pan really counts! An 8x4-inch loaf pan creates that tall, impressive shape. Got a larger pan? Just keep an eye on it - your bread will finish cooking faster. Whether making the classic version or adding nuts, the right container helps nail the results.
Ways To Switch It Up
Everyone tweaks this basic loaf to suit their taste. Some folks drizzle in maple syrup, while others can't get enough chocolate chips mixed throughout. Looking for something lighter? Try subbing whole wheat flour or throwing in walnuts. From peanut butter chunks to fresh berries, the variations are endless!
Secrets For Success
Want your bread to come out amazing every time? Make sure your oven reaches full temperature before baking. Don't stir too much after adding flour - that's crucial! Smash those bananas well but leave tiny bits for texture. If the top gets too brown while baking, just cover it with aluminum foil.
 Pin it
Storage Suggestions
This easy bread stays good for quite a while. Wrap it carefully once cooled down. It'll last on your counter about 4 days, or in the fridge for a full week. Whether you've made the basic version or added special mix-ins, you can even slice and freeze it for quick treats later!
Frequently Asked Questions
- → What can I use instead of butter in banana bread?
If you’re out of butter or want to switch things up, coconut oil or applesauce both work great as alternatives!
- → Can I toss nuts into my banana bread?
Sure thing! Chopped pecans or walnuts are fantastic for some extra crunch.
- → How do I make banana bread that’s gluten-free?
Grab a 1-for-1 gluten-free flour blend—it’s super easy to swap it in for regular flour.
- → What’s the best way to keep banana bread fresh?
Wrap it up tightly in plastic wrap or pop it into an airtight container. It’ll stay fresh on your counter, or you can refrigerate it for some extra days.
- → How ripe do bananas need to be for this recipe?
You’ll want bananas with lots of brown spots on them—these are sweeter and give the bread amazing flavor.
Conclusion
If you’ve got bananas that are looking a bit too speckled, why not try them in a baking experiment? Add variety with banana pancakes, muffins, or cake—all of them bring out that natural sweetness of bananas. These ideas let you make the most of fruit that’s past its prime, blending it into soft pastries with gentle aromas of vanilla or nuts. Bonus? They’re all crowd-pleasers and incredibly satisfying snacks!