
 Pin it
I threw this holiday fudge together when I was running out of time and cash one December. Through lots of testing (and yeah, some batches that turned out more like pourable topping!), I've nailed down this no-fail version that looks fancy but comes together in a snap. These days my family starts hinting about it as soon as the Christmas decorations come out!
What Makes This Treat Special
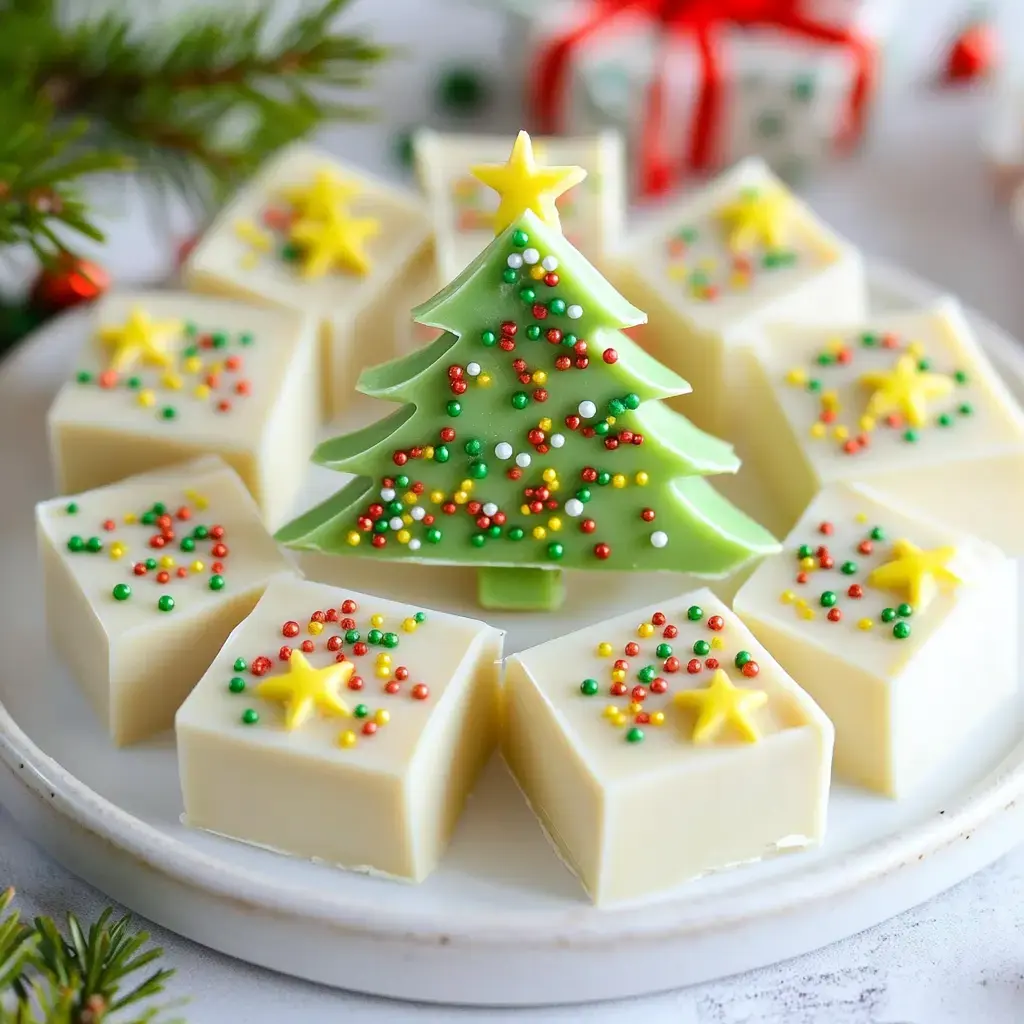
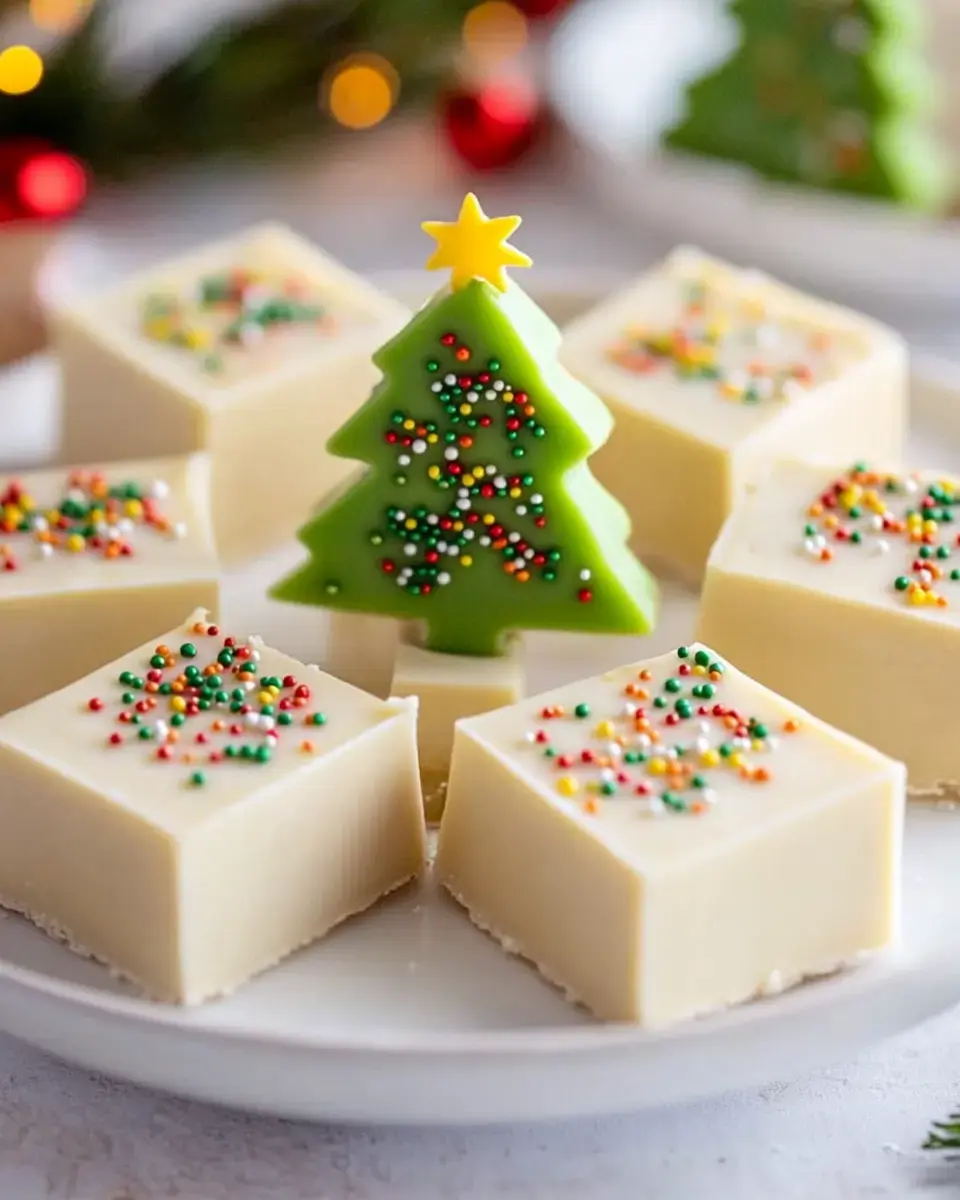
Don't worry about complex fudge-making - this method is really straightforward! It looks so good when it's all decorated, which makes it great for giving as gifts. You can make it way before the holiday madness starts, and it stays good for weeks. I love watching people's eyes widen when they spot those adorable Christmas trees decorating the top!
Ingredients
- For the Base:
- 16 oz almond bark
- 2 cups white chocolate chips (best results with Ghirardelli)
- 1 can sweetened condensed milk
- Pinch of sea salt
- 1 teaspoon pure vanilla extract
- For Decorating:
- Holiday decorating bits
- Gold sugar sprinkles
- Green candy coloring (oil-based)
- You'll Need:
- Rubber spatula
- Double boiler or heat-safe bowl
- Parchment paper
- 8x8 baking pan
Let's Make Some Fudge
- Creating Christmas Magic
- Pour your mixture into the ready pan, give it a few gentle taps to even it out. Wait until the top is just barely firm. Then color your leftover melted chocolate green, put it in a piping bag, and make those cute little trees. Add gold stars right away before the surface hardens!
- The Melting Magic
- Get your double boiler going - I just put a bowl over a pot with barely bubbling water. Add white chocolate and almond bark gradually, stirring until it's all smooth. Slowly pour in the condensed milk while keeping the stirring going. It should look shiny and smooth, just like liquid silk.
- Prep Your Space
- Put parchment paper in your pan with some hanging over the edges - you'll use these as handles later. Measure out everything beforehand. Believe me, once the chocolate starts melting, you'll want everything close by!
My Best Tips
Keep an eye on your chocolate temp - it'll get grainy if too hot, but won't melt right if too cool. If your fudge starts hardening before you finish decorating, just warm the piping bag in your hands for a bit. Want neat slices? Run your knife under hot water and dry it off between cuts.
 Pin it
Mix It Up
After you've mastered the basic method, let your creativity flow! Try mixing in some crushed candy canes, or put some peppermint extract in the base. I've done Halloween versions with black and orange swirls, and Valentine's ones with pink hearts - you can do so many things with it. Sometimes I'll switch things up by adding different flavors like orange or almond extract.
Storage and Gifting
Keep your fudge in an airtight container with wax paper between layers. Put it somewhere cool - I use the cabinet farthest from my oven. For gifts, I put pieces in small cupcake liners and arrange them in cute holiday boxes. Tie on a ribbon with a little tag, and you've got a wonderful homemade present that always gets smiles!
Frequently Asked Questions
- → Why use oil-based coloring?
Water-based coloring messes with candy and makes it clump. Oil-based dyes blend in smoothly with melts.
- → Drizzle not flowing right?
Ensure the almond bark’s well melted and warm. Make the piping hole smaller for thinner drizzles.
- → Should I refrigerate it?
Room temp is fine for up to two weeks in an airtight box. For longer, chill in the fridge for 2-3 weeks.
- → Can I swap tree designs?
Absolutely! Use simple designs like hearts, eggs, or stars depending on the occasion.
- → Why isn’t my fudge firm yet?
Don't rush! It needs enough time to set fully. The fridge helps, but room temp gives a better finish.