
 Pin it
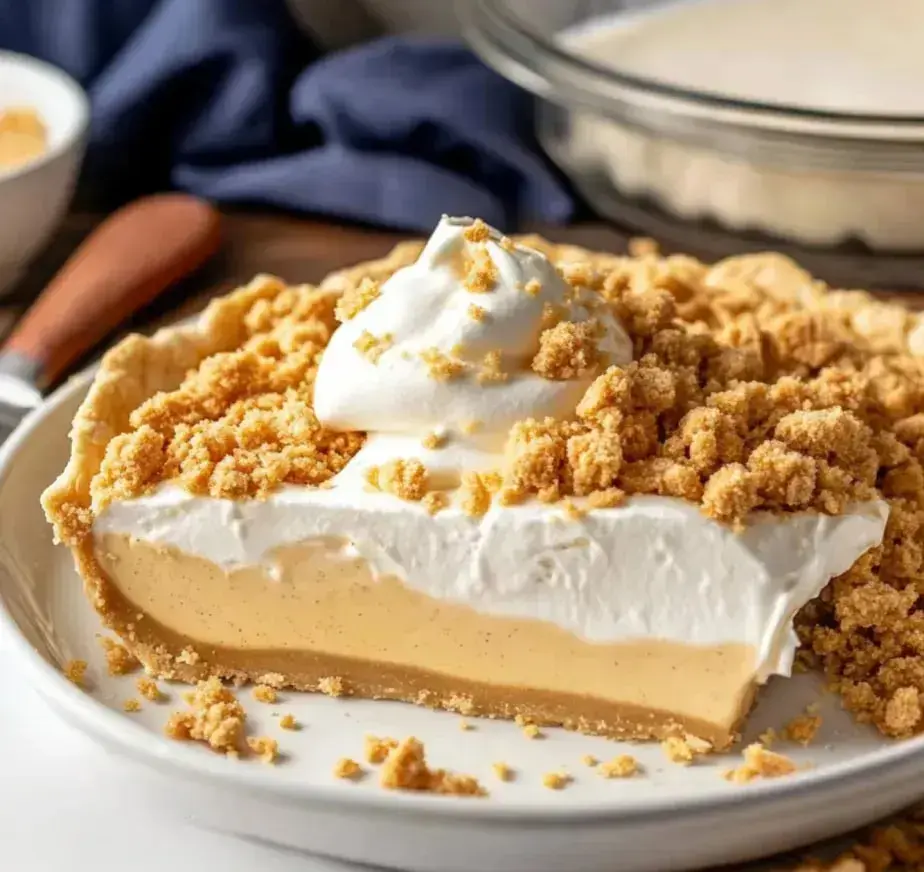
Whip up this country-style Amish Peanut Butter Pie. Combine velvety vanilla pudding with crunchy peanut butter chunks in a tender pastry shell. Finish with airy whipped cream for a treat that brings back childhood memories.
What Makes This Pie Special
A must-try for peanut butter fans. Uses basic pantry items you've got around. The combo of buttery crust, silky pudding, and nutty peanut butter bits creates magic in your mouth. Works wonders at family gatherings or community potlucks.
Ingredients List
- Pie Crust: Grab one from the store if needed
- Cornstarch: Gets your filling nice and firm
- Sugar: Regular granulated works
- Eggs: Pick large, farm-fresh ones
- Milk: Go for full-fat for richness
- Salt: Tiny amount does the trick
- Butter: Unsalted variety
- Vanilla: The real extract makes a difference
- Flour: All-purpose is fine
- Powdered Sugar: For the finishing touch
- Peanut Butter: The creamy type
- Heavy Cream: For the fluffy topping
Step-by-Step Directions
- Prep the Crust:
- Spread dough out flat. Place in your pie dish. Prick bottom with fork tines. Stick in freezer for 15 minutes.
- Cook the Shell:
- Warm oven to 400°. Line crust with parchment and baking weights. Cook 15 minutes. Remove weights, bake another 10 minutes until it's nice and brown.
- Create the Filling:
- Blend cornstarch, sugar, and eggs together. Warm milk until it steams. Slowly add some hot milk to egg mixture while constantly stirring. Pour everything back into your pot. Cook until it thickens up.
- Cool the Pudding:
- Push hot pudding through strainer. Mix in butter and vanilla. Put plastic wrap directly on surface. Cool it down completely.
- Create the Topping:
- Combine flour, sugar, and peanut butter using a fork until you get small chunks.
- Prepare the Cream:
- Whip chilled cream with sugar until it stands in soft peaks.
- Assemble Everything:
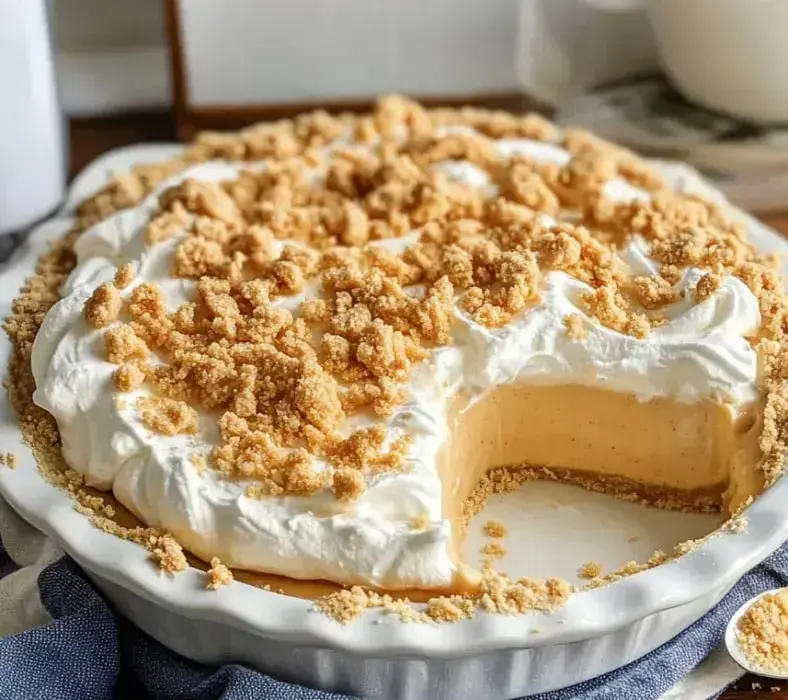
- Scatter most of your crumbles in the baked shell. Pour cooled pudding over them. Add whipped cream on top. Dust with remaining crumbles.
What Makes It Standout
This isn't your everyday dessert - it's something extra. Creamy pudding pairs perfectly with those crunchy peanut butter bits. Every spoonful gives you soft and crispy textures. It's simple country cooking that'll put a grin on your face.
Taste Experience
You'll get something amazing in every mouthful - creamy pudding, crunchy peanut butter, and light whipped cream. The crust stays firm while the filling feels like silk. And don't forget those little peanut butter chunks that slowly dissolve as you eat.
Heritage Dessert
This treat comes straight from Amish country where simplicity means flavor. Made with everyday ingredients but tastes like something fancy. It's changed a bit through the years but still keeps that down-home feeling. It'll take you straight back to family Sunday meals.
Tips For Success
Mix your pudding a day ahead for better flavor. Don't stop stirring or you'll end up with lumps. Make sure your cream's ice-cold before whipping. A homemade crust really ups the game. Don't rush the process - patience makes it taste better.
 Pin it
Storage Advice
Store it uncovered in your fridge. It'll stay good for three days but the crust starts getting soggy after two. Don't try freezing it or you'll wreck the cream topping. It tastes best when fresh and the crust is still crispy.
Troubleshooting
Got thick pudding? Stir in a little milk. Too runny? Let it cook a bit more. Crumbles too dry? Add a touch more peanut butter. Want more sweetness? Throw extra sugar in your cream. Crust getting soft? Better eat it right away.
Frequently Asked Questions
- → Worried about a soggy crust?
Stick a fork in the dough before baking. Add dried beans or rice on top for weight. Cool down fully, then apply a layer of egg white. Some folks bake it a second time for extra crispiness.
- → Hoping to prep things early?
You can whip the cream mix a couple of days in advance. Bake the crust the day before. Keep everything sealed tight in the fridge. Assemble at the last second for freshness.
- → Whipped cream not stiff enough?
Use everything as cold as possible. Keep an eye on it while beating—don’t overdo it. Stop as soon as stiff peaks form. A metal bowl can help a lot too.
- → How long can it stay fresh?
It’s good for up to three days in the fridge, but it’s best to eat it the first day. Cover it well to block any fridge smells. Pull it out for a few minutes before serving.
- → Need a no-fuss crust?
Store-bought ones are great. Graham crackers work awesome, or even a cookie-based crust for something unique. Just double-check the expiration date.
- → Find it too sugary?
Cut back on powdered sugar in the filling. Use unsweetened peanut butter and skip sugary garnishes. Adding a pinch of salt or some chopped nuts can balance it nicely.
- → Want to make it prettier?
Give the whipped cream some swirls. Leave a few whole nuts as decoration. Add a ring of chocolate chips or sprinkle powdered sugar lightly on top. Fresh cream always looks gorgeous.
- → Planning to take it somewhere?
Keep it chilled until you leave. Store it in a solid container, making sure nothing squishes it. Bring extra whipped cream in case it needs refreshing after the trip.
- → Is the filling too runny?
You might need to cook the cream mix for longer or let it cool completely before you pour it in. Make sure it sets in the fridge—don’t rush the chilling process!
- → Need it done even faster?
Use pre-made crusts and ready-whipped toppings like French Chantilly cream. Skip over-the-top decorations. You’ll still get an amazing taste with less hassle.
- → Trouble mixing nuts evenly?
Chop them into smaller pieces and add them gradually. Don’t toss them all at once. Room-temperature ingredients work best. Save some bigger pieces for decoration.
- → Want the nut flavor stronger?
Opt for crunchy peanut butter. Add layers of nuts or top it generously. You could even experiment with different nut butters or nut extracts for a bolder taste.
Conclusion
Crazy about this? You might like nutty tart ideas or a walnut loaf with the same comforting vibe. Try it all!