 Pin it
Creamy, velvety, and wonderfully flavored, this Mini-Portion Maple Cinnamon Cheese Spread turns regular snacking into an amazing treat in mere moments. The lush texture of room-temperature cream cheese works as the ideal base for toasty cinnamon and deep maple syrup, making a spread that reminds you of cinnamon bun filling or what tops a fresh apple dessert. Enjoy it with crunchy apple chunks, graham squares, or salty pretzels – this flexible spread makes just enough for personal enjoyment or tiny get-togethers with nothing left unused. It's your answer to taming sugar cravings without making a full dessert.
I threw this spread together one lazy Saturday when I wanted something sweet but couldn't be bothered to bake a whole dessert. Mixing cream cheese with maple and cinnamon gave me all the flavors I love from fancy bakery stuff but took basically no effort. Now it's what I make during my work-from-home lunch when I need a pick-me-up or when friends drop by unexpectedly – a quick two-minute wonder that always gets compliments.
Key Components and Shopping Advice
- Cream Cheese: Go for full-fat blocks for the creamiest result, though lighter versions can work too. Always pick the solid block kind instead of the pre-whipped stuff for the right thickness.
- Real Maple Syrup: Skip the fake breakfast syrup and grab the authentic stuff for genuine flavor without that artificial taste. True maple syrup really makes this simple spread taste special.
- Ground Cinnamon: Look for fresh, aromatic ground cinnamon for maximum flavor punch. If your jar has been sitting around longer than six months, grab a new one for best results.
- Vanilla Extract: Just a tiny bit of real vanilla adds amazing depth without taking over. This small touch makes a huge difference.
What's great about this spread is how simple it is, but using good stuff really matters when you've only got a few ingredients. The day I switched from fake pancake syrup to actual maple syrup, I couldn't believe the difference – so much more complex and naturally sweet instead of just sugary.
Step-By-Step Making Guide
- Step 1: Get Your Cream Cheese Ready
- Start with a 4-ounce chunk of cream cheese that's been sitting out for at least 30 minutes. Don't skip this softening step if you want a smooth dip without little lumps. Put your soft cream cheese in a small bowl and beat it with a fork or mixer until it's totally smooth and light, making sure there aren't any hard spots left.
- Step 2: Mix In The Flavor Boosters
- Pour in 1 tablespoon of real maple syrup, 1/2 teaspoon of ground cinnamon, and 1/4 teaspoon of vanilla extract to your softened cheese. Feel free to tweak these amounts – more syrup if you want it sweeter or extra cinnamon for stronger spice flavor. Want to mix it up? Try adding a tiny bit of nutmeg or a drop of almond extract for something different.
- Step 3: Blend Until Perfect
- Using a fork or small whisk, mix everything together until your spread looks totally uniform and smooth. Keep stirring until the cinnamon spreads evenly with no streaky spots. If it seems too stiff, add another teaspoon of maple syrup to loosen it up for easier dipping.
- Step 4: Taste and Finish
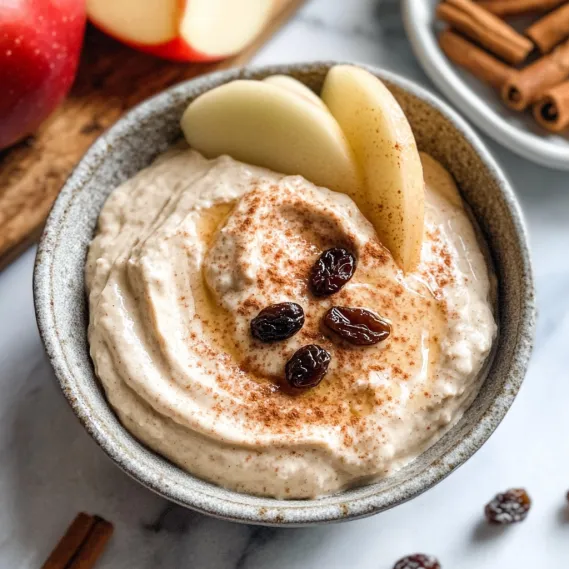
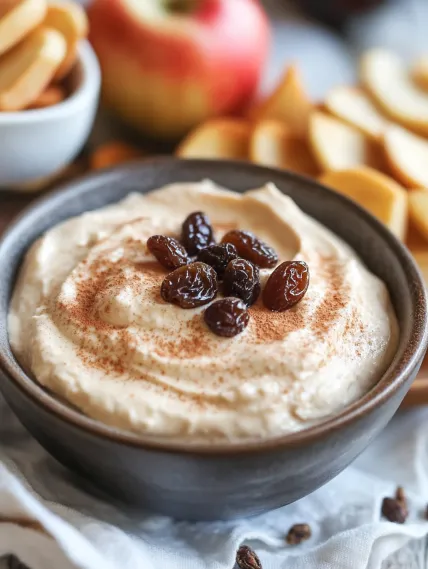
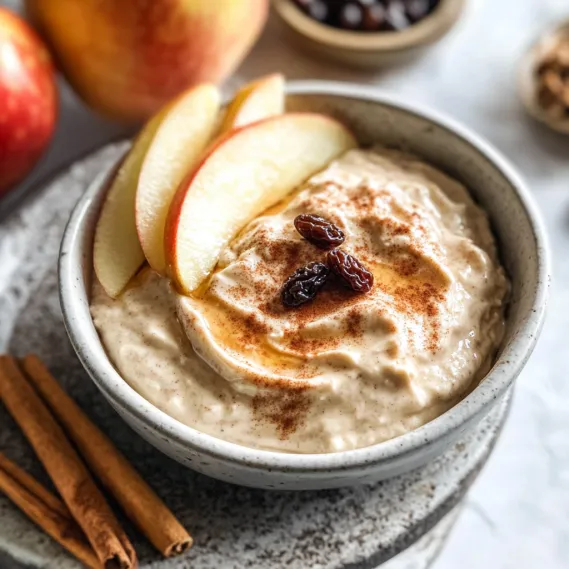
- Give it a quick taste and add anything extra you think it needs – maybe another sprinkle of cinnamon or drop of maple syrup. For a nice look, scoop it into a pretty little serving dish and make a small dent in the middle. Finish by drizzling a bit more maple syrup on top and dusting with a tiny bit of cinnamon to make it look extra tempting.
- Step 5: Pair With The Right Dippers
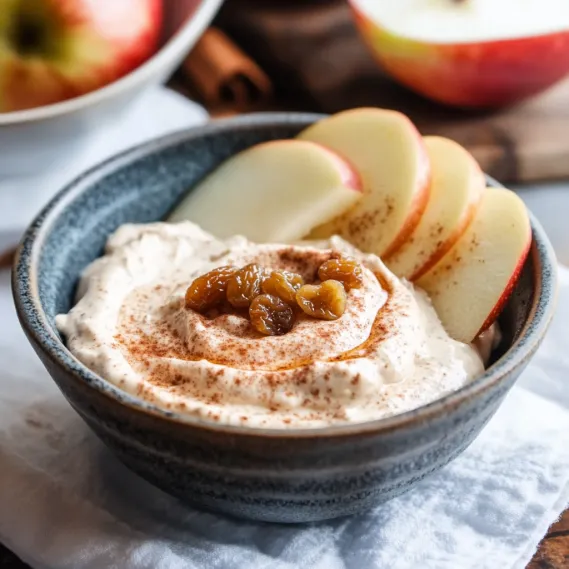
- For the tastiest combo, surround your dip with sliced apples (Honeycrisp, Gala, or tart Granny Smiths are awesome). For fun texture contrasts, add some cinnamon graham crackers, salty pretzels, or buttery shortbread cookies. The mix of creamy dip with crunchy dippers gives you that perfect mix of textures and flavors in every bite.
 Pin it
My first try at this spread taught me you can't rush softening cream cheese. I tried to cheat by using the microwave, and ended up with hot spots and lumps throughout. Now I always give it enough time to soften naturally at room temp, which gives me that dreamy smooth texture that makes this spread so good.
Ways To Enjoy It
This flexible spread works great in so many situations beyond simple snacking. When hosting brunch, put it next to tiny bagels and fresh fruit chunks for a make-your-own breakfast station. For coffee with friends, give everyone their own little dish of it with different dippers for a fancy touch. During fall, include it in a caramel apple party where friends can first dip their apple pieces in this creamy spread, then in caramel and other toppings for a DIY dessert adventure.
 Pin it
Fun Flavor Twists
After making this spread tons of times, I've come up with several ways to change it up. For a maple pecan version, mix in 2 tablespoons of finely chopped toasted pecans and a tiny pinch of salt for a sweet-salty twist. To make a fall-perfect pumpkin spice version, swap 1 tablespoon of pumpkin puree for half the cream cheese and use pumpkin pie spice instead of plain cinnamon. My holiday favorite adds a tablespoon of crushed gingersnap cookie crumbs and the smallest pinch of ground cloves for a festive flavor.
Keeping And Planning Ahead
Though it's meant to be a small amount for immediate eating, you can make this spread up to three days early and keep it in a sealed container in your fridge. If you make it ahead, you'll notice the flavors blend and get stronger over time, with the cinnamon becoming more noticeable. Let it sit out for about 10 minutes before serving so it softens slightly for the best dipping texture. Give it a quick stir to freshen the consistency and add a new sprinkle of cinnamon right before bringing it out.
 Pin it
This Mini-Portion Maple Cinnamon Cream Cheese Spread has become my go-to trick for making everyday moments feel special without much work. Whether it's an afternoon break with apple slices, smeared on toast for breakfast, or offered as a light sweet ending to a meal, it brings a touch of luxury to regular days. The combo of smooth texture, warming spices, and natural sweetness makes a truly satisfying treat that feels fancy without being complicated – showing that sometimes the easiest recipes bring the most joy.
Frequently Asked Questions
- → Can I replace regular cream cheese with light cream cheese?
- Sure! You can swap in light cream cheese. It might be a bit less rich, but still super tasty. Let it soften completely for easier mixing and use slightly less maple syrup since light cream cheese tends to be softer.
- → What are other good dipping options with this sweet maple dip?
- Besides apple slices and bagel chips, try it with graham crackers, pretzels for a sweet-salty combo, banana chips, or fresh strawberries. It’s also amazing as a spread on toast, waffles, or even muffins for a fun breakfast option.
- → How long can I keep this dip in the fridge?
- Store it in a sealed container for 3-4 days in the fridge. Actually, the flavor gets even better after the first day! Just let it sit out for about 15 minutes before serving to make it easier to scoop.
- → Can I make this without maple syrup?
- If you’re out of maple syrup, honey or agave nectar works great instead. Want something different? Try caramel sauce, or just increase brown sugar and add a splash of milk for consistency.
- → Is there a way to make this dip dairy-free?
- Yes! Use dairy-free cream cheese (brands like Kite Hill or Miyoko’s work well). The texture might vary a bit, but the flavor will be great. Adjust the sweetness if needed, since non-dairy options may taste slightly different.
- → Can I mix other add-ins into this dip?
- Of course! Try throwing in chopped nuts for crunch, mini chocolate chips for extra sweetness, or a dusting of pumpkin pie spice for a cozy twist. Want a fun adult version? Add a splash of bourbon!
