
 Pin it
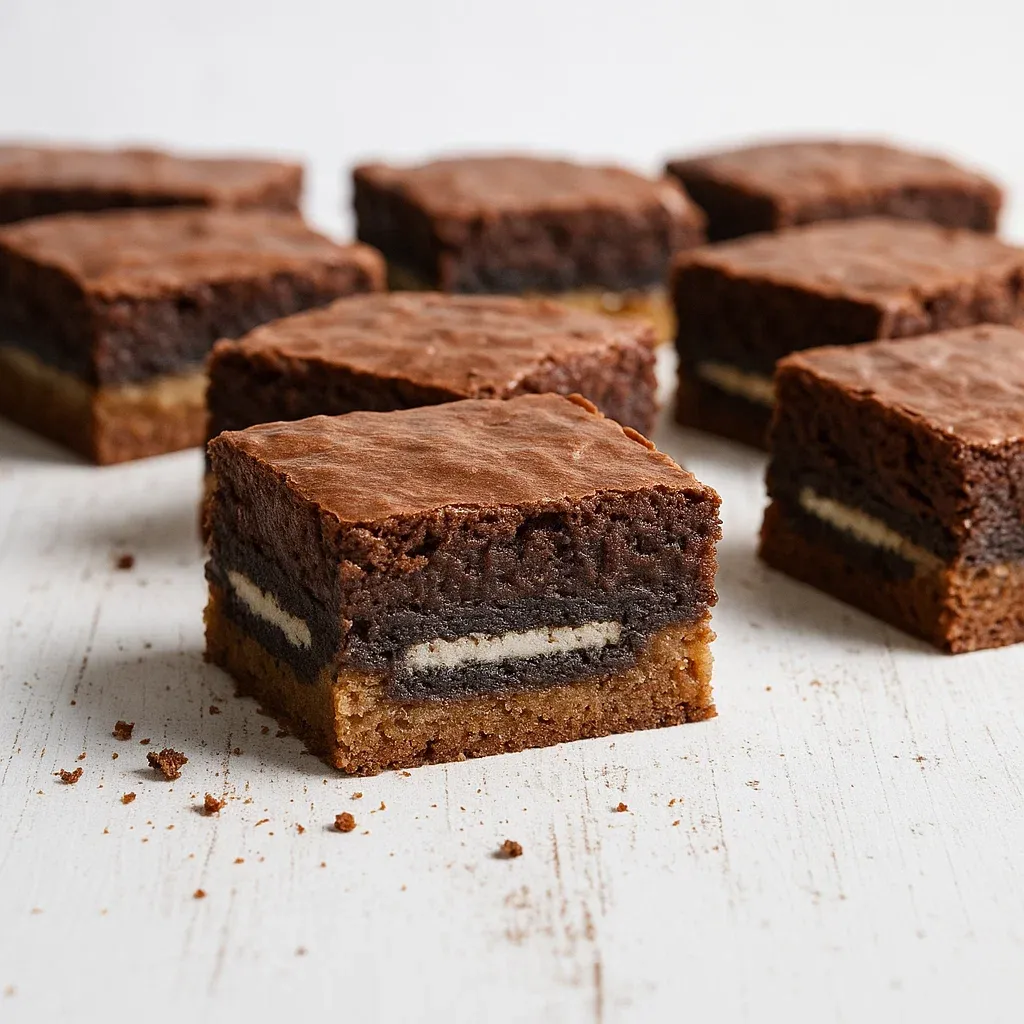
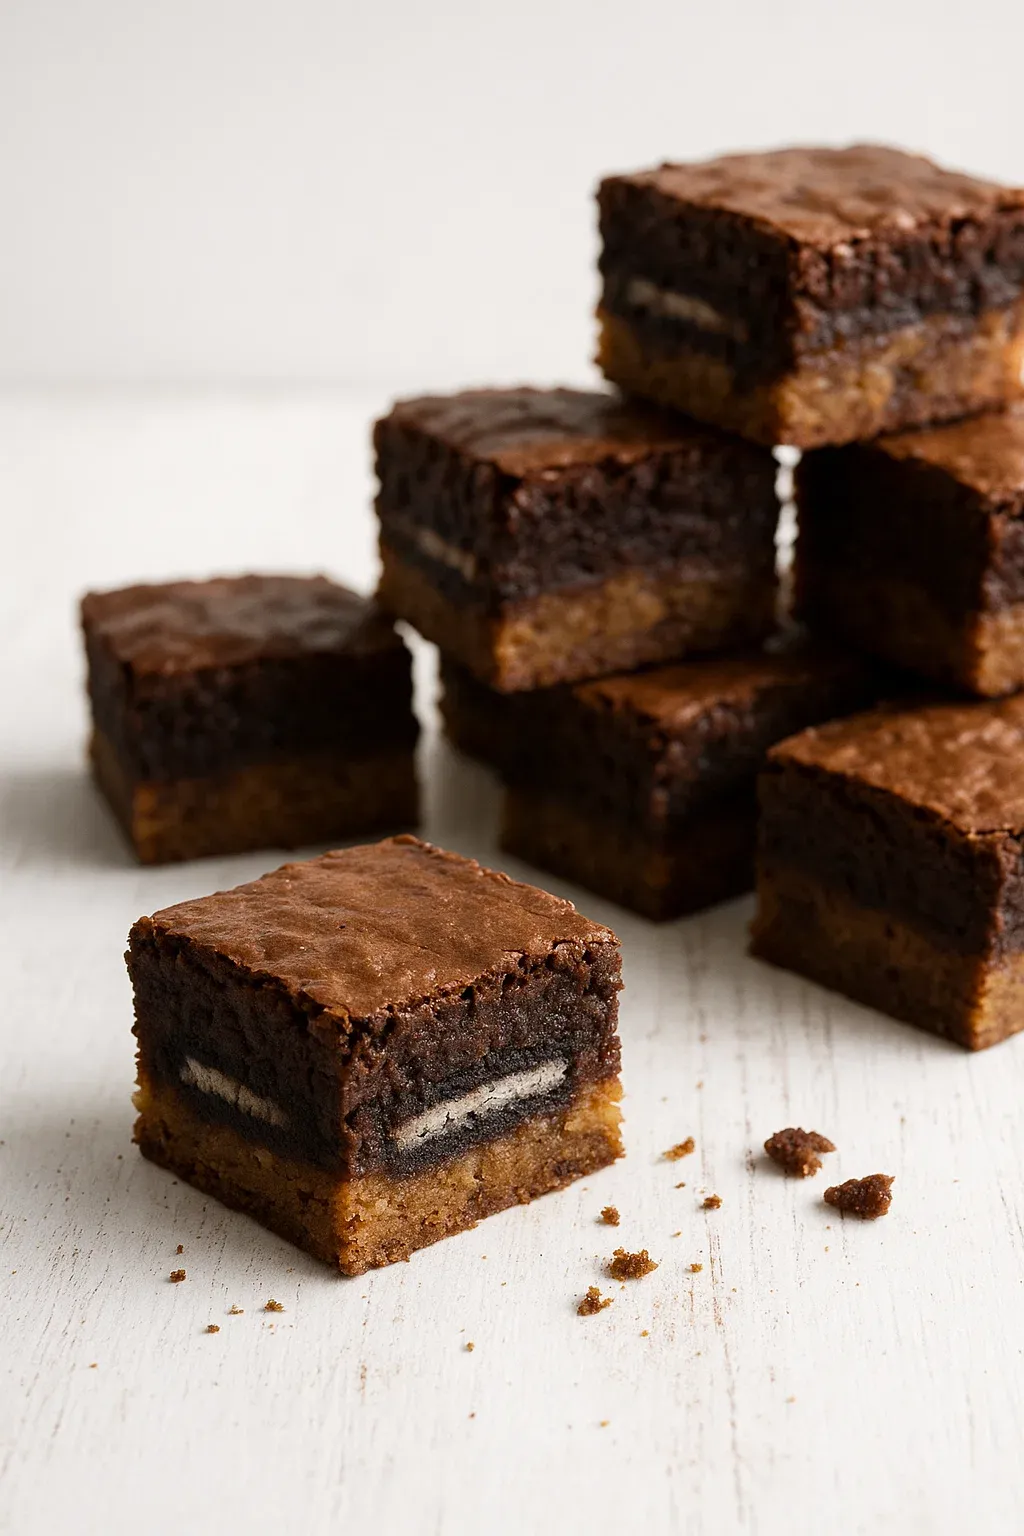
This three-layer treat brings together the tastiest elements of chewy chocolate chip cookies, regular Oreos, and dense brownies all packed into one amazing dessert bar. The different textures and matching flavors make for a dessert that's totally addictive and lives up to its cheeky name.
I whipped these up for my nephew's birthday once, and they vanished quicker than anything else we served. They've now become our go-to family treat that everyone asks for whenever we're celebrating something special.
Ingredients
- For the Brownie layer:
- Unsalted butter: Gives a buttery base and helps get that crispy brownie crust on top.
- White sugar: Adds the sweetness and helps form that glossy top brownies need.
- Cocoa powder: Go for Dutch processed to get that extra dark, intense chocolate taste.
- Kosher salt: Brings out all the tastes, especially the chocolate – it's really important.
- Vanilla extract: Always go with real stuff, not the fake kind, for better flavor.
- Large eggs: They hold everything together and make it rich.
- Flour: Just enough for structure without making your brownies too cakey.
- For the Oreo layer:
- Package of Oreos: Pick regular or double stuffed based on how much cream you like. The original flavor fits perfectly, but you can play around with other types too.
- For the Cookie Dough layer:
- Room temperature butter: Must be soft for proper mixing with sugar.
- Brown sugar: Adds moisture and a hint of caramel taste.
- White sugar: Makes the cookie part nice and crisp.
- Egg: Keeps everything stuck together.
- Vanilla extract: Makes the buttery cookie taste even better.
- Flour: Forms the base of your cookie layer.
- Salt: Cuts through the sweetness.
- Baking soda and baking powder: Team up to create the perfect cookie feel.
- Semisweet chocolate chips: Create little pools of melted chocolate throughout your cookie layer.
How To Make Slutty Brownies
- Mix Your Brownie Batter:
- Heat the butter in a medium pot over medium high heat until it's fully melted. Dump in sugar and cocoa powder, whisking the whole time until everything's mixed. Don't worry if it looks a bit gritty, that'll fix itself later. Take the pot off the heat so your cocoa doesn't get bitter. Add salt, vanilla, and eggs one by one, whisking hard between each so it gets shiny and smooth. Fold in the flour gently with a spatula just until you can't see any dry spots. Your batter should be thick and velvety. Put it aside while you work on the cookie part.
- Whip Up the Cookie Dough:
- In your stand mixer with the paddle, beat the butter and both sugars for about 3 minutes until they look fluffy. You'll actually see the texture change. Throw in the egg and vanilla, and scrape down the sides so everything mixes evenly. Switch the mixer to low and slowly add flour, salt, baking soda, and baking powder, mixing just until they're combined. Don't mix too much or your cookies will get tough. Grab a rubber spatula and fold in chocolate chips by hand so they spread out nicely.
- Stack Everything Up:
- Heat your oven to 350°F and line a 9x9 pan with foil or parchment, leaving some hanging over the sides for easy lifting later. Spray it with cooking spray. Push the cookie dough into the bottom of the pan, wetting your fingers a bit so it doesn't stick to them. Take your time to make it even since it's the foundation. Place Oreos in one layer on top of the cookie dough, fitting in as many as you can without stacking them. Pour your brownie batter over the Oreos, using a spatula to cover everything and smooth out the top.
- Bake It Right:
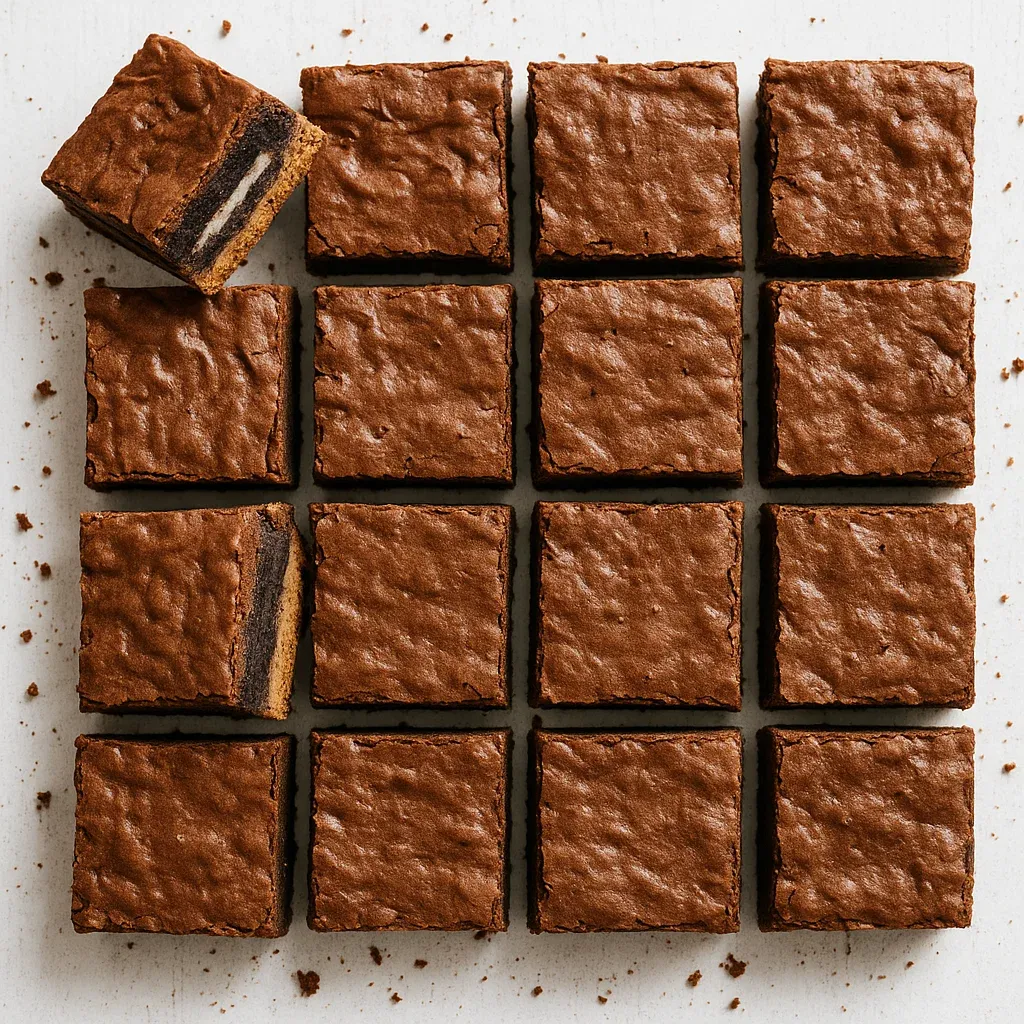
- Put the pan on the middle rack of your hot oven and bake for 35 to 40 minutes. The top should get shiny and crackly but not look dried out. Check if it's done by sticking a knife in the middle. When it comes out with just a few damp crumbs but no wet batter, you're good to go. Let it cool in the pan for at least 2 hours to set properly before lifting it out using the foil edges, cutting it into squares, and digging in.
 Pin it
The cocoa powder really makes this whole thing work. I've tried tons of different kinds over time, and good quality Dutch-processed cocoa turns an okay slutty brownie into something amazing. My grandma always told me chocolate treats are only as good as the cocoa you put in them, and these decadent bars totally prove her right.
Storage and Freezing
These brownies actually taste better the next day after you make them because the flavors get to know each other better. Keep them in a sealed container at room temperature for up to 4 days. If you want to save them longer, wrap each brownie in plastic wrap and stick them in a freezer bag - they'll stay good for up to 3 months. Let them sit out for about an hour to thaw, or pop them in the microwave for 15-20 seconds to warm them up again.
 Pin it
Make-Ahead Options
You can get parts ready separately up to a day ahead. Make your cookie dough and brownie batter and keep them in the fridge apart from each other. Just let them both come to room temp before you put everything together. You can also press the cookie dough into the pan, cover it, and put it in the fridge overnight. Add the Oreos and brownie mix right before baking to keep everything tasting fresh and feeling right.
Serving Suggestions
These brownies are fancy enough on their own, but they're even better when served warm with some vanilla ice cream on top. The hot brownie next to cold ice cream creates a taste experience your friends won't forget. For special times, drizzle some warm caramel or chocolate sauce over them. They also go great with a glass of milk, strong coffee, or even a sweet dessert wine if you're feeling fancy.
Variations to Try
The cool thing about Slutty Brownies is how easy they are to change up. Swap regular Oreos for seasonal ones like mint during winter or lemon in springtime. Add a layer of peanut butter between the cookie and Oreo layers for a Reese's kind of vibe. If you're crazy about chocolate, use chocolate chip Oreos and throw extra chips into both the cookie dough and brownie mix. You can even mix in nuts, toffee bits, or crushed candy into any part for more crunch and flavor.
Frequently Asked Questions
- → Can I use store-bought brownie mix?
Absolutely! Box mixes work just fine. Just don’t use all of it if it’s meant for larger pans—make sure it covers your Oreo layer evenly.
- → Can I pick different Oreo flavors?
For sure! Go with your favorites—original, double-stuffed, or even fun flavors like red velvet or birthday cake for variety.
- → What pan size is best?
A 9x9 square pan works great to keep layers even and consistent. Steer clear of glass pans or other sizes for best results.
- → How do I tell if they’re cooked through?
Stick a knife or toothpick into the center. If it comes out clean without wet batter sticking, they’re good. If not, bake for another 5 minutes.
- → What’s the trick to neat slices?
Patience is key! Let them cool completely for at least an hour before cutting for sharp, clean bars that look perfect.