
 Pin it
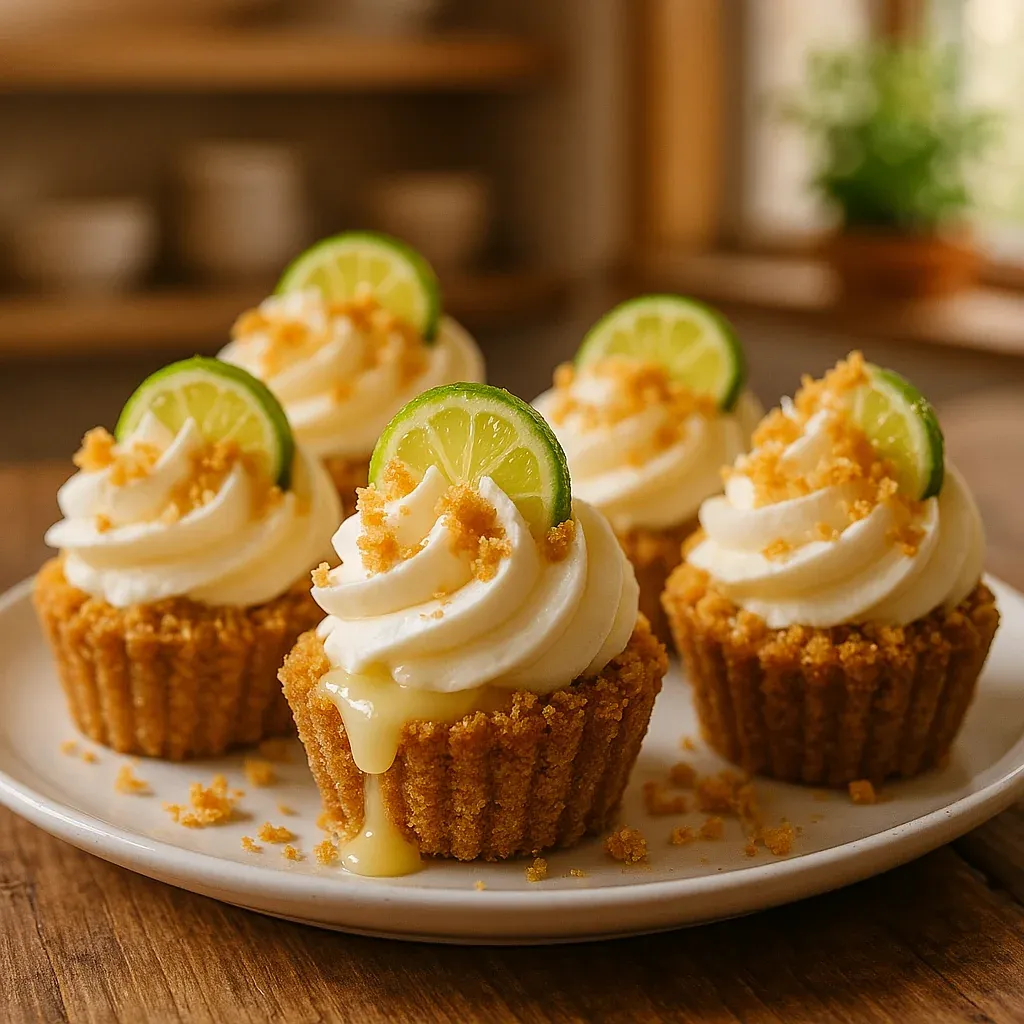
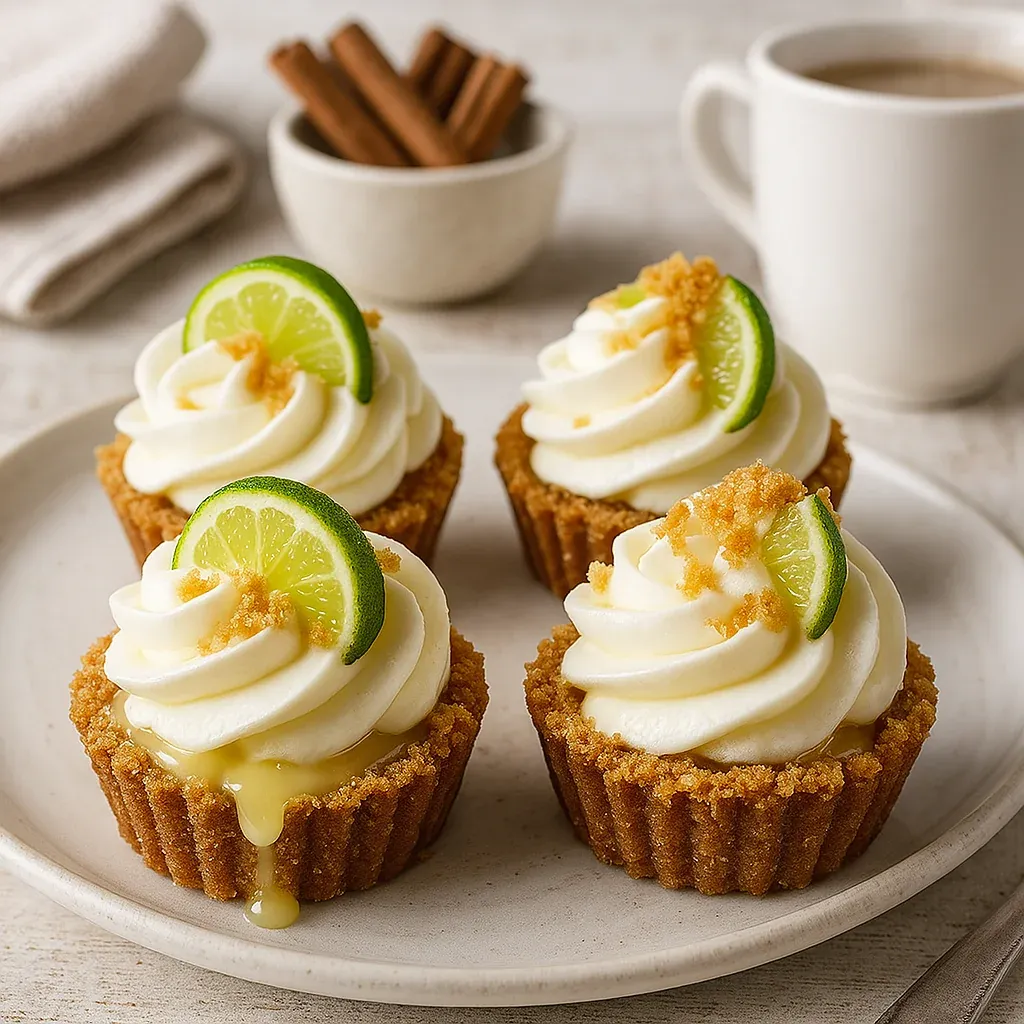
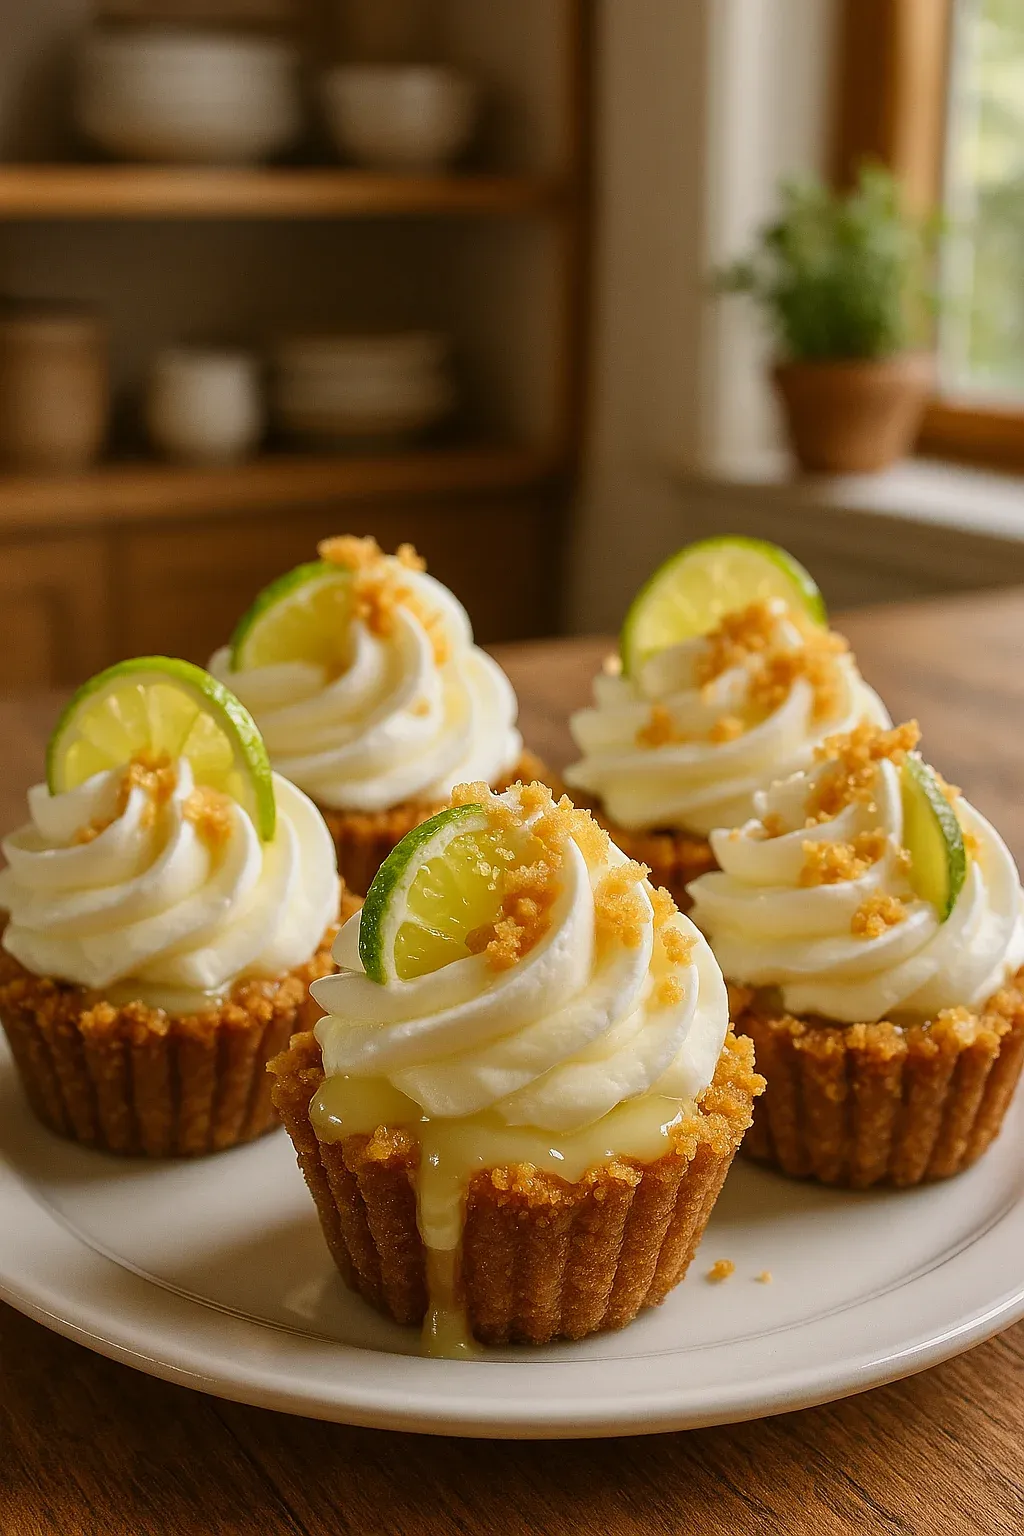
These zesty, refreshing no-bake mini key lime tarts have been my go-to summer treat for ages. They've got this amazing creamy filling that sits on a buttery graham base—making single-serve goodies that never last long at family get-togethers. And the biggest win? You won't heat up your house when it's already scorching outside.
I stumbled onto this gem during an awful hot spell when I couldn't bear to fire up the oven. What began as just trying to stay cool turned into the dessert my buddies now expect me to bring to every summer hangout.
Ingredients
- Graham cracker crumbs: They create that wonderful base texture—try to grab honey grahams for extra flavor punch
- Granulated sugar: Cuts through the tanginess in both parts of the dessert—plain white sugar does the job nicely
- Unsalted butter: Holds your crust together—just make sure you've melted it all the way
- Sweetened condensed milk: Makes everything silky and sweet—stick with full fat for the tastiest outcome
- Cream cheese: Gives your filling body and smoothness—let it sit out until completely soft
- Fresh key lime juice: Delivers that knockout tangy taste—you can use the bottle stuff in a rush but fresh really shines
- Key lime zest: Boosts the citrus punch—grab those zest bits before juicing to save time
- Whipped cream: Tops everything off nicely—the stuff you whip yourself stands up better than spray can versions
- Optional lime slices or extra zest: Makes everything look fancy and hints at what's inside
Step-by-Step Instructions
- Prepare the Crust:
- Mix up your graham bits, sugar and melted butter in a bowl, stirring until everything looks like damp sand that sticks when you squeeze it. This takes about 2 minutes of mixing. Share this mix between your little pie dishes, muffin cups or small bowls, using roughly 2 tbsp for each one. Press down hard with a spoon back to make it flat and tight. Pop them in the fridge for 15-20 minutes so they can set up properly.
- Prepare the Filling:
- Grab a big bowl and beat your cream cheese with a mixer for 2-3 minutes until it's totally smooth without any lumps. Stop and scrape the sides at least once while you're doing this. Dump in your condensed milk and mix another minute until everything's combined. Add your lime juice and zest, starting slow so it doesn't splash everywhere, then speed up for about 2 minutes until it thickens a bit. You want it runny enough to pour but thick enough to coat a spoon.
- Assemble the Pies:
- Get your cold crusts from the fridge. Pour or scoop your lime mix over each one, filling them about three-quarters full so there's room for toppings later. Tap them gently on your counter to get rid of air bubbles and smooth the tops with a spatula or spoon to make them look fancy.
- Chill Until Set:
- Cover your little pies loosely with plastic wrap, being careful not to touch the tops. Put them in the fridge for at least 3 hours, though letting them sit overnight makes them taste even better. They're done when they feel firm but still wobble just a tiny bit in the middle when you give them a gentle shake.
- Garnish and Serve:
- Right before you serve them, add a big spoonful of whipped cream on top of each one. For extra fanciness, use a piping bag with a star tip to make a swirl. Finish with some lime zest sprinkles, a small lime piece, or maybe a tiny mint leaf. Serve them right away while everything's fresh.
 Pin it
Getting these pies just right is all about balance. I once threw in too much lime juice thinking it would taste better and learned my lesson fast. My grandma always told me a proper key lime pie should make you pucker just a bit before the sweetness kicks in. This version does exactly that.
The Difference Between Key Limes and Regular Limes
Key limes aren't the same as those bigger Persian limes you usually see at the store. They're tinier, smell stronger, and pack more acidity—that's what gives you that special tangy kick. If you can't track down key limes, regular ones work too, but use a bit less since they aren't as strong. The outside skin of key limes also has a stronger smell that goes through the whole dessert. For the real deal flavor, try to find key limes when they're in season or grab bottled key lime juice from Florida, which often works better than out-of-season fruit.
Make Ahead and Storage Tips
These mini treats are perfect for making before your event. You can fix the crust and filling separately up to two days early. Put them together without any topping and keep them covered in your fridge for up to 5 days. If you need them to last longer, freeze them without topping by wrapping each one in plastic, then foil. They'll stay good for two months that way. Just let them thaw in the fridge overnight before adding toppings and serving. They keep their texture amazingly well, so they're great for busy hosts who need reliable do-ahead desserts.
 Pin it
Creative Serving Suggestions
Turn these mini pies into a fun DIY dessert station by setting out lots of toppings for everyone to pick from. Think about putting out toasted coconut flakes, crushed macadamias, chocolate bits, fresh berries or even melted white chocolate to drizzle. For grown-up parties, mix some coconut rum into the whipped cream for a fancier island vibe. In hot weather, stick the mini pies in the freezer for half an hour before serving to make them extra cooling—they'll slowly soften as you eat them. These also go really well with coffee, especially a medium roast with nutty hints that plays off the sweet-tangy combo.
Frequently Asked Questions
- → Can I swap key lime juice with regular lime juice?
You can! It’ll still work, but the flavor won’t be as tangy or fragrant as key limes provide.
- → How long do they chill before eating?
Chill for at least 2–3 hours so the filling firms up nicely.
- → Is it possible to make a gluten-free version?
Absolutely! Just replace the graham crackers with a gluten-free option, and you’re good to go.
- → What toppings can I try for variety?
Add whipped cream, bright lime zest, fresh berries, sliced limes, or drizzle a bit of melted chocolate.
- → What’s the best way to store extras?
Keep leftovers in an airtight container in the fridge for up to 5 days. Or wrap and freeze individually for as long as 2 months.
- → Can these be made ahead of time?
Totally! Prep them a day earlier and refrigerate until serving time.