
 Pin it
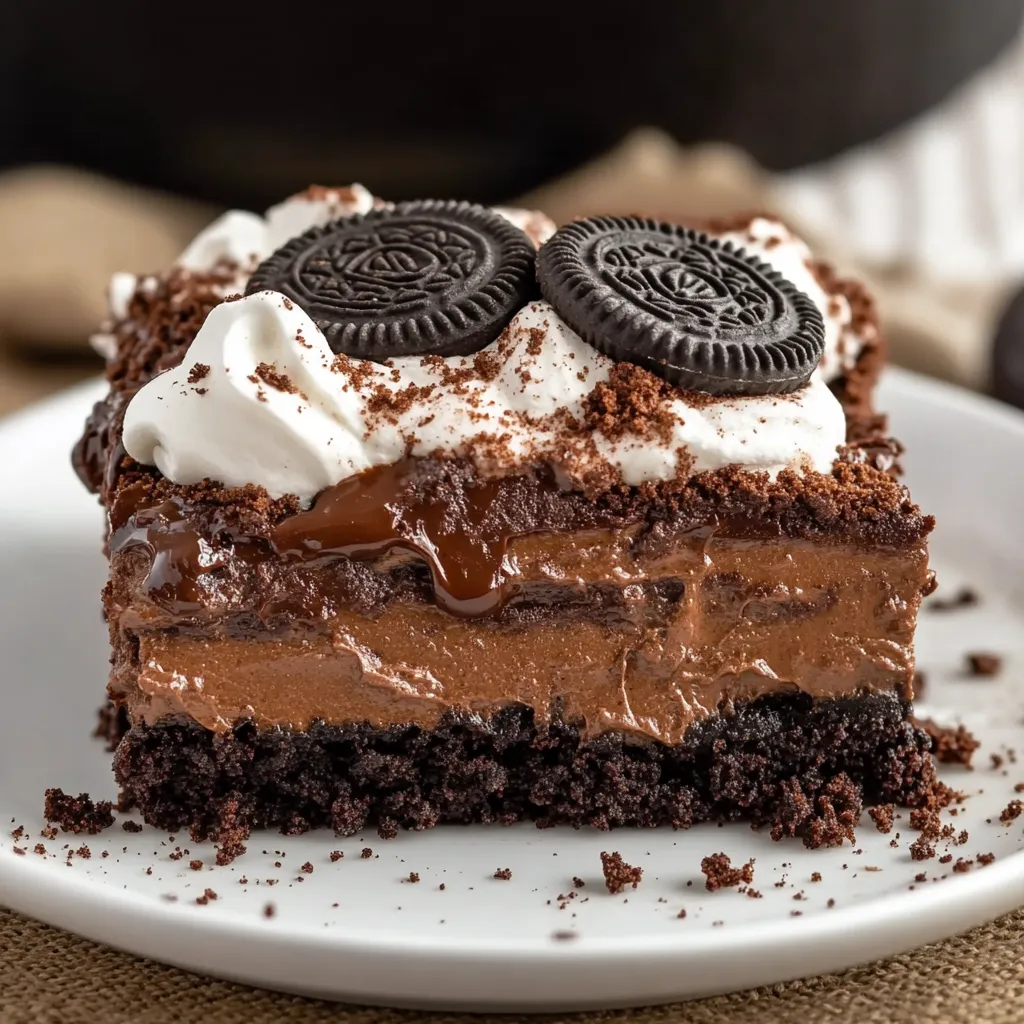
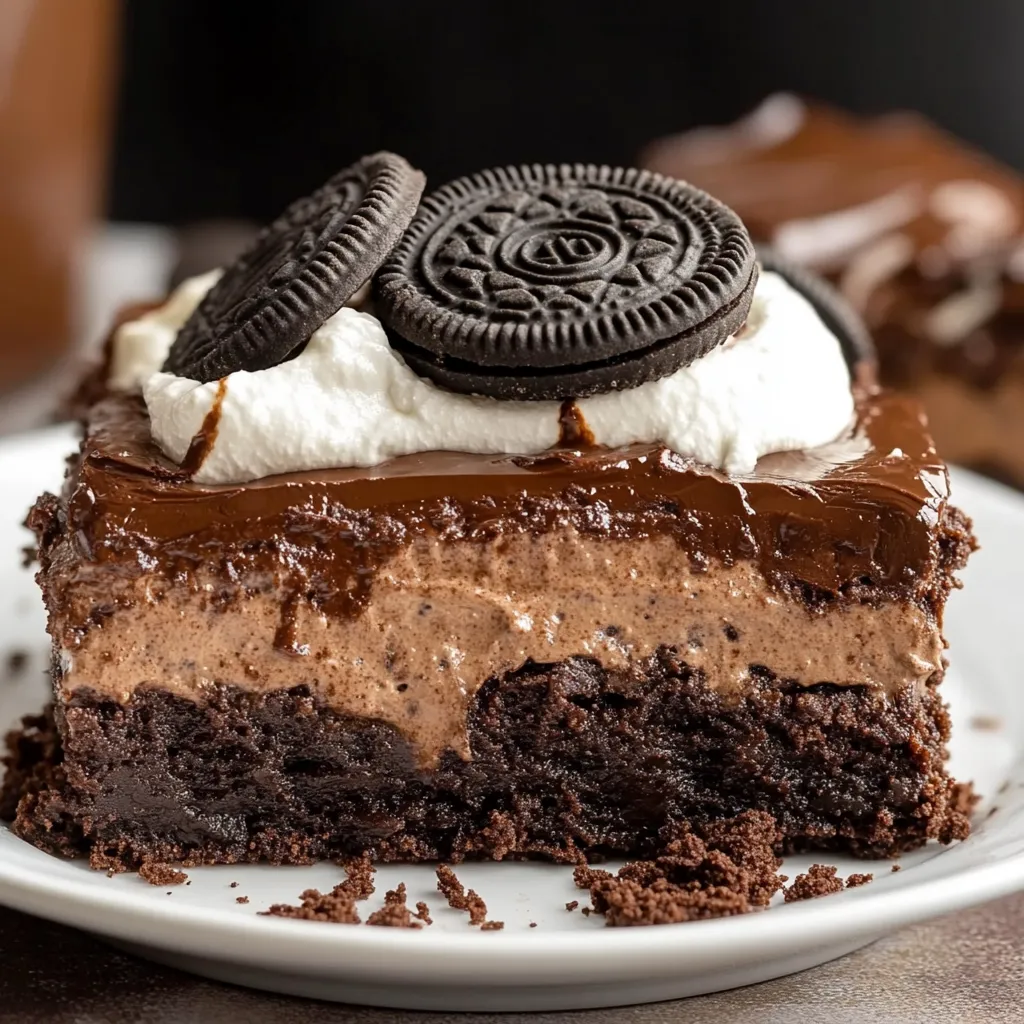
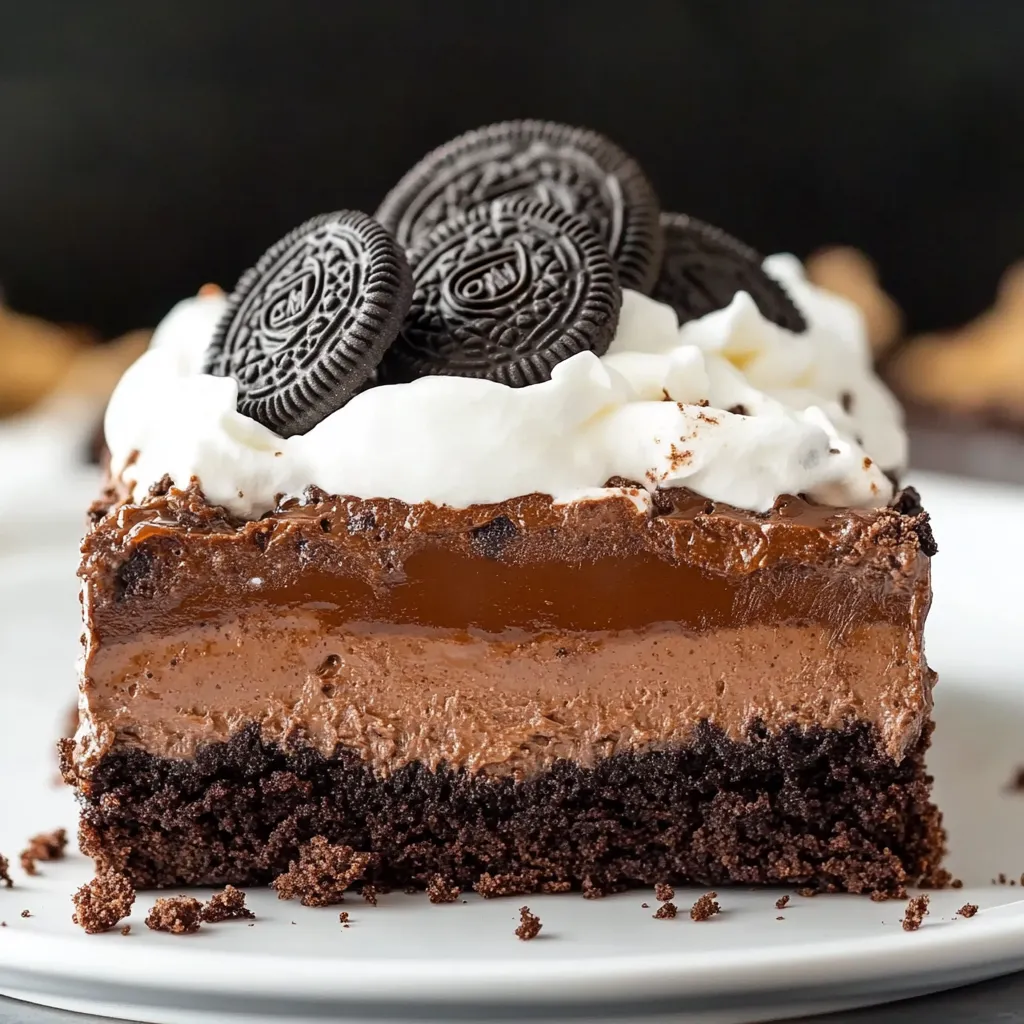
Dive into these layered chocolate treats that'll make your taste buds dance. They stack up amazing flavors and feels—from the crunchy Oreo bottom to gooey brownies, smooth chocolate mousse, and fluffy whipped cream on top, making them a total dream for anyone who loves chocolate.
After trying this many times, I've found that letting each layer cool properly makes all the textures work together just right.
Key Components
- For Crust:
- Oreo Cookies: Ground into fine bits (30)
- Unsalted Butter: Completely melted
- Reserved Crumbs: Set aside for the top
- For Brownie Layer:
- All-Purpose Flour: Make sure to measure it right
- Unsweetened Cocoa: Standard type, not Dutch processed
- Large Eggs: Let them sit out first
- Unsalted Butter: Softened before using
- Pure Vanilla Extract: Get the good stuff
- For Mousse and Topping:
- Instant Chocolate Pudding: One 3.9 oz package
- Whole Milk: Makes it extra creamy
- Whipped Topping: Split in two parts
- Hot Fudge Sauce: Sitting at room temp
Step-by-Step Guide
- 1. Set Up The Base:
- Get your oven going at 350°F. Give a 9x13 pan a good spray. Crush those Oreos till they're super fine. Keep ¼ cup for later. Mix the rest with your melted butter and push it down into the pan.
- 2. Create The Brownie:
- Mix flour, cocoa, baking powder, and salt together. In another bowl, beat eggs, sugar, butter, and vanilla till they're light and fluffy looking. Gently fold in your dry mix just enough to combine. Spread this on your crust. Bake about 25-30 minutes—you want it barely set with a bit of batter on your toothpick.
- 3. Whip Up The Mousse:
- Mix milk, pudding, and powdered sugar for about 2 minutes till it's starting to set. Fold in half your whipped topping till it's smooth. Spread this over your brownies after they've totally cooled down.
- 4. Put It All Together:
- Let it chill 1-1½ hours until that mousse feels set. Drizzle your room temp fudge sauce over it. Add the rest of your whipped topping and sprinkle those saved Oreo bits.
- 5. Chill Time:
- Stick it in the fridge at least 2 hours or leave it overnight if you can. This gives everything time to come together just right.
 Pin it
Keeping and Serving Tips
Keep it covered in your fridge up to 4 days. For really nice cuts, run your knife under hot water and wipe it clean between slices. You can freeze it up to 3 months—just let it thaw in the fridge overnight.
Great Combos
- A glass of cold milk
- Fresh brewed coffee
- A scoop of vanilla ice cream
- Some juicy raspberries
- Mint chocolate chip ice cream
- A mug of hot cocoa
Mix It Up
Try making it your own with:
- Other kinds of cookie bases
- Peanut butter in the mousse
- Some white chocolate on top
- A handful of mint chips
- A drizzle of caramel
- Bits of your favorite candy bar
 Pin it
Last Thoughts
Getting this right comes down to cooling times and watching your temperatures. Make sure each layer is just right before adding the next one, and you'll get that amazing chocolate experience everyone wants.
Frequently Asked Questions
- → Can I make these in advance?
- Sure, make them up to two days before and chill in the fridge.
- → Why do brownie layers need cooling?
- If the brownies are hot, they'll ruin the mousse layer by melting it.
- → Are these safe to freeze?
- Yes, you can freeze them for three months. Just defrost in the fridge overnight.
- → Is homemade whipped cream okay?
- Definitely! Use the same amount of freshly whipped cream for the topping.
- → How do I cut clean slices?
- Dip a sharp knife in warm water, wipe it clean, and repeat for smooth cuts.