
 Pin it
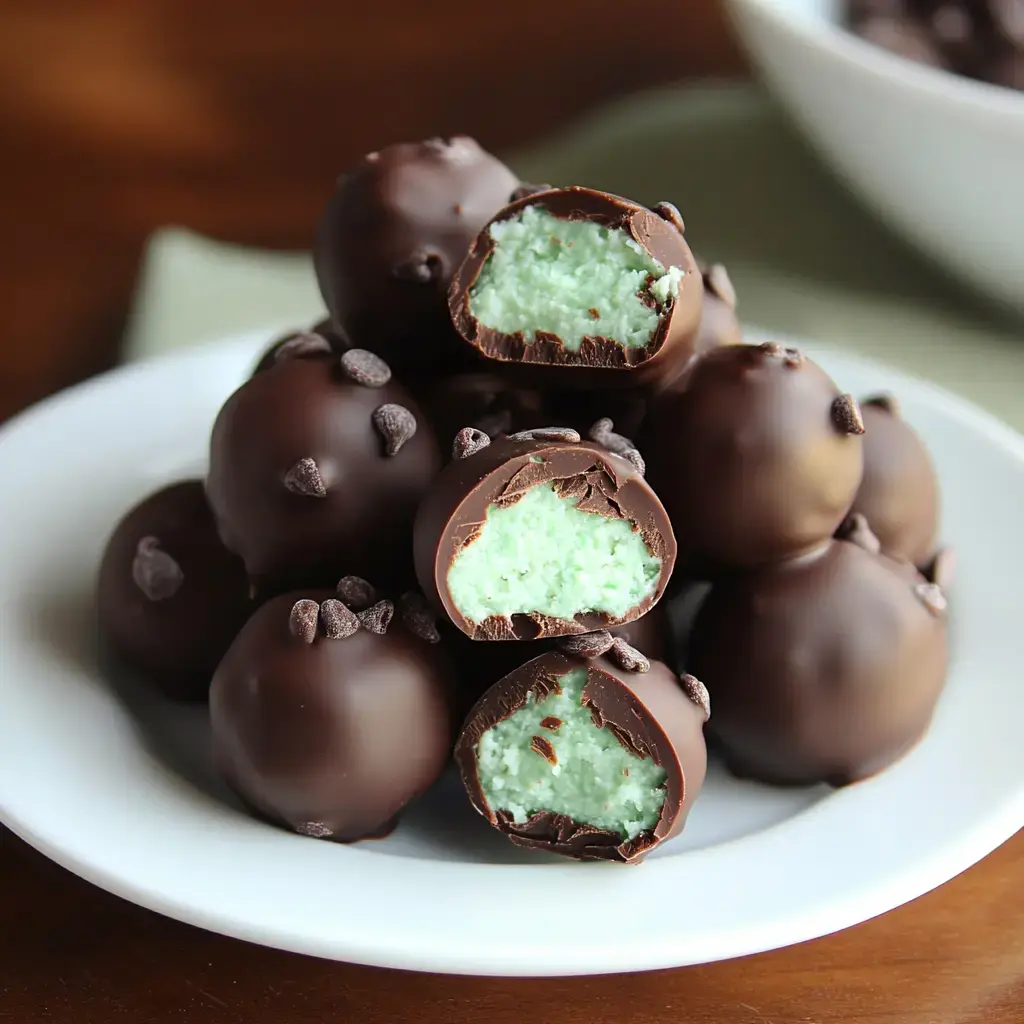
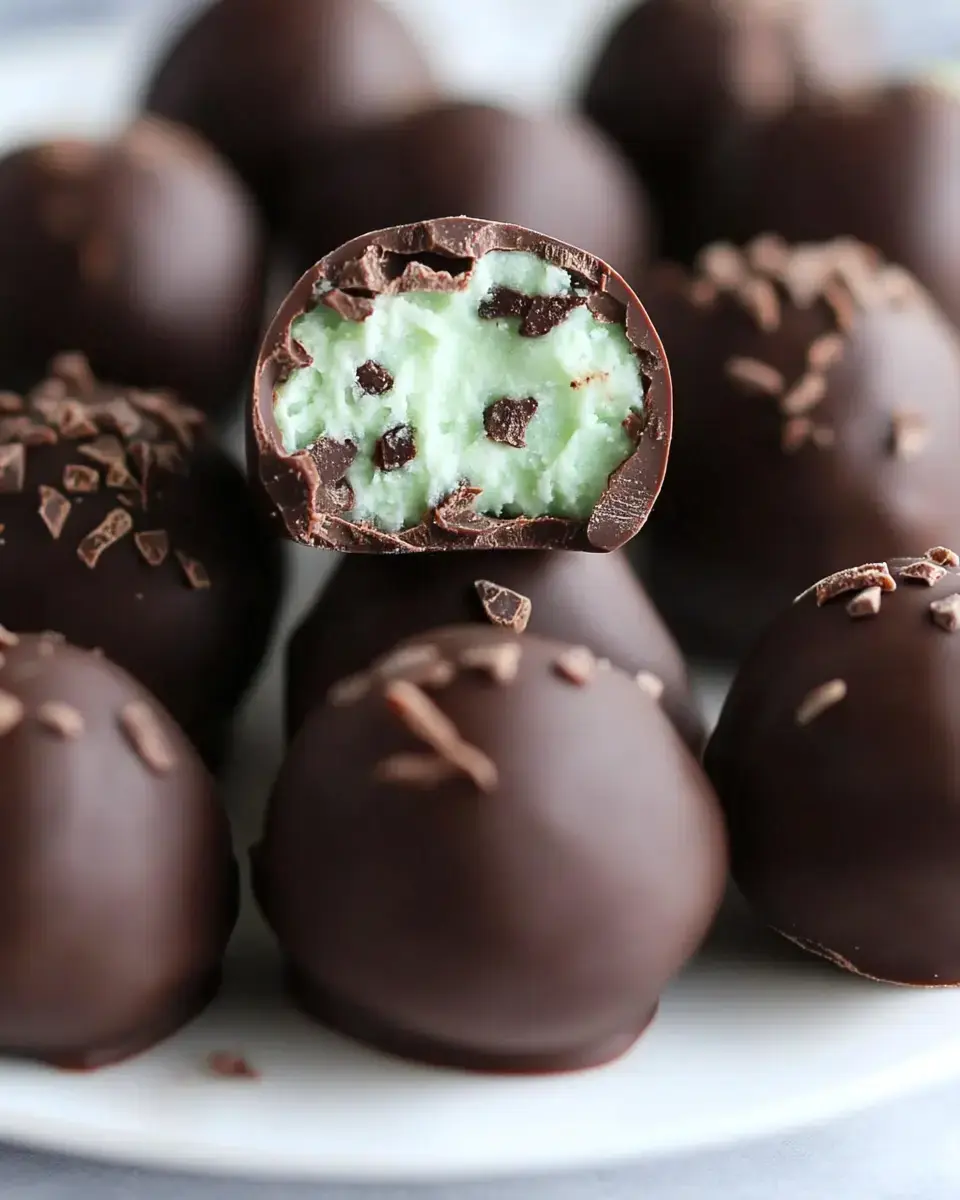
I whipped up these Mint Chocolate Chip Truffles during a snowy day when my sweet tooth kicked in, and now everyone begs me to make them. Each mouthful gives you creamy mint insides coated in smooth dark chocolate that simply dissolves on your tongue. Folks at gatherings can't wrap their heads around the fact they're not store-bought because they look so fancy.
Delightful Holiday Treat
These tasty bites disappear from serving plates within moments. There's something wonderful about the cool mint working alongside the deep chocolate flavor that makes people grab seconds. And the coolest thing? You only need a few simple things to make them, plus you can keep them frozen until you need something impressive.
Main Ingredients
- Cream Cheese: Skip the reduced fat version completely as we need that thick, velvety center that only comes from regular cream cheese.
- Butter: Go for unsalted and room temperature so it mixes perfectly with your cream cheese.
- Powdered Sugar: It blends in without a trace, creating that smooth filling with zero grittiness.
- Mint Extract: This stuff packs a punch so begin with tiny amounts and taste as you go.
- Dark Chocolate: Don't cut corners here, better quality means better flavor in your finished treats.
- Mini Chips: They add unexpected little bits of crunch in every bite, not necessary but definitely worth adding.
Easy Preparation Steps
- Mix the Foundation
- Beat your room temperature cream cheese and butter until it looks light and creamy. Slowly mix in your powdered sugar and a hint of mint extract until everything looks well combined.
- Toss in Extras
- If you're using mini chocolate chips, stir them in now. Put the mixture in your fridge for about two hours until it feels firm enough to work with.
- Form Your Bites
- After chilling, grab small amounts and roll into balls, then place them on some parchment paper. Stick them in the freezer until they're completely solid.
- Dip in Chocolate
- Get your chocolate all melted and smooth, then dunk each frozen ball for a complete coating. Let extra chocolate run off before putting them back on the paper.
Ways to Succeed
Getting awesome truffles means watching your temperatures. Your filling should stay super cold while you're handling it and your melted chocolate shouldn't be too warm for dipping. I've figured out through lots of batches that better chocolate really shows in the final taste. During Christmas season, I sometimes sprinkle crushed candy canes on top while the coating's still wet.
Display Options
These little treats look amazing when packed in small gift containers with festive paper inside. When I'm setting up a sweet table, I mix them with other goodies for a nice fancy yet fun vibe. For bigger gatherings, I'll set them up on stacked plates and they always catch everyone's eye.
 Pin it
All-Season Favorite
Even though these truffles really shine during Christmas time, that cool mint taste makes them great throughout the entire year. I always save some in my freezer for surprise visitors or when I'm craving something minty and chocolatey. They're what I turn to when I want something that looks fancy but doesn't take much work at all.
Frequently Asked Questions
- → Why is chilling necessary more than once?
It keeps the filling firm, so it’s easier to handle without making a mess.
- → What type of chocolate works best for dipping?
Opt for high-quality dark chocolate—it melts nicely and coats evenly.
- → Can these be frozen?
Sure, you can store them in the freezer for weeks without a problem.
- → Why is the filling sticky sometimes?
It softens as you work with it. Just pop it back in the fridge if needed.
- → How long can they be stored?
They stay good for up to a week in the fridge or a few weeks when frozen.