 Pin it
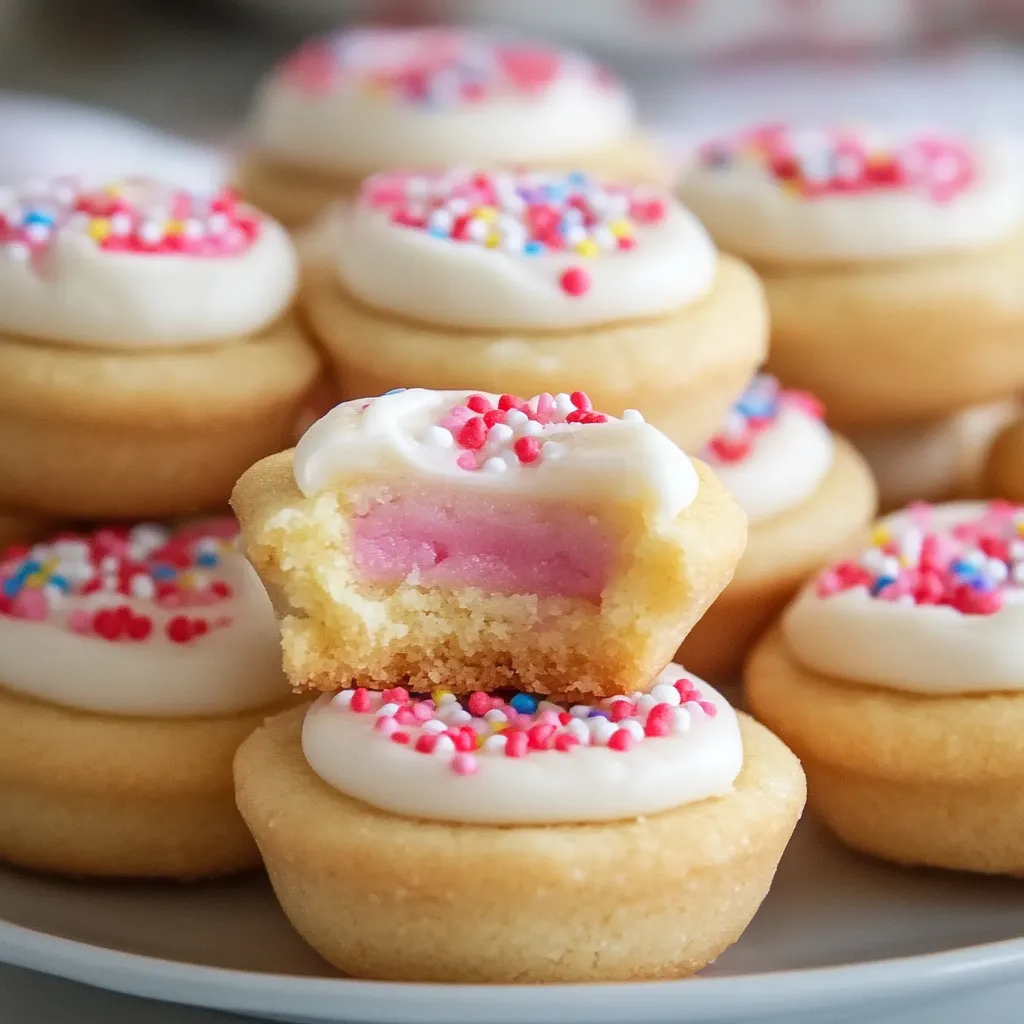
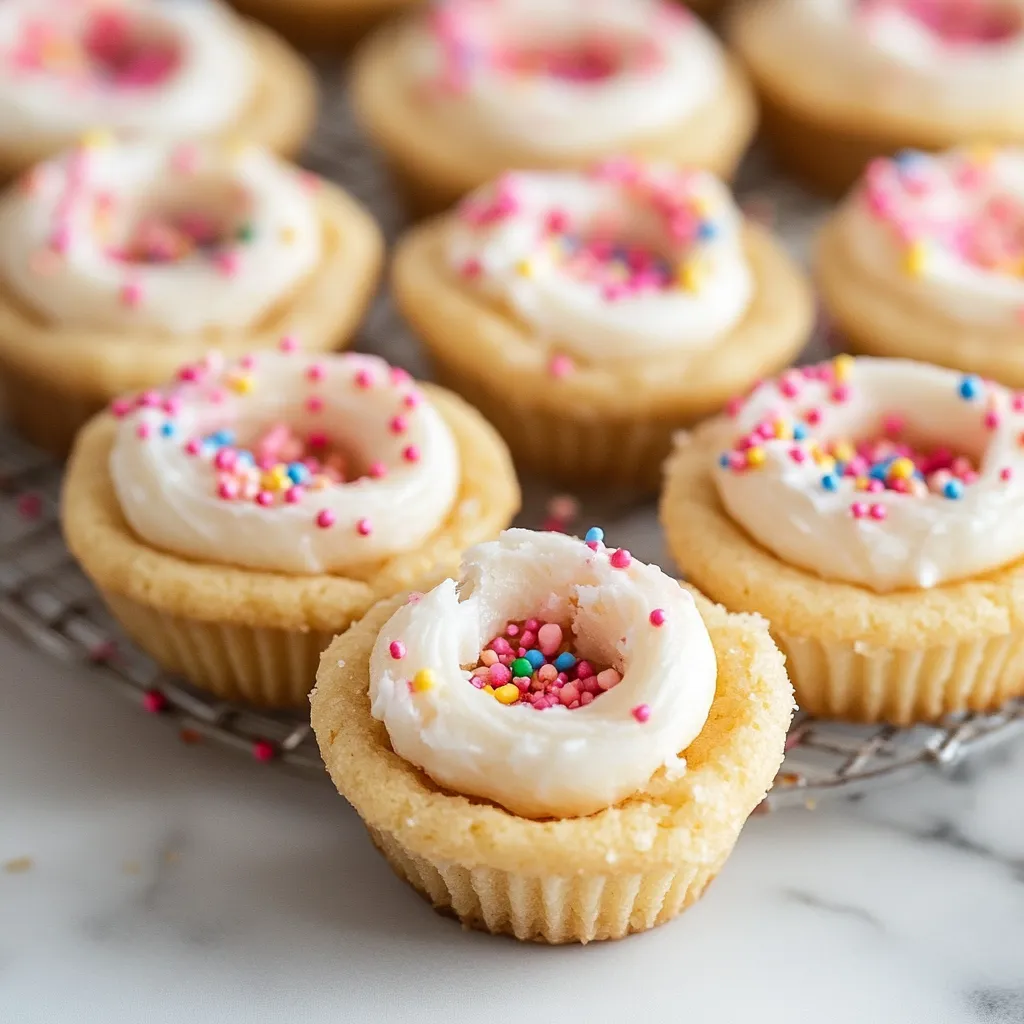
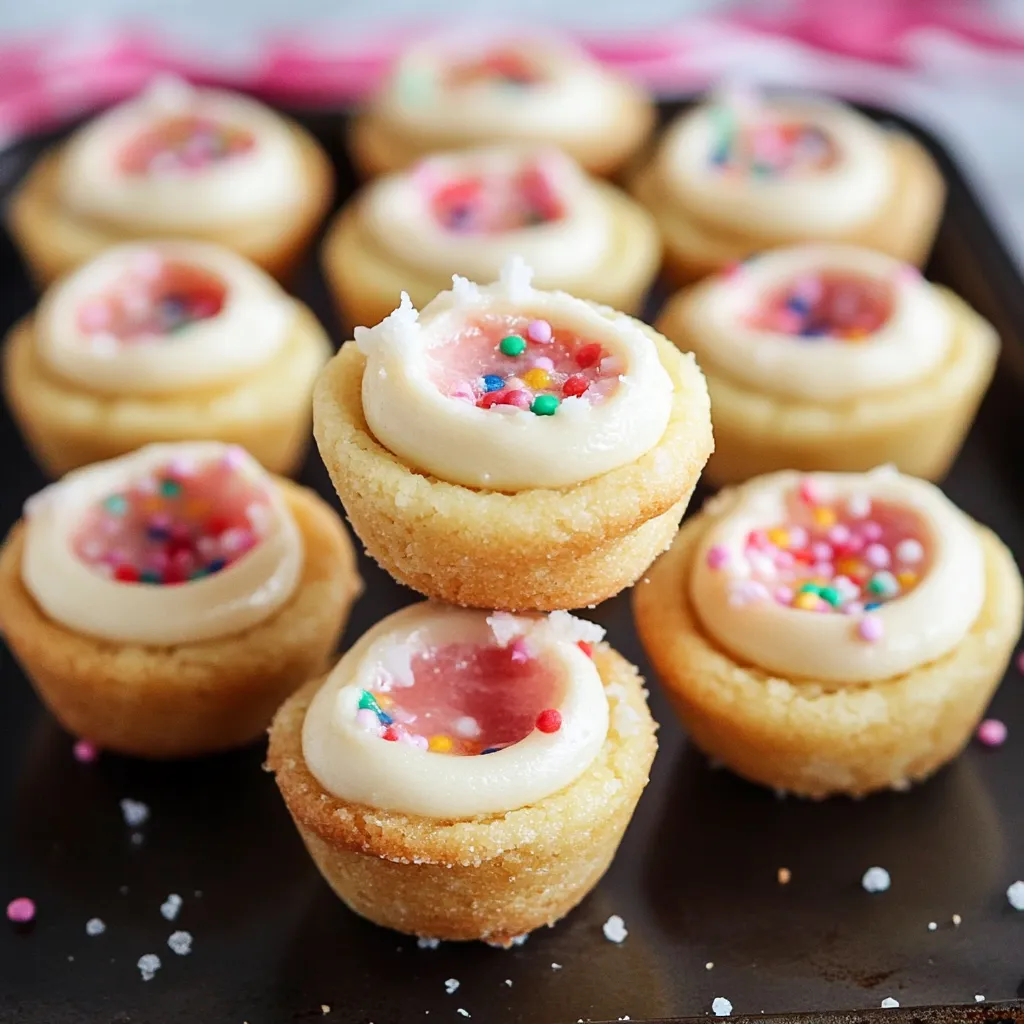
Turn ordinary sugar cookies into cute little cups that hold creamy frosting perfectly. These small bites mix buttery cookie bottoms with smooth frosting, letting you make yummy treats your way for gatherings and fun events.
After making batch after batch, I've found that getting the dough just the right coolness and watching the clock carefully helps make these cups turn out just right.
Key Ingredients
- Butter: Left out until soft (65-70°F), no salt
- Granulated Sugar: Needed for the right feel
- All-Purpose Flour: Carefully measured
- Large Eggs: Not cold from fridge
- Pure Vanilla Extract: Skip the fake stuff
- Heavy Cream: For smooth, rich frosting
- Sprinkles: To make them pretty
Step-By-Step Guide
- 1. Mix Your Dough:
- Whip softened butter with sugar until it's fluffy and light, taking about 3-4 minutes. Drop in eggs one by one, then add vanilla, mixing well each time. In another bowl, mix your dry stuff, then slowly add it to your butter mix. Stir just until you get dough that's soft but doesn't stick to everything. Chill it for 30 minutes so it's easier to work with.
- 2. Get Pans Ready:
- Coat 36 mini muffin cups with cooking spray or soft butter. For super easy removal, pop in paper liners. Heat your oven to 350°F with the rack right in the middle.
- 3. Shape Your Cups:
- Scoop 1½ tablespoons of dough (about 1 ounce) for each cup. Roll into balls, then flatten a bit to fit in the muffin spots. Push dough into cups, making sides and bottom about ¼-inch thick.
- 4. Bake Them Up:
- Cook for 12-14 minutes until the edges turn light gold and middles look set. Pull them out and right away push down the centers with a rounded measuring spoon. You want a little dip that'll hold your frosting.
- 5. Cool and Remove:
- Let cookies sit in the pan for exactly 5 minutes – this helps them firm up while staying flexible enough to take out. Gently move them to a wire rack to finish cooling completely.
 Pin it
Keeping And Serving Tips
Make sure cups are totally cool before adding frosting. If serving soon, keep them at room temp in an airtight box for up to 3 days. Want to save them longer? Pack unfrosted cups carefully in a freezer container with parchment paper between layers. They'll stay good frozen for up to 3 months.
Making The Frosting
Whip your softened butter till it's smooth and fluffy. Slowly mix in sifted powdered sugar, adding a bit of heavy cream now and then until you get the right thickness – firm enough to keep its shape but smooth enough to squeeze through a piping bag. Put it in a piping bag with a star tip (or just cut the corner off a plastic bag).
Tasty Combos
- Glass of cold milk
- Mug of hot cocoa
- Cup of coffee or tea
- Bowl of fresh berries
- Scoop of ice cream on top
- Handful of bright sprinkles
 Pin it
Fun Decorating Ideas
- Holiday-themed sprinkles
- Colored frosting
- Fancy piping tips
- Sparkly edible glitter
- Bits of fresh fruit
- Melted chocolate zigzags
These little cups show how basic ingredients can make something that looks fancy. They'll make folks happy at parties or just as a sweet treat at home. Just remember, taking care with each step means they'll look and taste amazing every time.
Frequently Asked Questions
- → Can I prep these early?
- Sure, bake the cups up to 3 days in advance. Frost them just before serving for freshness.
- → How do I keep them fresh?
- Pop them into an airtight container and keep them at room temp for up to 5 days.
- → Can the cups be frozen?
- Absolutely! Store the unfrosted cups in a sealed container and freeze them for up to 3 months.
- → What if I don’t have a bottle cap?
- Use any small round object, like a shot glass or the back of a spoon, to make the shape.
- → Can I use a different filling?
- Totally! Try ganache, cream cheese frosting, or a tangy fruit curd for a twist.
