
 Pin it
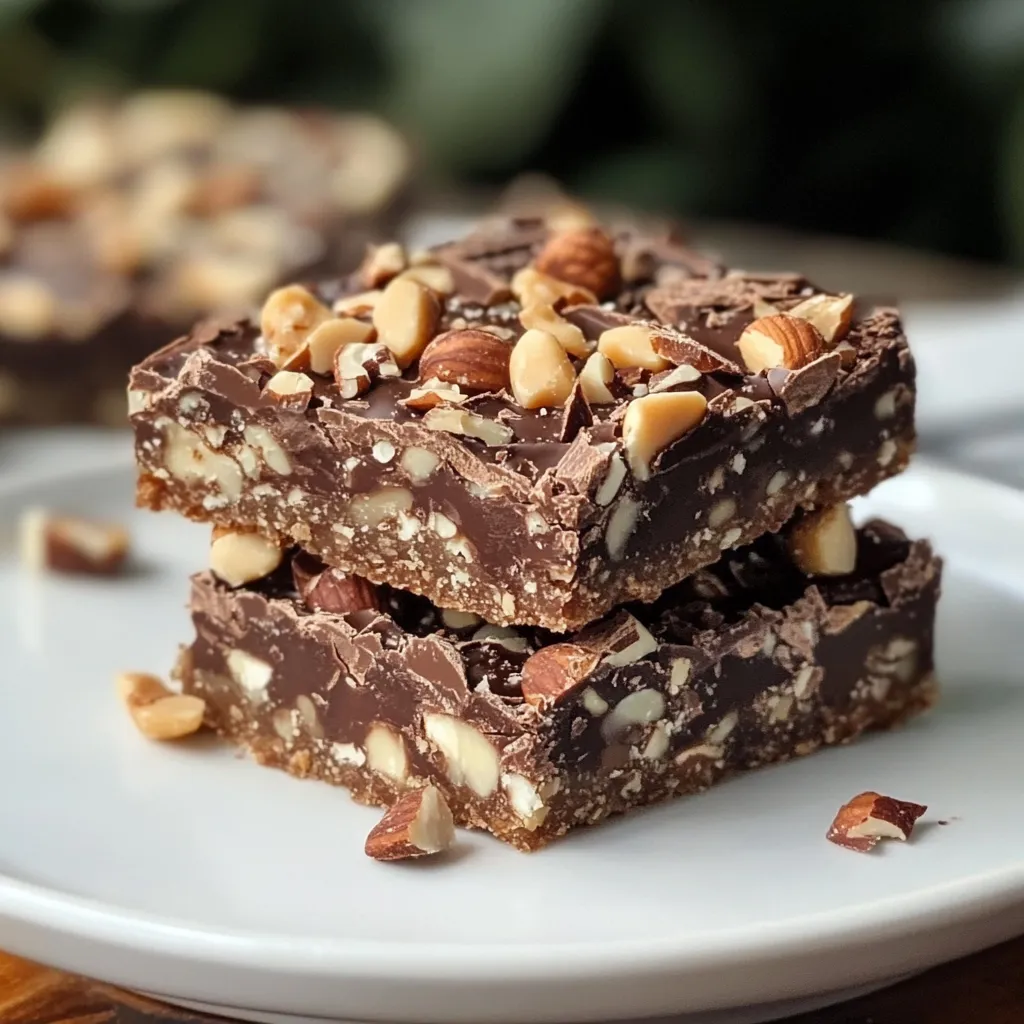
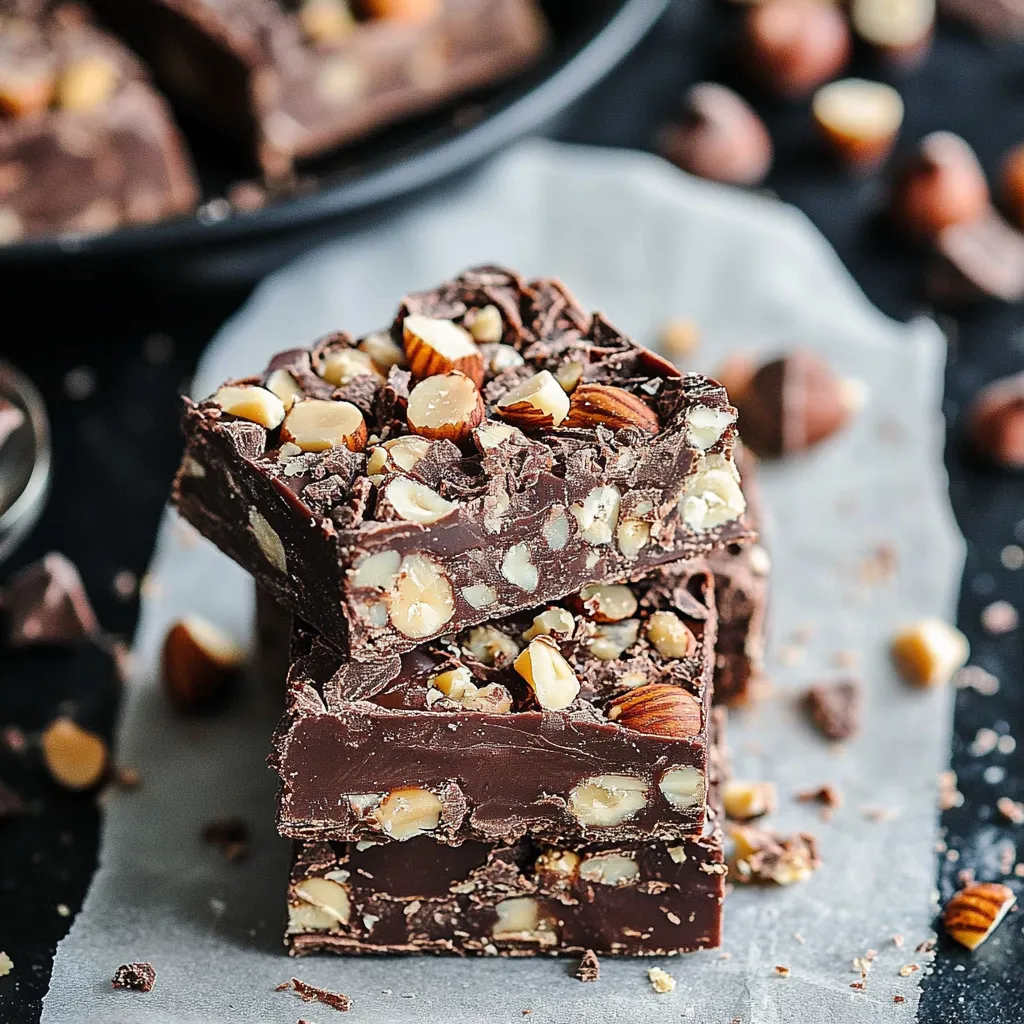
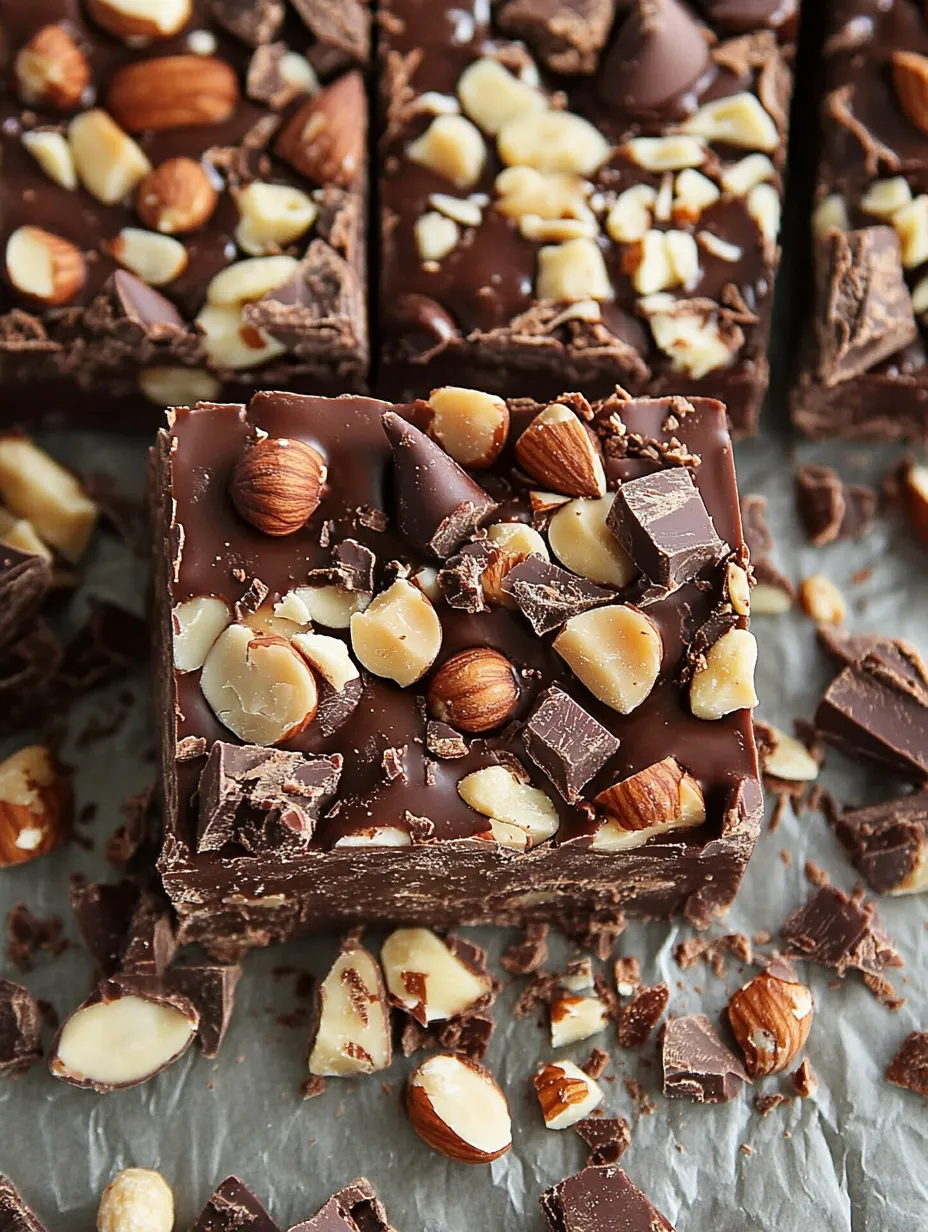
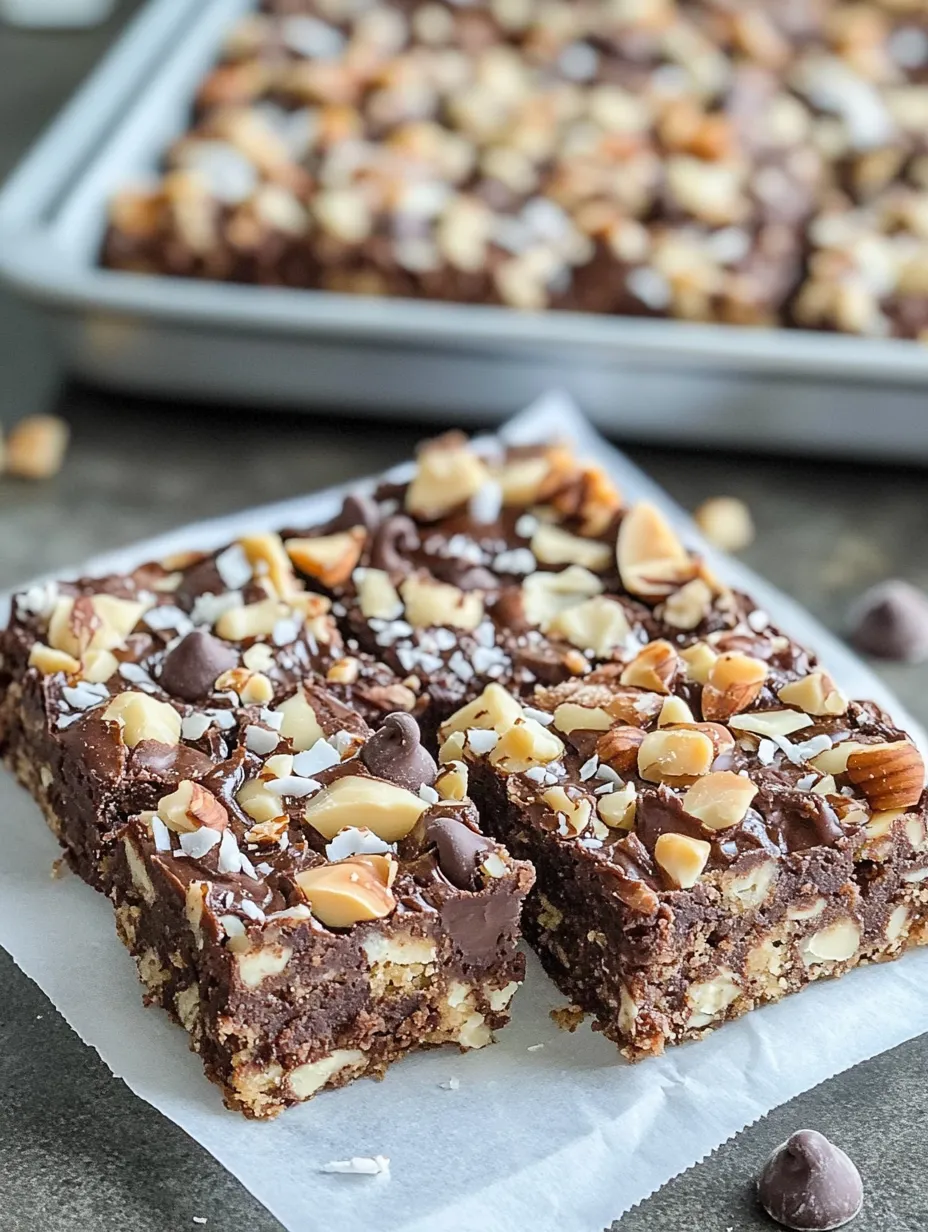
When classic magic bars meet the rich taste of chocolate and hazelnut, something truly magical happens. These Chocolate Hazelnut Dream Bars mix a tasty hazelnut flour bottom with a creamy Nutella middle and come topped with a yummy combo of chocolate, coconut, and toasted hazelnuts. They've become my go-to treat, showing that gluten-free goodies can be both fancy and super tasty.
Key Ingredients and Smart Picks
- Hazelnut Flour: Go for fresh, fine-ground for best results
- Nutella: Make sure it's not cold so it spreads easily
- Condensed Milk: Stick with full-fat for extra creaminess
- Dark Chocolate: Pick good quality chips or break up a chocolate bar
- Coconut: Grab unsweetened to balance the sweet stuff
- Hazelnuts: Toast them before chopping to bring out their nutty taste
- Butter: Use unsalted, melt it slowly without overheating
Step-by-Step How-To
- Getting Ready:
- Start by warming up your oven and fixing your pan with parchment paper hanging over the sides for easy grabbing later. A quick spray stops sticking. Put your rack in the middle for even baking.
- Making the Bottom:
- Mix your hazelnut flour with melted butter until it looks like wet sand. Push it down firmly into your pan - the bottom of a measuring cup works great for this. This first bake is super important for getting that nice crispy base.
- Creating the Middle:
- Stir the Nutella and condensed milk together until smooth. Take your time here - good mixing means better flavor throughout. Pour this mix over your baked crust, making sure it reaches all the corners.
- Adding the Top:
- Sprinkle on your toppings in order - chocolate chips first, then coconut, and hazelnuts last. Press everything down gently but firmly so the condensed milk can glue it all together while baking.
- Baking It Up:
- Bake until you see light browning around the edges and the coconut turns golden. Don't leave it in too long - these bars will get firmer as they cool down.
 Pin it
Beautiful Serving Ideas
These treats look as good as they taste. For a fancy display, arrange them in different directions to create a cool pattern. Try dusting some unsweetened cocoa and powdered sugar on top using a paper doily for a pro look. When giving as gifts, wrap each bar in parchment and put them in cute little boxes with shiny gold or silver paper inside. Add a little note with serving ideas and storage tips. For holiday parties, make these bars the star of your dessert table with fresh berries, chocolate-covered hazelnuts, and maybe a few coffee beans scattered around for decoration. The rich colors and different textures make for a wow-worthy display that tastes amazing too.
 Pin it
Fun Ways to Change It Up
After lots of kitchen testing, I've found some really tasty changes you can try. Mix in different nuts like macadamias or pecans for something new. Sprinkle some sea salt on top for a nice flavor contrast. Sometimes I like to drizzle extra melted dark chocolate over the finished bars after they cool for more chocolatey goodness. Try using a mix of semi-sweet and milk chocolate chips on top for more interesting flavor.
Timing and Temperature Tips
Getting these bars just right means knowing your oven well. Watch for the edges turning light gold and the coconut getting a bit brown. Don't bake them too long - they'll firm up more as they cool down. Make sure they reach room temperature before putting them in the fridge if you want to chill them.
Tasty Ways to Serve
Cut into big pieces and place them on a pretty plate. Add some fresh berries for a pop of color. For fancy dinners, dust lightly with cocoa or serve with scoops of coffee ice cream. These make awesome homemade gifts when wrapped in parchment and tied with a cute ribbon.
 Pin it
Frequently Asked Questions
- → Can I make a smaller batch?
- Sure, just use an 8x8 pan instead of 9x13.
- → Are these gluten-free?
- Definitely, if hazelnut flour is used.
- → What’s the best way to store them?
- Keep them covered at room temperature.
- → Can I swap the nuts?
- Of course, but hazelnuts pair best with the chocolate spread.
- → Why press down toppings?
- It keeps the layers in place and avoids crumbling.