
 Pin it
I've gotta tell you about turning these DIY hot chocolate bombs into my winter gift tradition. Last winter, I watched my kids flip out over some store ones and thought 'I can definitely top these!' After twenty tries and chocolate everywhere, I finally nailed it. Now every holiday season my kitchen transforms into bomb central, and my friends start hinting about them as soon as fall hits.
Cracking the Code
Through tons of failed attempts at my DIY creation (including one batch that turned into a puddle before I could give them away!), I now know that picking good chocolate is key. Don't even think about using those baking chips sitting in your cabinet - I tried and ended up with a complete disaster. For this simple method to work perfectly, you'll want quality chocolate containing actual cocoa butter. I always reach for Callebaut, but Ghirardelli does the job too if that's what's available.
Getting Ready
- What You'll Need
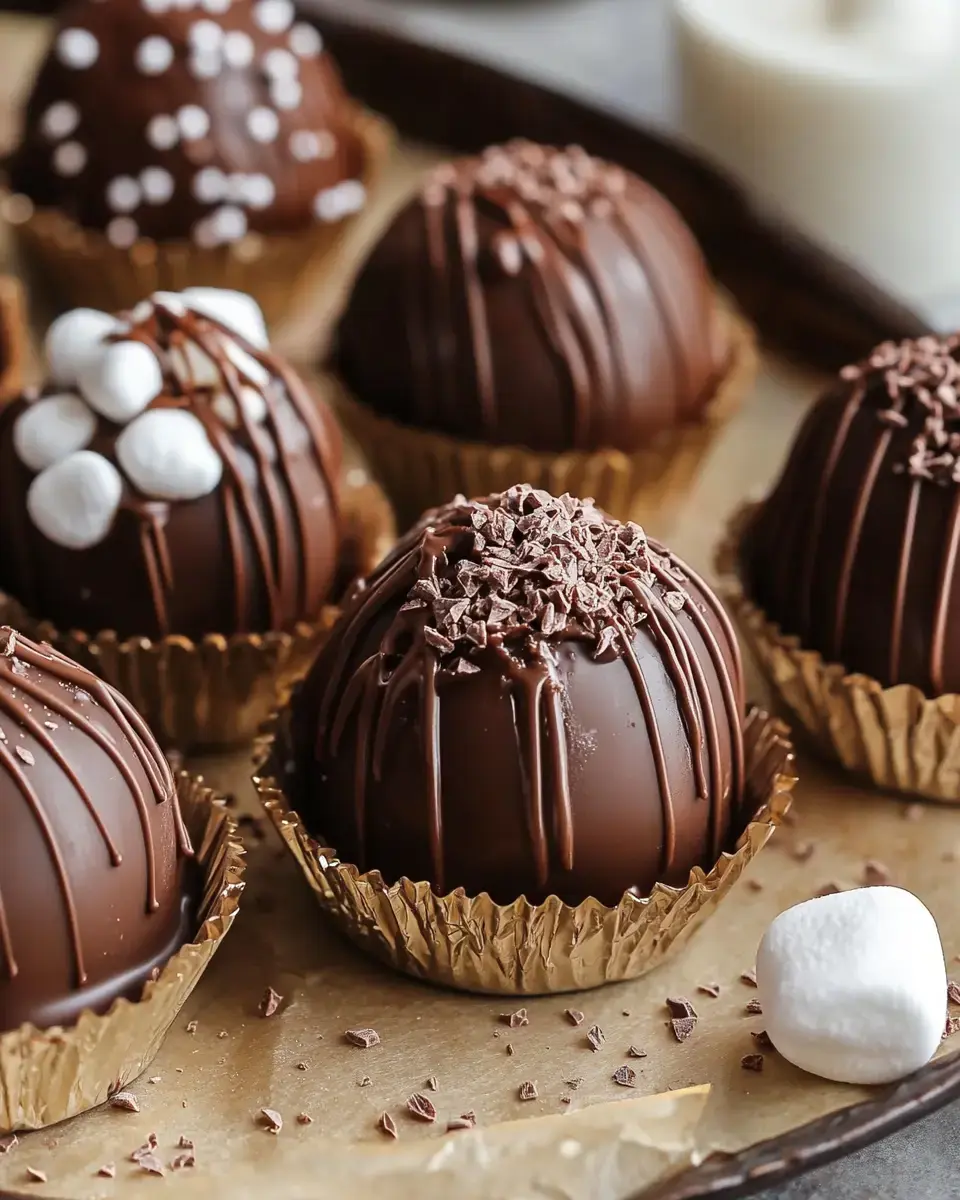
- Pick up some quality chocolate - about 12 ounces makes 6 bombs. Find sphere molds (mine came cheap from online), and get fresh marshmallows - don't use the stale ones sitting around forever. For hot cocoa mix, I prefer mixing my own using Dutch cocoa with a tiny bit of sea salt.
- Workspace Prep
- Make room on your counters - things get messy at first. Get your tools ready: thermometer, spatula, a brush for coating molds (I actually use a clean makeup brush - it works amazingly!), and parchment paper for your work area.
- Watch the Room
- Something I wish somebody told me when I started: keep your kitchen cool, around 70°F. I figured this out when my first batch wouldn't harden during a hot drink party. Lower that thermostat before you begin!
Crafting Your Bombs
- Getting Chocolate Ready
- Cut your chocolate into tiny bits - think confetti-sized pieces. Bigger chunks won't melt right (I found out the hard way). Warm up 2/3 of it carefully to exactly 100°F - I go with 20-second microwave bursts, mixing between each. Once melted, mix in the remaining chocolate until it's completely smooth.
- Creating Shells
- Coat your molds with a thin chocolate layer. Chill for 5 minutes - not longer or you'll get moisture buildup. Add another coat, making the edges a bit thicker. This stops breaking later - I've been there!
- Putting It Together
- Once shells harden, fill half with cocoa mix and marshmallows. For joining them, warm a pan and touch the empty half's edges to it for a split second - quick melting creates a perfect join!
Fixing Common Problems
Real talk - even with this simple DIY approach, things can go sideways. Streaky chocolate usually means temperature issues - shoot for that goldilone between 88-91°F. Shells won't come out? Stick them in the freezer for exactly 3 minutes. Left fingerprints on your finished bombs? A quick touch with a warm brush sorts that out. Remember, even the not-so-pretty ones taste fantastic!
 Pin it
Personal Touches
After you've mastered the basics, get creative! I love throwing peppermint pieces into the cocoa mix for Christmas, or a dash of cinnamon and cayenne for Mexican-style bombs. My kids go crazy for their favorite version with colorful sprinkles inside - they've named them 'unicorn bombs.' Try coating molds with colored cocoa butter first to create awesome marbled effects.
Keeping and Gifting
These DIY treats need proper storage. Put them somewhere cool and dry - I use the cabinet farthest from my stove. They'll stay good about three weeks if you can stop yourself from eating them! When giving as gifts, I wrap each bomb in a clear cellophane bag tied with ribbon. Add a small card saying 'Drop into hot milk, watch it open up, stir and enjoy!' Fair warning: once you start giving these as presents, you'll be making them every cold season!
Frequently Asked Questions
- → Why isn't my chocolate firming up?
Keep the chocolate at 88-91°F while working. Overheating or cooling too much stops it from setting properly and looking shiny.
- → What can I use if I don’t have molds?
Try cupcake liners instead. Add layers of chocolate one at a time to shape your bomb.
- → Do I really need gloves for this?
Yes, gloves keep fingerprints off the chocolate, making it neat and smooth.
- → Which type of milk gives the best results?
Whole milk is the creamiest option, though 2% works fine. Heat it until almost bubbling for the best effect.
- → How should I store leftover bombs?
Store them in a dry, cool, airtight container. If the chocolate’s tempered, they’ll last several weeks.