
 Pin it
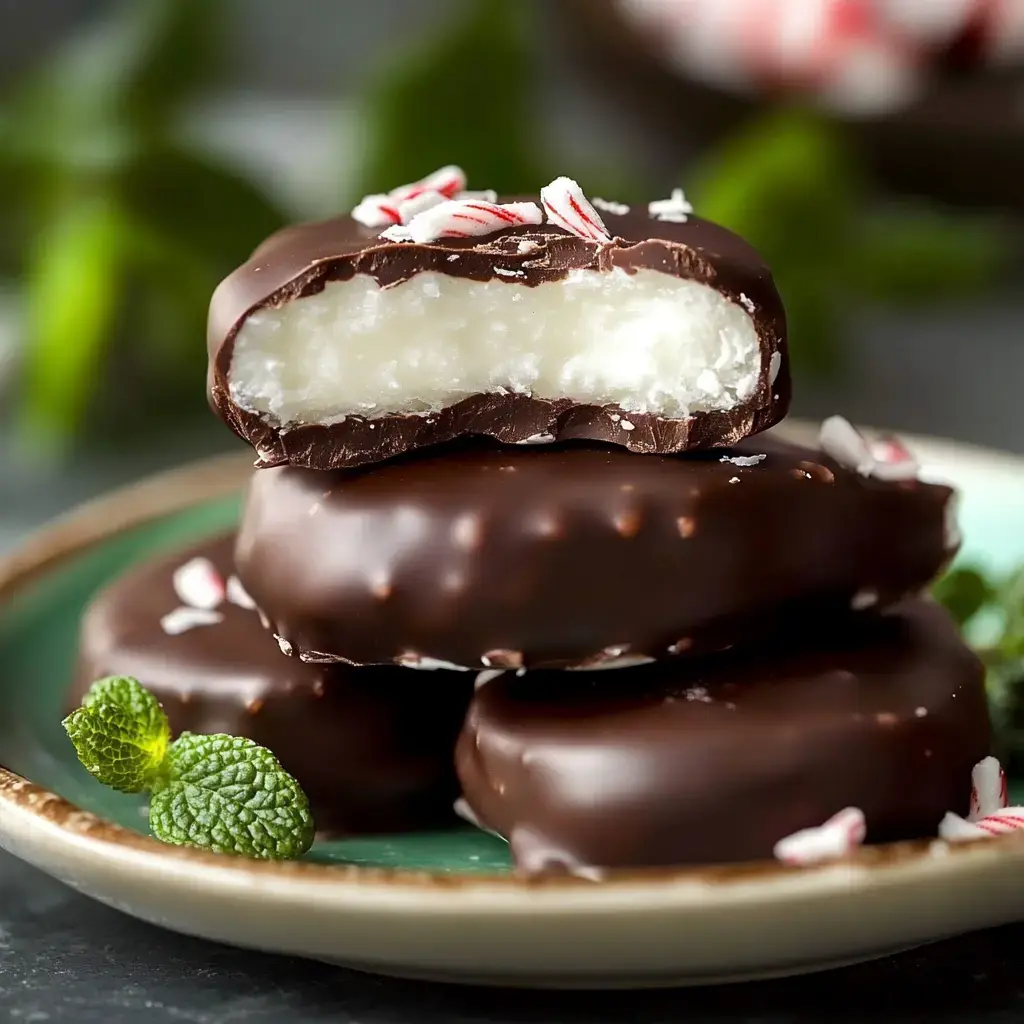
Want to whip up some knockout mint chocolate treats at home? These tasty little bites bring that perfect minty coolness wrapped in chocolate goodness—and they're way simpler to make than you might guess! If you're after that classic mint-chocolate pairing or need a thoughtful handmade gift, this guide will walk you through creating these tempting goodies right in your own kitchen.
Benefits of Crafting These Yourself
Have you ever munched on a mint patty and wondered if you could create it yourself? Good news—you totally can! These DIY treats aren't just tasty—they're actually pretty fun to put together. There's something really special about giving someone confections you've made with your own hands. Once you try making these cool, minty delights, you'll probably never want the store versions again.
Necessary Ingredients
- Powdered Sugar: 4 cups, put through a sieve for super-smooth centers
- Evaporated Milk: 3 tablespoons to get that rich, smooth feel
- Light Corn Syrup: 3 tablespoons to bind everything nicely
- Coconut Oil: 2 tablespoons, at room temperature
- Peppermint Oil: 1/4 teaspoon (or try 1 teaspoon extract instead)
- Dark Chocolate: 12 ounces high-quality bars for covering
- Candy Canes: 2-3 smashed up (if you want) for sprinkling on top
Creating Kitchen Wonders!
- Create Your Filling
- Combine powdered sugar, milk, corn syrup, coconut oil, and peppermint until you get a dough-like texture. If it sticks to your fingers too much, add extra powdered sugar.
- Form Your Pieces
- Divide the mixture in two, wrap with plastic, and cool for 30 minutes. This makes everything much easier to handle!
- Flatten and Shape
- Sprinkle powdered sugar on your counter, flatten the dough to about 1/4-inch, and make circles. A small round cutter or bottle cap works perfectly.
- Chill Thoroughly
- Stick those rounds in the freezer for 30 minutes—don't skip this step if you want dipping to go smoothly!
- Prepare Your Coating
- Gently melt chocolate in short microwave bursts, stirring often. Take your time—rushed melting ruins chocolate!
- Coat and Finish
- Dunk each frozen piece using a fork. Gently tap off extra chocolate, place on parchment, and add candy cane bits if you're feeling fancy.
- Allow To Harden
- Let them sit about an hour at room temperature. It's hard to wait but definitely worth it!
What Sets Them Apart
There's real joy in homemade candy-making. Your kitchen gets filled with that awesome mint aroma, and you decide exactly how minty or sweet you want them. Plus, they come out so much creamier and fresher than anything wrapped in foil at the store.
Nailing That Dreamy Filling
The heart of a great mint patty is all about that smooth middle part. It needs to be solid enough to handle but melt in your mouth when you bite in. If your mix seems too sticky, just work in more powdered sugar. Too crumbly? A tiny bit more milk will sort that out.
Smooth Chocolate Coating Tips
Don't worry about the coating step! Here's a simple trick: keep your patties super cold and your chocolate just melted. Use a fork for dipping, tap it a few times to remove extra, and slide onto parchment. If things get messy, well—that's why we need taste-testers!
Beautiful Packaging Ideas
These sweet treats deserve nice presentation! Layer a pretty container with parchment, arrange your patties carefully, and maybe tie with a cute ribbon. They make fantastic gifts—assuming you can stop yourself from eating them all!
Storing Your Treats
Pop your finished patties in the fridge where they'll stay good for a week (though they rarely last that long!). Need to make them ahead? They freeze wonderfully for up to a month. Just move them to the fridge when you're ready for some minty goodness.
 Pin it
Frequently Asked Questions
- → Can I swap the mint flavor?
Sure thing! Mint oil has a stronger punch, just use less than extract. Start with a tiny amount and adjust as you taste. Going heavy might ruin it though.
- → How do I melt chocolate properly?
Microwave in short intervals and stir each time. Don’t let any water touch it or it’ll clump! Slow and steady does the trick.
- → What’s the best way to store them?
A cool fridge works wonders. Keep them in a sealed box with parchment paper between layers. They can last a few weeks—but only if you don’t eat them all first!
- → How do I make them chunkier?
Roll the filling a bit thicker. Keep your shape and size consistent, and you should be good to go. You might need more chocolate, though, and they’ll take longer to chill.
- → What if I don’t have a round cutter?
A small glass will do fine, or just mold them by hand. As long as the size stays relatively the same, you’re all set. They’ll taste amazing either way.
- → Why is the filling too soft?
Adding extra powdered sugar should fix that. Maybe cut back on the butter too. A longer chilling time can also help firm them up nicely.
- → How do I bring these to a party?
Keep them chilled in a container and pack them tight. Add paper layers between stacks, and an ice pack definitely helps on hot days. Take some extras just in case!
- → What if I need these done quicker?
Freezing them briefly can speed things up. Just have everything prepped ahead so you can dip the chilled circles fast. They’ll still need time to set, but it’ll save you a bit.
- → Can I double the recipe?
Yep! Doubling works great, but you’ll need more space for chilling and storing. Keep everything ice-cold, and you’ll end up with loads of tasty gifts!
- → Can I add more minty flavor?
Mint flavor’s potent, so increase it slowly. Taste as you go, since once it’s too strong, there’s no undoing it. Fresh mint on top adds a nice touch.
- → Why’s the chocolate not smooth?
Heat it gently and stir a lot. If lumps still happen, strain it or start over with fresh chocolate. Better to take it slow than rush.
- → The filling keeps sticking to me!
Try adding more sugar and chilling it longer. Cold hands will help too, or lightly dusting it with powdered sugar while working. Patience is key here!
Conclusion
Love mint and chocolate? Try whipping up a batch of minty cookies or maybe some mint chocolate bark. Both are perfect to gift!