
 Pin it
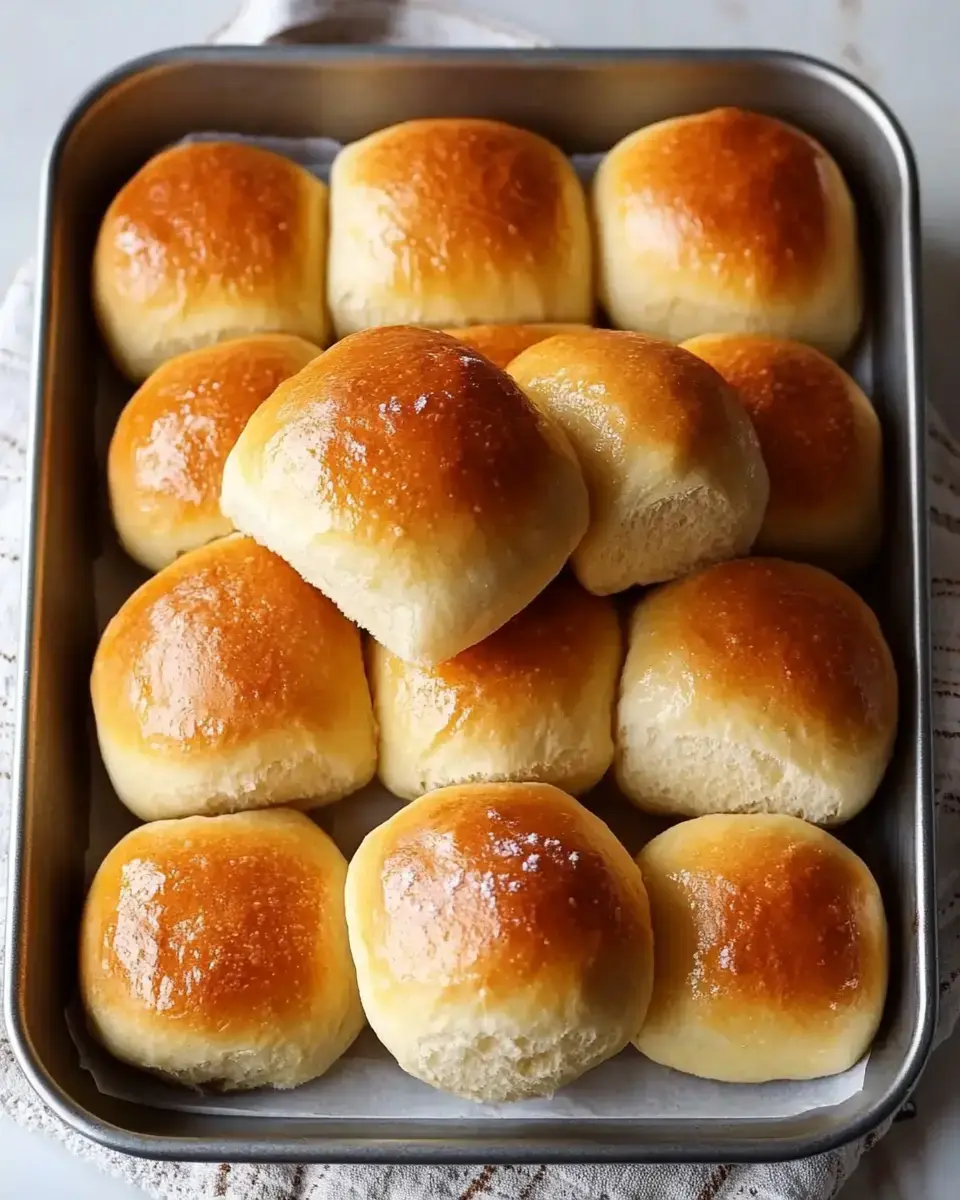
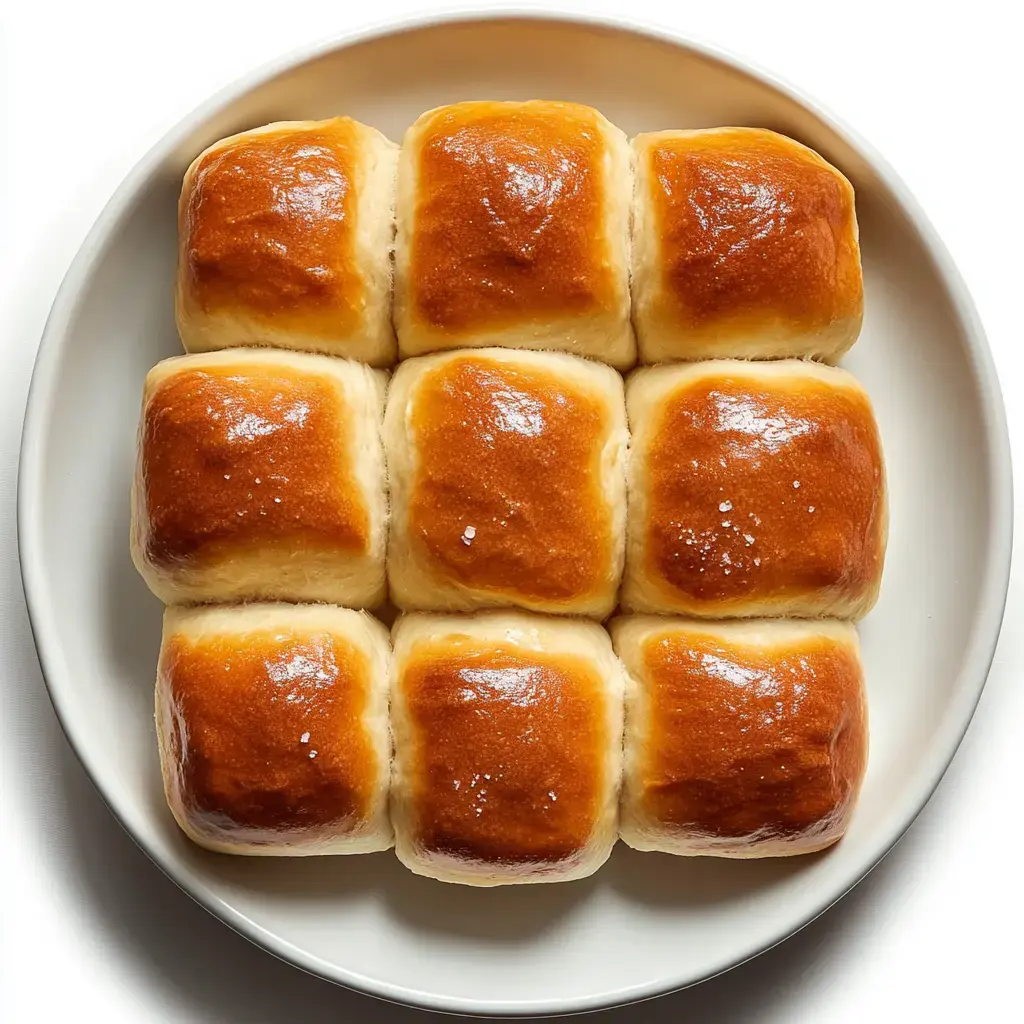
These home-style dinner rolls pack a perfect combo of soft texture and rich buttery flavor with every mouthful. They're done in less than 3 hours and work great with anything from regular weeknight meals to special holiday dinners. You'll love the golden outside and cloud-soft inside that's just waiting for a smear of butter, drizzle of honey, or dollop of jam.
Top Advantages of Baking These Rolls
You'll only need 7 common ingredients and very little hands-on work. They can stay in the freezer for up to 3 months, so you can make them ahead for busy times. The recipe is super flexible - make twice as many for big gatherings or cut it in half for smaller meals. Once you get the hang of this dough, you can turn it into sandwich buns or even sweet cinnamon rolls.
Full Ingredients Breakdown
- Active Dry Yeast: 2¼ teaspoons (1 regular ¼-oz packet) - needs to be fresh and bubbly, go with store packets for best results
- Whole Milk: ½ cup warmed to 110°F (43°C) - getting this temperature right matters for waking up the yeast
- Granulated Sugar: 2 tablespoons (24g), split - helps kick-start the yeast and adds a touch of sweetness
- Unsalted Butter: 5 tablespoons (71g), melted then cooled down to room temp
- Sea Salt: 1 teaspoon (6g) fine sea salt - you can use about ¾ teaspoon regular table salt instead
- All-Purpose Flour: 3 cups (375g) - unbleached works best, spoon it into measuring cups then level off
- Olive Oil: 2 tablespoons to coat your bowl and baking pan
- Topping Butter: 2 tablespoons (28g), melted
- Finishing Salt: ½ teaspoon flaky sea salt to sprinkle on top
Detailed Preparation Method
- Wake Up The Yeast (8-10 minutes)
- Warm milk to exactly 110°F (43°C). Mix it with 1 tablespoon sugar and yeast in your mixer bowl. Wait 5-8 minutes until it gets foamy. If you don't see foam after 10 minutes, throw it out and start over.
- Mix Your Base Dough (5 minutes)
- Add the leftover sugar, melted butter (105°F/40°C), and salt. With your dough hook, mix slowly (Speed 2) for 30 seconds. Put in flour 1 cup at a time, mixing 30 seconds between cups. Your dough should pull away from the sides when it's right.
- Let It Grow (60-90 minutes)
- Move dough to an oiled bowl. Cover it with plastic wrap. Find a warm spot around 75°F (24°C) until it doubles in size, usually 60-90 minutes. When you poke it, your finger should leave a dent.
- Form Your Rolls (15 minutes)
- Cut dough into 15 equal chunks (75g each). Roll each into a tight ball. Set them in an oiled 9x13-inch pan, about 1 inch apart. Loosely cover with plastic wrap.
- Second Growing Phase (45-60 minutes)
- Let them rise until they're touching and have doubled again. Press gently - the dough should slowly bounce back.
- Cook And Finish (22-25 minutes)
- Bake at 350°F (175°C) for 22-25 minutes on the lower oven rack. Turn the pan halfway through at 11 minutes. Brush with melted butter and add salt right after taking them out. Inside should reach 190°F (88°C).
Keeping And Warming Tips
Keep cooled rolls in a sealed container at room temp for 3 days or in the fridge for a week. They'll stay good in freezer bags for up to 3 months. To warm up room temp rolls, heat at 300°F (150°C) for 5 minutes, or 8-10 minutes for frozen ones until they're hot throughout.
Fixing Common Problems
Heavy rolls usually mean too much flour or not enough rising time. Make sure you measure flour carefully and let the dough rise in a warm spot (around 75°F/24°C). If they're browning unevenly, your oven might have hot spots - turn the pan halfway. If your rolls spread too much during the second rise, next time cut the rising time by about 15 minutes.
Must-Have Tools
You'll need a stand mixer with dough hook to work the dough properly. Go with a 9x13-inch metal or glass baking dish for even heating. A digital thermometer helps you get temperatures right. A kitchen scale makes measuring much more accurate. You'll want clear plastic wrap to cover during rising. A pastry brush works best for putting on the butter.
Prep-Ahead Choices
You can make the dough through the first rise, then stick it in the fridge for up to 24 hours. Bring it back to room temp about 2 hours before shaping. Or you can freeze the shaped unbaked rolls for up to a month. Thaw them overnight in the fridge, then let rise 2 hours before baking. Add 2-3 extra minutes baking time for cold dough.
Recipe Twists
Switch milk for a non-dairy option and butter for plant-based spread to make them vegan-friendly. For savory rolls, mix in 1 tablespoon of herbs or garlic powder after the first rise. Try using 25% whole wheat flour for a heartier roll. Brush with beaten egg instead of butter for a shinier top. Add cinnamon-sugar inside for a sweet treat version.
Safety And Quality Points
Always check if your yeast has expired before starting. Keep milk between 105-115°F (40-46°C). Your dough should feel slightly sticky but not wet after kneading. Rolls must hit 190°F (88°C) inside. Let them cool completely before storing. Toss them if you spot any mold or if they get too hard. Don't eat raw dough ever.
 Pin it
Frequently Asked Questions
- → Planning ahead for the next day?
Shape the dough the evening before, wrap it up tight, and refrigerate. Pull it out in the morning to let it warm up a bit, then bake fresh. Tastes amazing right out of the oven!
- → What if my yeast won’t foam?
Use fresh yeast and check your water temperature—it should be warm, not hot. If there’s no foam, it won’t work. Start over with a new mix.
- → How can I make these dairy-free?
Swap in plant-based milk and butter alternatives. Make sure they’re good for baking. The texture will stay nice, but the flavor might vary a bit.
- → Can I freeze them?
Yep! Wait for them to cool completely after baking, then wrap well to keep them fresh. Heat them up later, but honestly, fresh is always better.
- → How do they turn out super soft?
Don’t overwork the dough, and let it rise all the way. Keep it warm. Adding a bit of steam while baking and brushing butter on top helps, too.
- → Why do they brown too quickly?
Cover them loosely with foil and lower the oven temperature a bit. Move the baking sheet lower in the oven and check sooner. Keep an eye on them.
- → How do I take them to a party?
Best to bake them fresh, bundle them up while they’re warm, and carry them in a cloth wrap. Don’t forget some good butter for serving! Worth the extra effort.
- → Need to make them quicker?
Homemade bread takes its time to shine. Plan ahead a few hours. A rushed rise won’t taste as good. Be patient—it’s worth it. Bake a little extra while you’re at it.
- → What about scaling up the recipe?
This recipe doubles just fine. Make sure to use bigger bowls and plenty of space for the dough to rise, though. Don’t overcrowd the baking tray!
- → Can I add more flavor?
You sure can! Brush the tops with garlic butter, sprinkle on herbs, or even add a bit of cheese. Just don’t overwhelm the taste of the bread.
- → What if my dough doesn’t rise?
Make sure your yeast is fresh and keep the dough warm. Let it sit a bit longer if needed. Don’t rush—it’ll rise with some patience!
- → What to do if the dough’s super sticky?
Add a little flour at a time while kneading. You can also lightly oil your hands. Don’t go overboard with the flour, though; the dough should stay soft.
Conclusion
If you enjoyed making these, try baking classic croissants or a brioche loaf next. Both have that irresistible homemade bread vibe.