
 Pin it
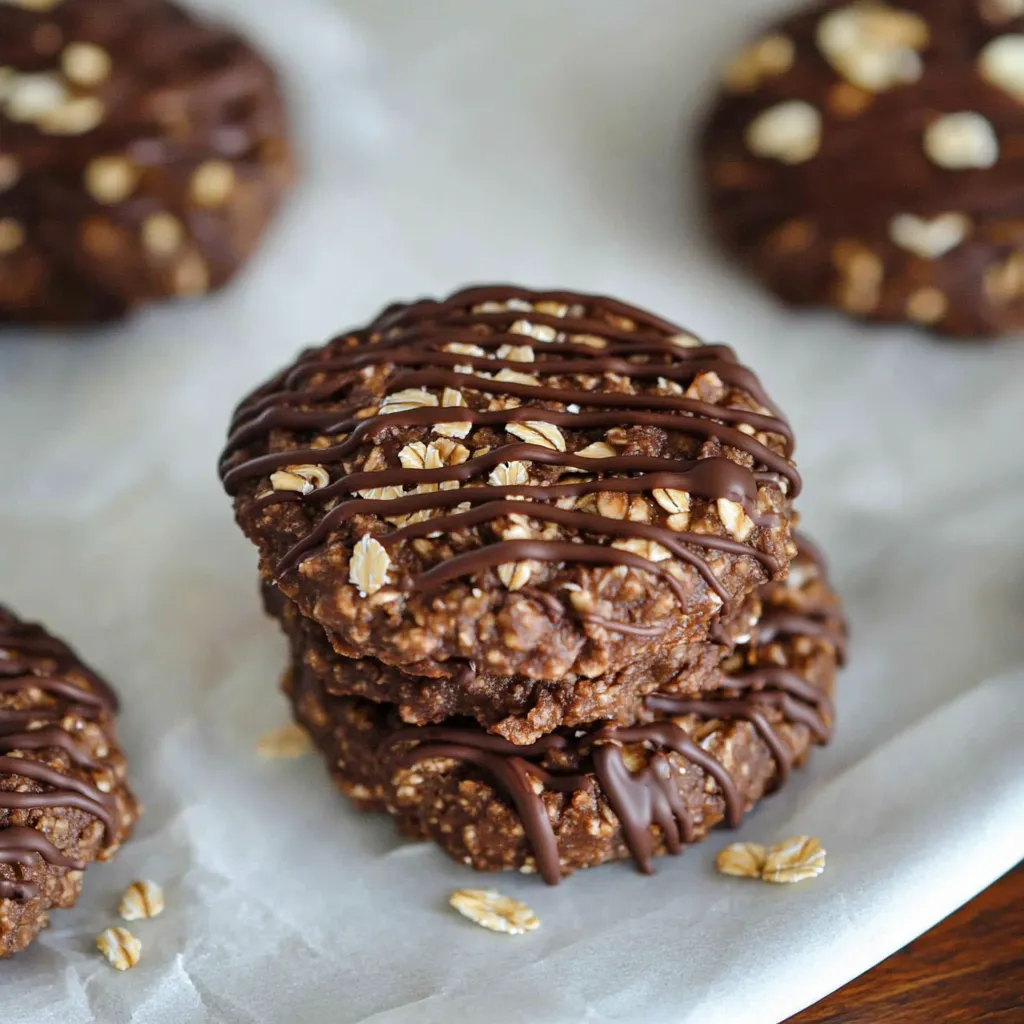
I whip up these wholesome no-cook oatmeal treats whenever I need to satisfy sweet tooth cravings without firing up the oven. They come together so quickly that I can make a batch before I pick the kids up from school. With just a few simple items, you'll get soft, chocolatey bites perfect for a nutritious breakfast or midday snack.
After their soccer games, my children always ask for these, and I'm happy letting them munch on treats that are actually packed with nutritious ingredients
What You'll Need
- Straightforward peanut butter: adds protein and makes everything smooth—look for jars containing only peanuts for the cleanest choice
- Liquified coconut oil: holds everything together and helps the treats set—get unrefined if you want that light coconut taste
- Cocoa powder: gives these treats their chocolate kick—try Dutch-processed for a mellower, deeper chocolate taste
- Honey: brings sweetness and helps everything stick—unprocessed varieties offer extra health perks
- Vanilla extract: balances the chocolate and nutty flavors—go for real vanilla for the tastiest results
- Quick oats: create the base and turn soft when mixed with wet stuff—pick certified gluten-free if needed
- Melted chocolate mixed with coconut oil poured over top: creates a glossy topping—better quality chips make for tastier treats
Making Your Treats
- Warm Up The Base:
- Put peanut butter, coconut oil and cocoa powder into a big pot. Warm slowly on medium heat, stirring now and then until everything's melted and looks shiny. This helps blend all the flavors and makes your treats extra smooth.
- Add Sweetness And Flavor:
- Take the pot off the heat. Mix in honey and vanilla until completely combined. This makes sure everything tastes good and gets to just the right thickness.
- Fold In The Oats:
- Dump in all the oats at once. Stir carefully with a spatula until they're completely covered and the mixture sticks together. You don't want any dry spots for the chewiest treats.
- Cool The Mix:
- Put the treat mixture in the fridge for about half an hour. This makes it firmer so it's easier to shape and lets the oats soak up moisture.
- Form And Top:
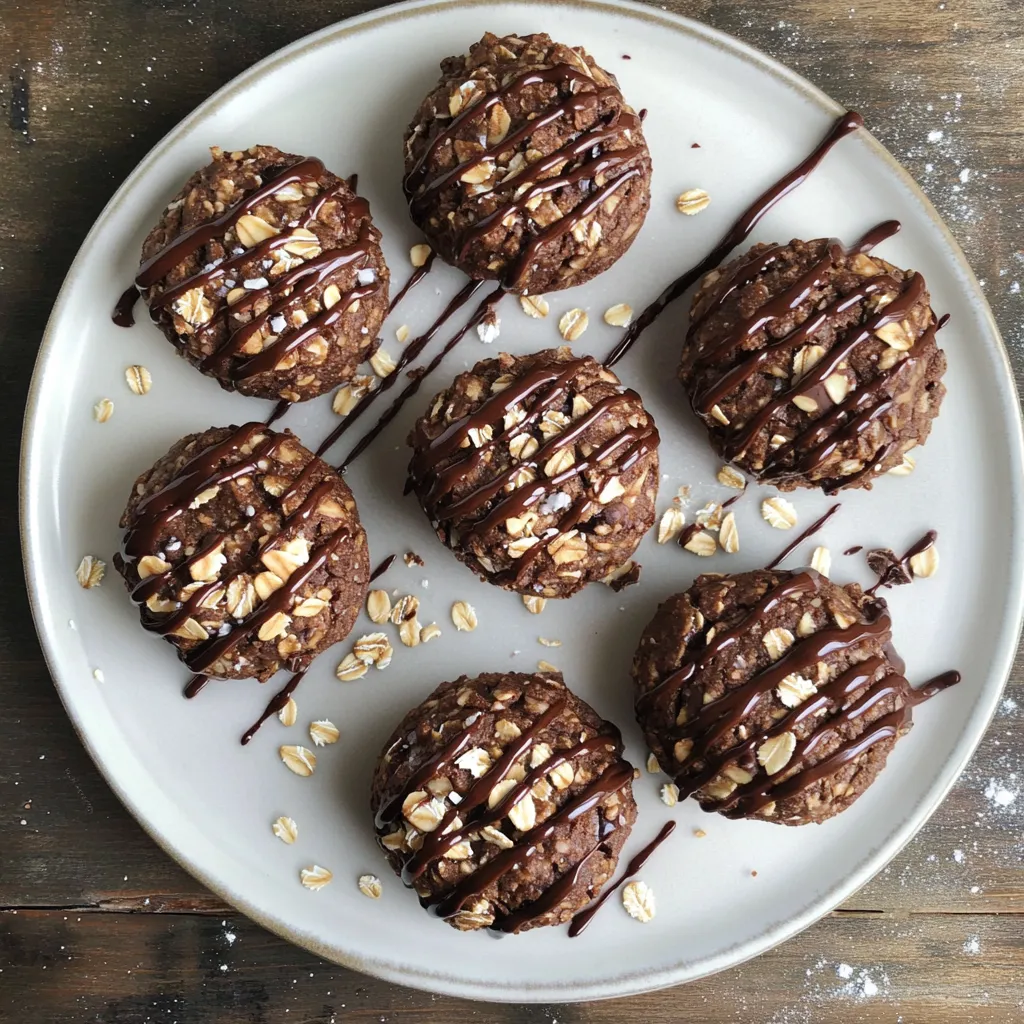
- Grab and roll the chilled mix into little cookie shapes. Set them on parchment paper. Melt some chocolate chips with a bit of coconut oil and drizzle over each treat for a fancy look.
- Set Them Up:
- Put the treats back in the fridge for at least 60 minutes. This final cooling makes sure they're firm and ready to eat with that perfect soft bite.
 Pin it
What I love most is how the honey mixes with peanut butter to create naturally sweet and rich treats. My little boy enjoys helping with the chocolate drizzle and always wants to be the first one to try them out
Keeping Them Fresh
Store your treats in a sealed container in the refrigerator where they'll stay good for about seven days. If you want them to last longer just stick them in the freezer and thaw a couple whenever you're hungry. They keep their texture really well making them perfect for grabbing on busy mornings or tucking into lunch boxes
Swapping Ingredients
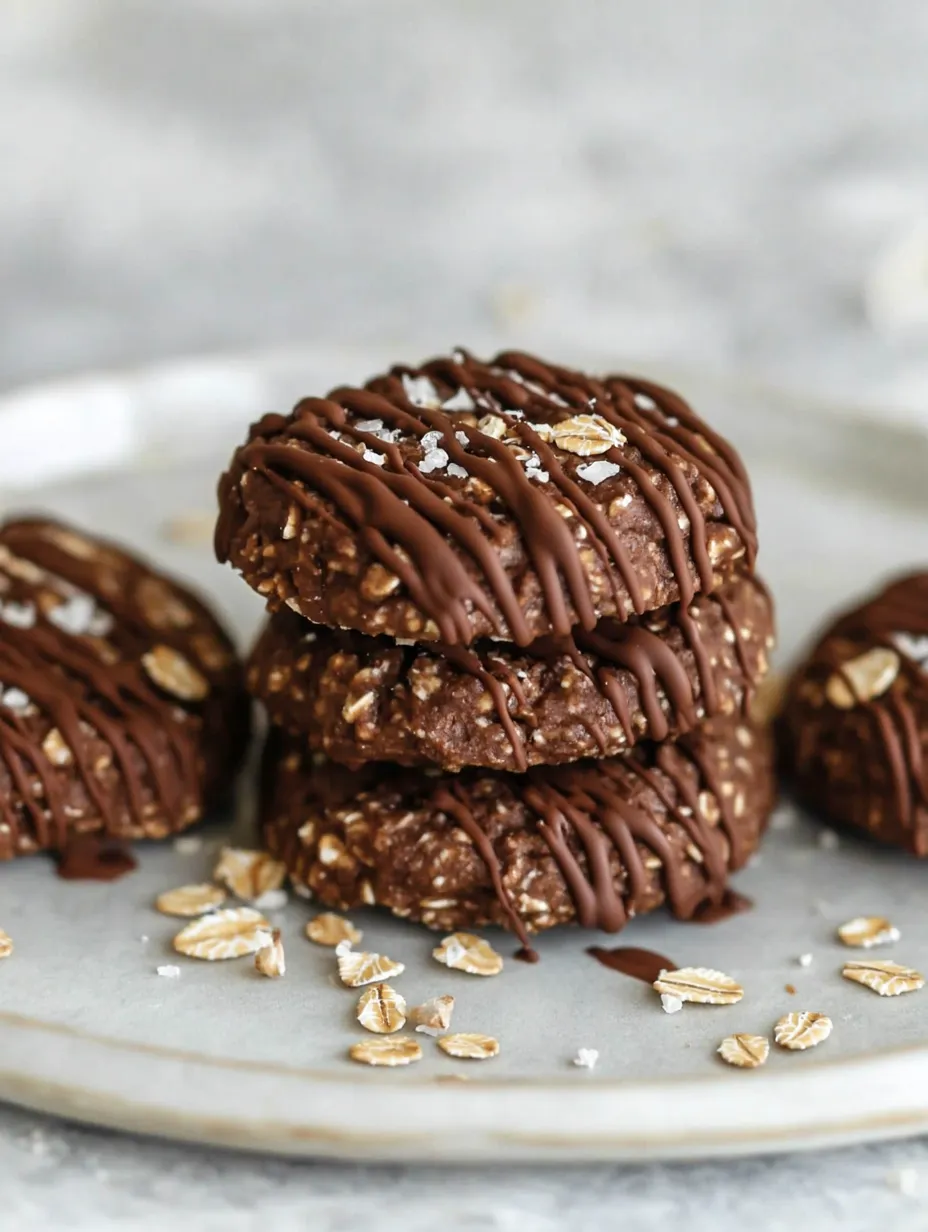
Try using almond butter or sunflower seed spread instead of peanut butter if you have allergies. You can use maple syrup rather than honey if you don't eat animal products and for extra flavor add a tiny bit of sea salt on top. Throwing in some raisins or chopped nuts gives these treats different textures
Ways To Enjoy
Stack a few treats next to your morning coffee for a fast breakfast. Add an extra smear of peanut butter on top if you need more energy. They're perfect for fighting afternoon slumps with a glass of milk or can replace store-bought snack bars in kids' lunch containers
 Pin it
Background Story
Families have shared no-cook treats for many years as quick homemade goodies long before you could buy snack bars everywhere. The mix of peanut butter and oats has deep ties to American cooking traditions especially down South where they're common at church gatherings and after-school snacks. I first got this idea from my grandma who made something similar whenever we wanted a quick treat
Frequently Asked Questions
- → Do I need to turn on the oven for these cookies?
Nope! These cookies skip the oven and just need some fridge time to set.
- → What can I use instead of peanut butter?
Try almond butter or sunflower seed butter for allergy-friendly swaps or new flavors.
- → Are oats gluten free in these cookies?
As long as you grab certified gluten free oats, you’re good to go.
- → How long does the chilling process take?
Chill the mix for 30 minutes, then pop the formed cookies in the fridge for an hour to firm up.
- → Can I stash these cookies in the freezer?
Totally! Just layer them in an airtight container, freeze, and thaw them in the fridge before digging in.