
 Pin it
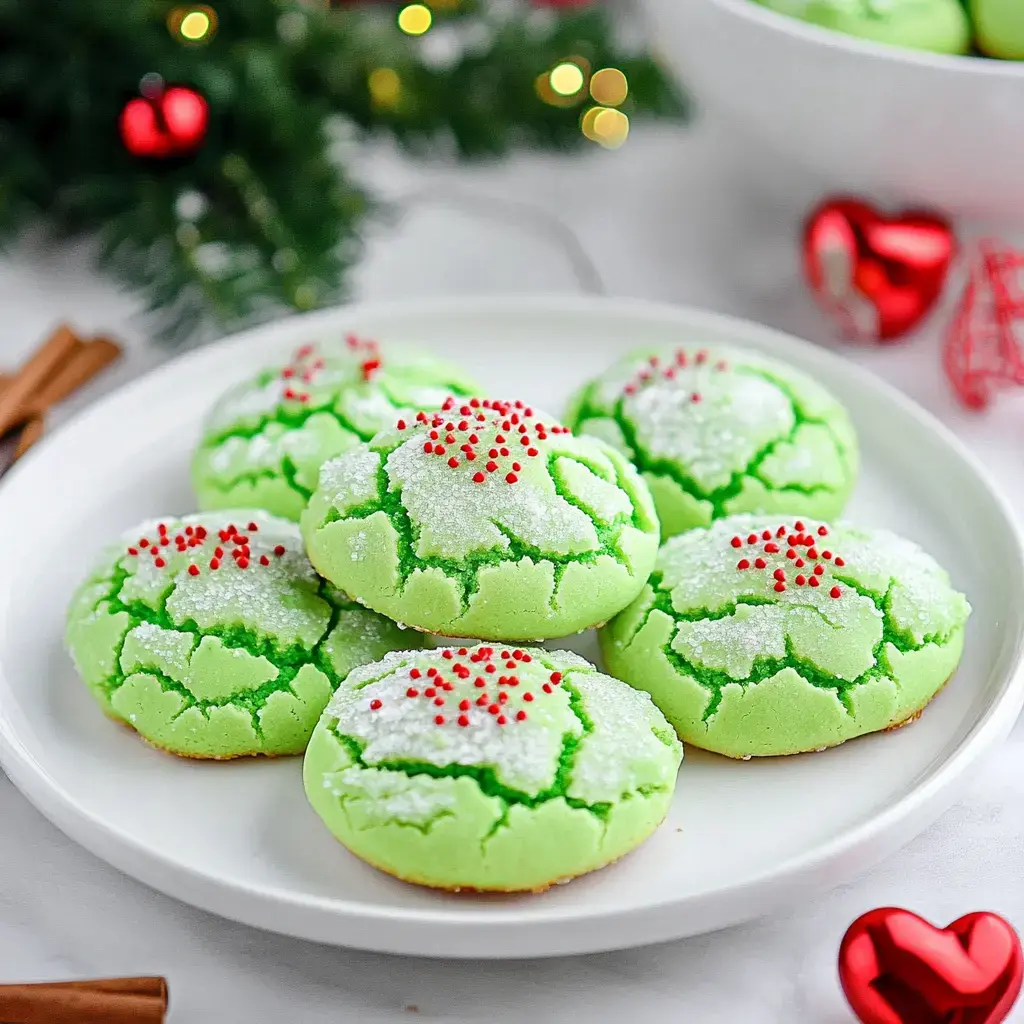
Want a cookie that'll make everyone smile bigger than ever? These Grinch Cookies will totally grab all the attention at your Christmas parties! They come with a bright green look and cute red heart decoration - they're not just treats, they're little bits of holiday joy that'll have everyone beaming with delight.
What Makes These Treats Outstanding
These cookies aren't just adorable - they're super easy to whip up! Using cake mix cuts down on measuring time so you can jump right to the fun decorating part. And that subtle mint mixed with sweet vanilla makes them taste just as festive as they appear. Believe me, even the grouchiest person won't turn down these delightful goodies.
Your Ingredients List
- White Cake Mix: 1 box (15.25 oz) - our quick way to flawless cookies every single time
- Butter: 1/2 cup (1 stick), softened enough to easily make a fingerprint
- Eggs: 2 large ones, cool from the refrigerator works fine
- Mint Extract: 1/2 teaspoon - add extra for more minty kick!
- Vanilla Extract: 1 teaspoon of quality stuff
- Green Food Coloring: Gel type works better - aim for that ideal Grinch shade
- Powdered Sugar: 1 cup for coating - creates that snowy mountain look
- Cornstarch: 2 tablespoons to keep sugar in place
- Red Hearts: Around 24 small decorations - one per cookie's growing heart
Creating Your Enchanting Cookies
- Prepare Your Oven
- Start by turning your oven to 375°F. While it heats up, take your largest cookie sheet and cover it with parchment paper. This paper really matters - it stops cookies from sticking and makes cleanup so much easier. If you have several cookie sheets, prep them all now. You'll be glad you did once you get going!
- Create Your Cookie Base
- Pour the cake mix into a large bowl. Add your softened butter (forgot to soften it? A quick 10 seconds in the microwave works fine, just don't let it melt). Break in those eggs and start working with your electric mixer. You want a smooth dough consistency - about 2-3 minutes should do it. Don't forget to push down mixture from the sides a couple times for even mixing.
- Add Flavor and Color
- Now for the exciting part! Drop in your mint and vanilla extracts - start with what's listed, but you can always add a bit more mint for extra flavor. Next comes the color - put green food coloring in gradually, mixing between adds. You're aiming for that perfect Grinch green color - go a bit darker than needed since it'll lighten when rolled in sugar later.
- Mix Your Sugar Coating
- In another bowl (wide enough for cookie rolling), mix your powdered sugar and cornstarch thoroughly. This mixture creates that beautiful crackly outer layer. The cornstarch helps sugar stick better and keeps it from disappearing into the cookies during baking. Make sure it's all smooth with no clumps hanging around.
- Form Your Cookies
- This is where things get fun and messy. Use your cookie scoop or take about 1½ tablespoons of dough for each cookie. Roll into balls with your hands, then drop each one into the sugar mix. Cover it completely - be generous with that sugar! Place them on your baking sheet with about 2 inches between each ball. They'll expand while baking.
- Bake Them Up
- Put your cookies in the oven and set a timer for 10 minutes. Watch them closely - you want cookies that have puffed up, spread out and cracked nicely. The edges should feel firm but the middle still looks soft. Don't cook too long! They'll keep baking on the hot sheet after coming out. Better slightly underdone than too crispy.
- Add Those Hearts
- Right when the cookies come out of the oven, it's time for hearts! While they're still warm and soft, carefully push a red heart sprinkle into the middle of each cookie. Work fast but gently - they're soft when hot. This is when each Grinch cookie's heart grows! Let them sit on the sheet about 5 minutes to firm up.
- Cool Them Down
- After that first cooling period, carefully move your cookies to a wire rack to cool completely. They might look puffy at first but will settle into perfect crinkly treats as they cool. Don't stack or pack them until fully cooled - usually takes about 30 minutes. This is your chance to admire your work and maybe taste test one (or two) - quality checking is crucial!
The Charm Of These Holiday Cookies
Remember how the Grinch's heart grew three sizes? That's exactly what happens when you see people light up after spotting these cookies! They're not just snacks - they're a complete holiday moment. The vibrant green color catches everyone's eye immediately, and the tiny red heart makes folks grin before taking their first bite. They're also great for baking with kids - let them roll the dough in sugar or place the heart decorations. Just be prepared for a bit of powdered sugar snow around your kitchen!
Cake Mix Makes It Simple
There's a reason using cake mix works so well here. It doesn't just save you from measuring lots of dry stuff, it also gives the cookies an amazingly soft, gentle texture. The cake mix already has everything perfectly balanced - the right flour, rising agents, and sugar amounts. Think of it as your holiday baking shortcut that stays our little secret! And since we're adding butter, eggs, and flavors, nobody will guess these aren't made completely from scratch.
Bake Them Right Away!
One of the coolest things about these cookies - no dough chilling needed! You know how most cookie recipes have that annoying "refrigerate for 2 hours" step? Not with these guys! The dough is ready for baking immediately after mixing, which means you can go from thinking about cookies to eating warm ones in under 30 minutes. This makes them perfect for surprise holiday gatherings, unexpected visitors, or when you just can't wait to satisfy your sweet tooth.
Customize To Your Taste
Want to put your own spin on these cookies? Go ahead! Try different flavors - almond gives a nutty taste, orange adds refreshing citrus, or just vanilla works great if mint isn't your favorite. You can even play with different colors (though they wouldn't be true Grinch cookies without that green shade!). Some folks like adding white chocolate chips to the mix, others prefer drizzling melted chocolate on top. Can't find heart sprinkles? Try small red candies or even draw hearts with red frosting. The Grinch learned to enjoy Christmas in his own style - you can adjust these cookies to suit your taste too!
Add Them To Your Holiday Desserts
These Grinch cookies naturally become the highlight of any Christmas cookie collection! They look amazing next to regular sugar cookies, chocolate chip, or snickerdoodles. Want to create the best cookie display? Place them in the middle of a circle of other cookies, like a festive wreath. Surround them with red and white treats, throw in some chocolate ones for nice contrast. The green really stands out against other holiday goodies, making your dessert table look straight out of a storybook. Pro tip: when taking them to gatherings, pack in single layers or put wax paper between layers - you don't want those beautiful cracks getting flattened!
Frequently Asked Questions
- → How to make them super green?
Use gel dye for bold color. Add it little by little and mix thoroughly. Don’t skimp—vivid green takes some extra effort!
- → Can I tweak the flavor?
Skipping mint is fine! Vanilla works great, or try almond extract. Pick whatever feels right for you—they’ll look fantastic either way.
- → How do I keep them fresh?
Store in a nice, tight container. They’re good at room temp for up to four days. Put parchment between layers if you stack them. That is, if they last that long!
- → Can I freeze these cookies?
Freezing works beautifully! Keep them in an airtight container up to two months. Let them thaw at room temp, and they’ll taste like they were just baked.
- → What toppings can I try?
Anything red fits the theme if you can’t get hearts. Just pick something that stands out and makes the cookies fun!
- → Why are they getting too dark?
Watch that timer closely. Lower the heat a smidge or move the pan down a notch. Check early—those greens need to stay bright!
- → Any tips for transporting them?
Pack carefully in a sturdy box. Add parchment layers if you’re stacking them. And hey, bring extras—people might want seconds!
- → Can I speed this up?
Boxed cake mix saves the day here. Prepping ingredients in advance can make it even faster. Baking takes some patience, though—it’s worth the wait!
- → How to make a big batch?
Doubling the recipe works fine, but you’ll need extra pans and oven space. Make sure each batch is uniform in size. You’ll end up with plenty to share!
- → How do I add more flavor?
A bit more extract—maybe even a mix of flavors—can really enhance these cookies. Some spices or zest could work too. Just keep that green popping!
- → Why aren’t they soft?
Try cutting the bake time slightly. Watch them close toward the end—centers should stay a bit gooey. They’ll firm up as they cool.
- → Why isn’t the color bright enough?
Go for fresh gel food coloring and mix it well. Add a bit more if needed. Liquid dyes aren’t as vibrant, so gel’s the way to go!
Conclusion
Check out other ideas: mint chip cookies or green tea ones. Both bold and tasty!