
 Pin it
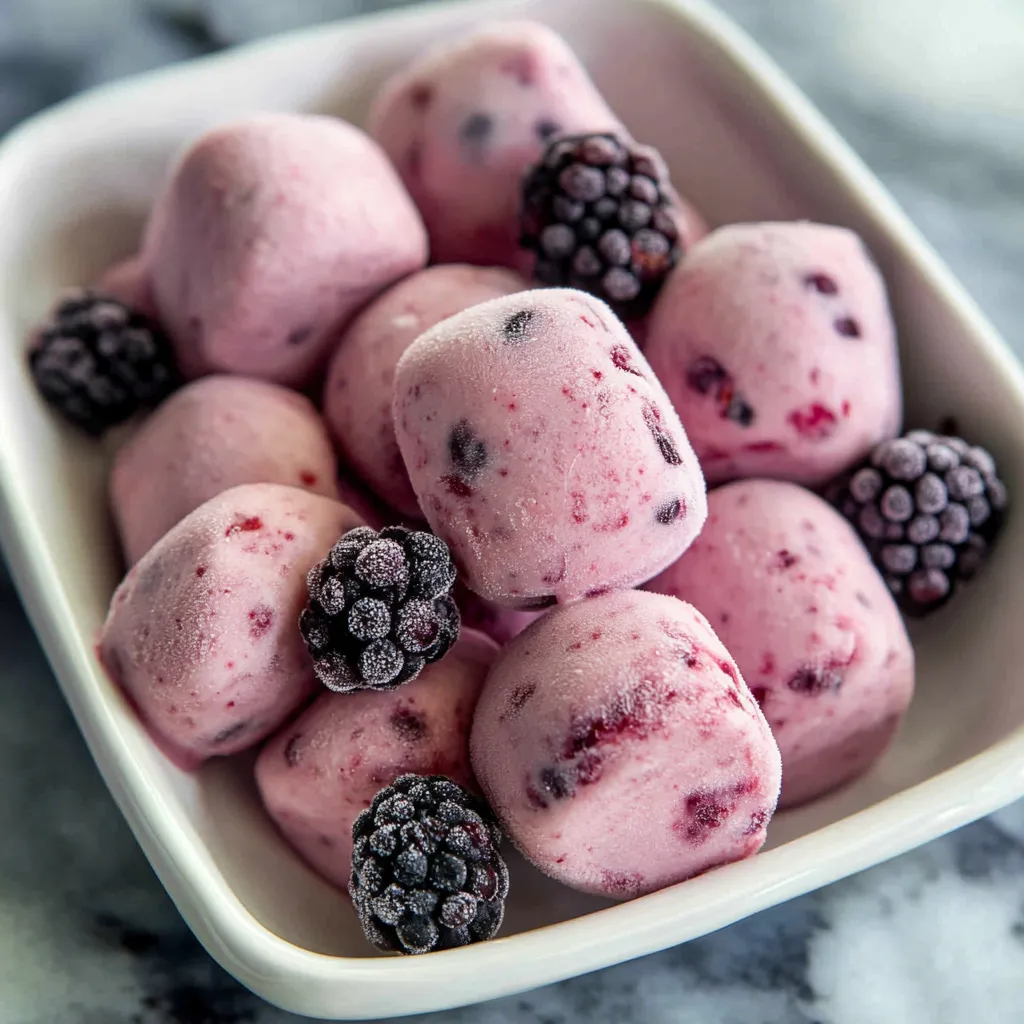
Frozen Berry Yogurt Chunks turn basic stuff into awesome chilled snacks that bring out summer's sweetness. Every chunk gives you the perfect mix of smooth yogurt and juicy berries, making a nutritious treat that tastes fancy but packs lots of good-for-you stuff.
I made these chunks while trying to find healthy snacks my kids would actually eat. The first time I brought them out during a playdate, all the children thought they were getting special frozen treats - seeing their faces when they found out it was just yogurt and fruit made me so happy!
Must-Have Components
- Whole-Fat Greek Yogurt: Gives you that smooth feel after freezing
- Seasonal Mixed Berries: Go for sweet, perfectly ripe ones
- Raw Honey: Adds sweetness naturally, use more or less as you like
- Real Vanilla Extract: Makes the berry taste pop
- Almond Milk: Helps you get just the right texture
- Flexible Ice Cube Molds: Makes popping them out super easy
Making It Step By Step
- 1. Get Your Berries Ready:
- Use berries that aren't cold for better taste. Wash them gently and dry them well. Smash them with a fork until they're broken up but still chunky - you want little bits of fruit for flavor bursts.
- 2. Mix Up Your Yogurt Base:
- Put Greek yogurt, honey, and vanilla in a bowl. Stir until it's all smooth. It should be thick but still easy to stir. If it's too thick, add a bit of almond milk, just a spoon at a time.
- 3. Combine Everything:
- Carefully fold your smashed berries into your yogurt mix. Don't stir too much - you want pretty swirls and pieces of fruit throughout. Taste it and add more honey if you need to.
- 4. Fill Your Molds:
- Scoop the mixture into your silicone ice trays, filling each space about 3/4 full. Tap the tray on your counter to get rid of air bubbles. Use the back of your spoon to make the tops flat so they freeze evenly.
- 5. Freeze Until Solid:
- Put the trays on a flat spot in your freezer. Let them freeze for at least 3 hours until they're completely hard. When they're frozen, bend the silicone trays gently to pop out the chunks. Put them in a freezer container right away.
 Pin it
Key Advice
- Warm berries taste way better
- Keep some texture by not mixing too much
- Don't fill trays completely so they can expand
- Wash your molds really well between uses
- Wait a minute or two before eating them
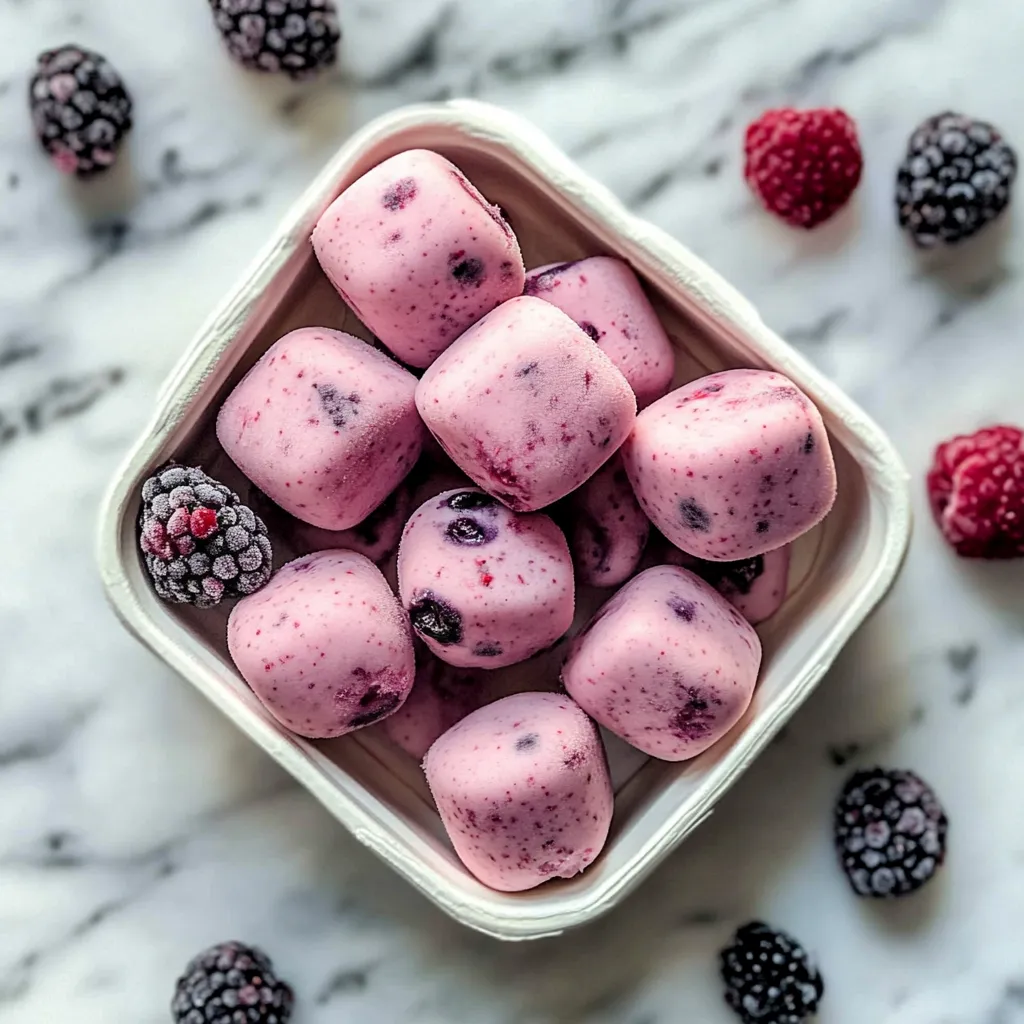
Keeping And Planning Ahead
Store your frozen yogurt chunks in a sealed container with some baking paper between layers so they don't stick together. They can last up to two months frozen, but they'll taste and feel best during the first three weeks. Keep them away from smelly foods since they can take on freezer smells. For best results, stick them deep in your freezer where the temperature stays the same.
 Pin it
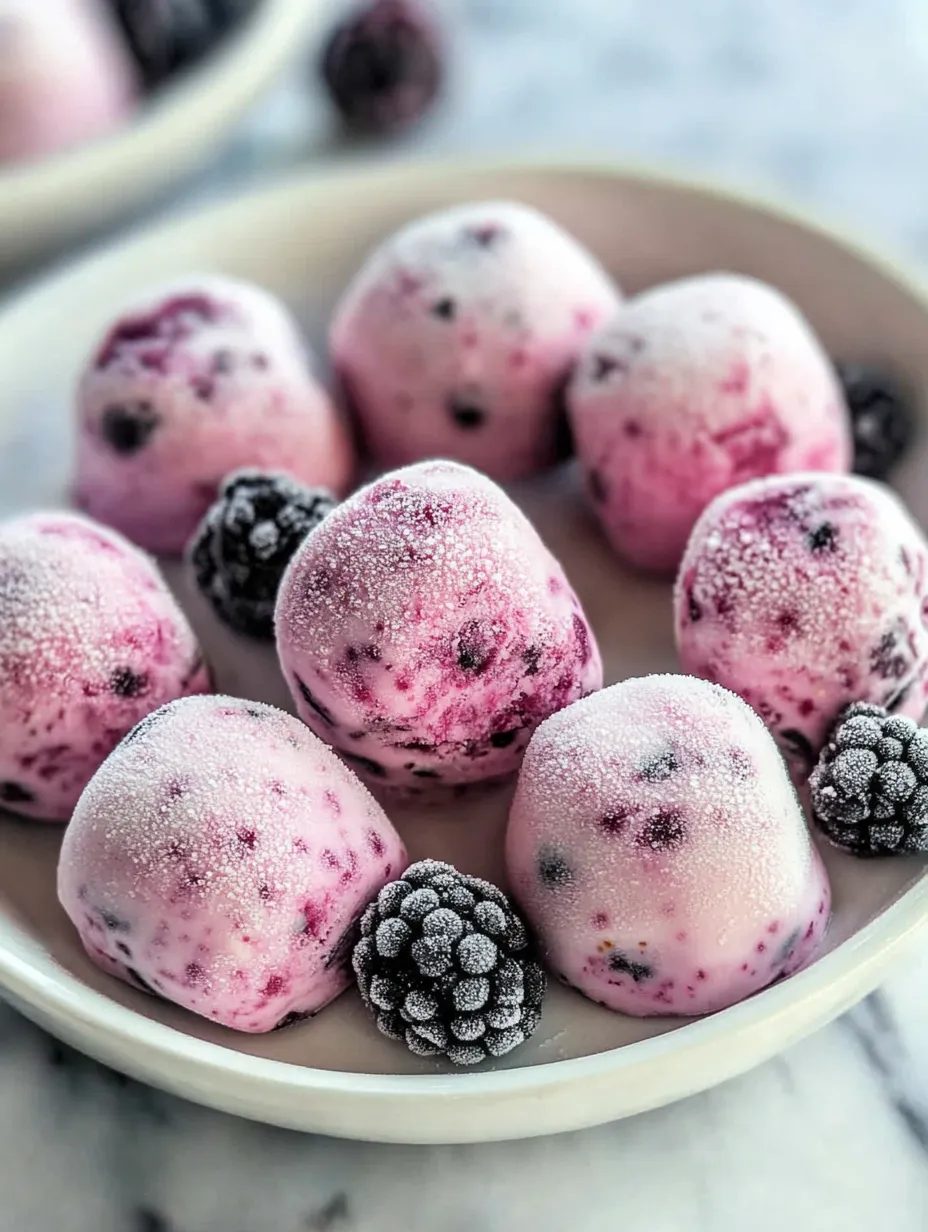
Temperature Tricks And Eating Ideas
These chunks give you different experiences depending on how you eat them. Right out of the freezer, they're super cold and firm, which feels amazing on hot days. Let them sit out for a minute or two, and they get a bit softer like gelato, which really brings out the berry flavors. If you pack them for lunch in a thermal container, they'll stay cold for about 2 hours and slowly soften to the perfect texture by snack time.
When I was little, I made popsicles with my mom and learned that frozen snacks don't need fake ingredients to taste amazing. These chunks follow that same idea, showing that simple, real ingredients make the tastiest treats.
Pro Tricks For Success
- Put paper between layers in your container
- Cut bigger berries using a piece of floss
- Have a special ice tray just for yogurt chunks
- Write the date and flavors on your containers
 Pin it
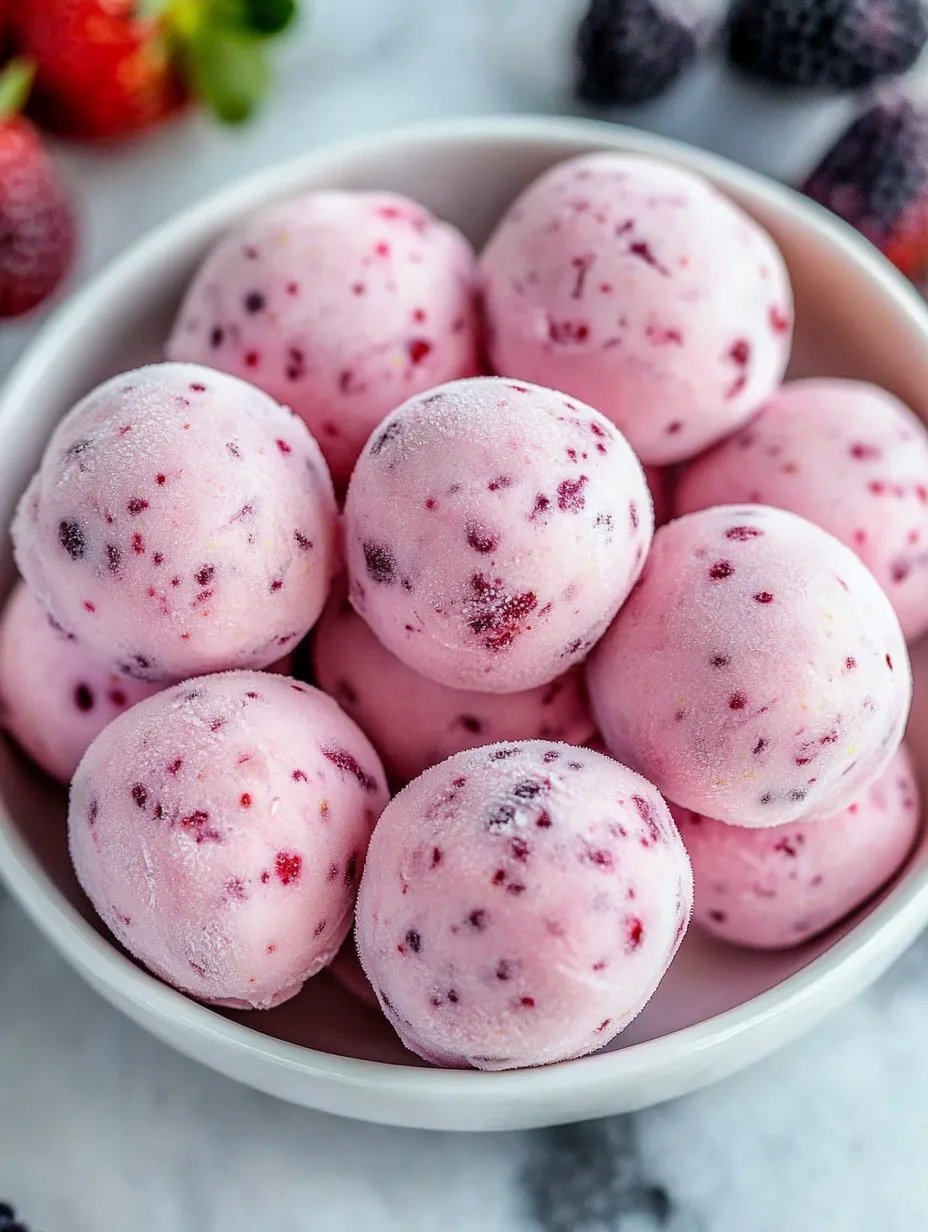
These Berry Yogurt Chunks hit that sweet spot between healthy and yummy. They work great as an afternoon snack or light dessert, bringing happiness in every bite while doing your body good. As my little girl says, "They're like eating tiny bits of frozen sunshine!"
Frequently Asked Questions
- → Can I pick a different yogurt?
- Of course! Go for vanilla, plain, or any flavor you like best.
- → What if I don’t have almond milk?
- Swap it with another plant-based milk or regular milk—it’ll work just fine.
- → How long can I keep these frozen?
- They’ll last up to two weeks in the freezer if stored in a tight container.
- → Can I use frozen instead of fresh berries?
- Absolutely, just thaw them first and drain off any extra juices before mashing.
- → Do I need special molds?
- Not at all! Ice cube trays are great, but silicone molds or a parchment-lined sheet work too.