
 Pin it
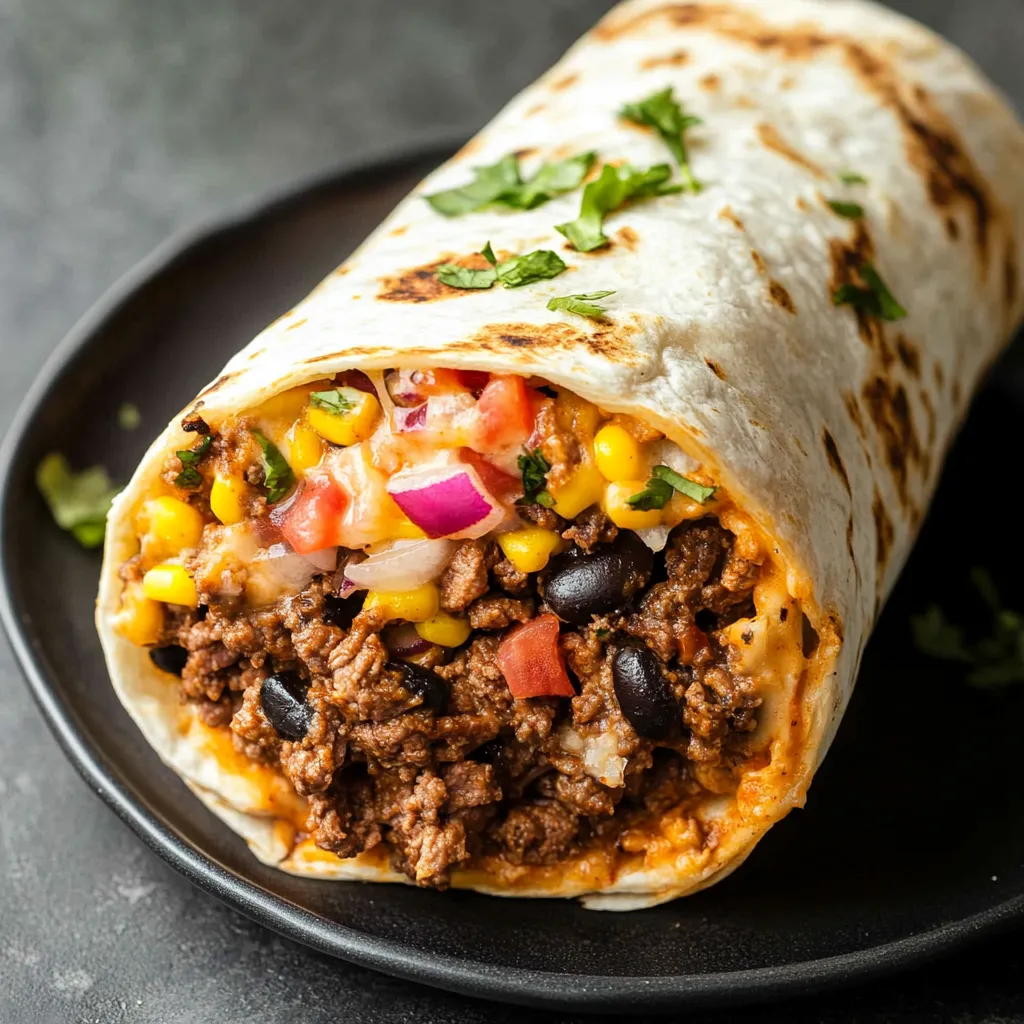
Making the perfect beef burrito isn't rocket science—it's all about seeing how basic ingredients can come together to create something amazing. When life gets crazy or you just want to chill, nothing beats sinking your teeth into a soft tortilla stuffed with tasty seasoned beef, fluffy rice, and crisp, fresh toppings. This isn't just another throw-together meal. It's become a go-to dish in my family's dinner lineup, bringing smiles and full bellies to our table every single time.
Just the other day, I whipped up twice as many burritos as usual—some for that night's dinner and the rest for the freezer. My picky teenage kid couldn't even tell which ones were fresh and which were reheated. What's the trick? Knowing exactly how each ingredient works both right away and after freezing.
Must-Have Ingredients and Smart Picking Advice
- Ground Beef: Go with 80/20 beef for the best taste and texture. I've messed up enough times to know this mix keeps everything juicy but not swimming in grease. Pick meat that's bright red and try to get it freshly ground if you can
- Spice Mix: Heat up whole cumin seeds before grinding them yourself—seems small but makes a huge difference in taste. Good chili powder should look bright red, not dull brown, so you know it's fresh
- Rice: Stick with long-grain white rice for this. The grains stay separate and light, soaking up all that yummy meat juice without turning to mush
- Fresh Stuff: Look for firm tomatoes and crunchy lettuce or cabbage. When I'm making freezer burritos, I always use cabbage since it stays crisp better than lettuce does
What makes a beef burrito really pop is meat that's seasoned just right. After making this recipe for years, I've found that each little step adds another layer of flavor, and that's what turns an okay burrito into one you can't stop thinking about.
 Pin it
Step-by-Step Cooking Guide
- Step 1:
- Get your pan hot over medium heat—I love using cast iron because it heats evenly and gives the meat a nice crust. Pour in your olive oil and wait till it starts to shimmer, then toss in your finely chopped onions. Let them cook slowly until they turn clear and start to brown a bit at the edges.
- Step 2:
- Throw in your minced garlic and stir it around just until you can smell it, about half a minute. Now add your meat, spreading it out in the pan, and don't touch it right away. Let one side get nice and brown before you break it up with your spatula.
- Step 3:
- While your meat cooks, mix all your spices in a small bowl. Put whole cumin seeds in a dry pan first to toast them, then grind them up fresh. Once your meat is brown and you've drained off extra fat, sprinkle your spice mix all over. Let it cook another minute or two so the spices wake up in the heat and really get into the meat.
- Step 4:
- Pour in your tomato sauce and water, and stir everything together well. Turn the heat down to low and let it bubble gently for about 5 minutes. The sauce will get a little thicker and coat each bit of meat with flavor. Give it a taste and add more salt or spices if needed.
- Step 5:
- For your rice, rinse it until the water looks clear. Cook it following the package directions, but add a bay leaf to the water for extra flavor. When it's done, fluff it up with a fork and mix in some fresh lime juice and chopped cilantro while it's still warm.
Putting it all together is where skill meets common sense
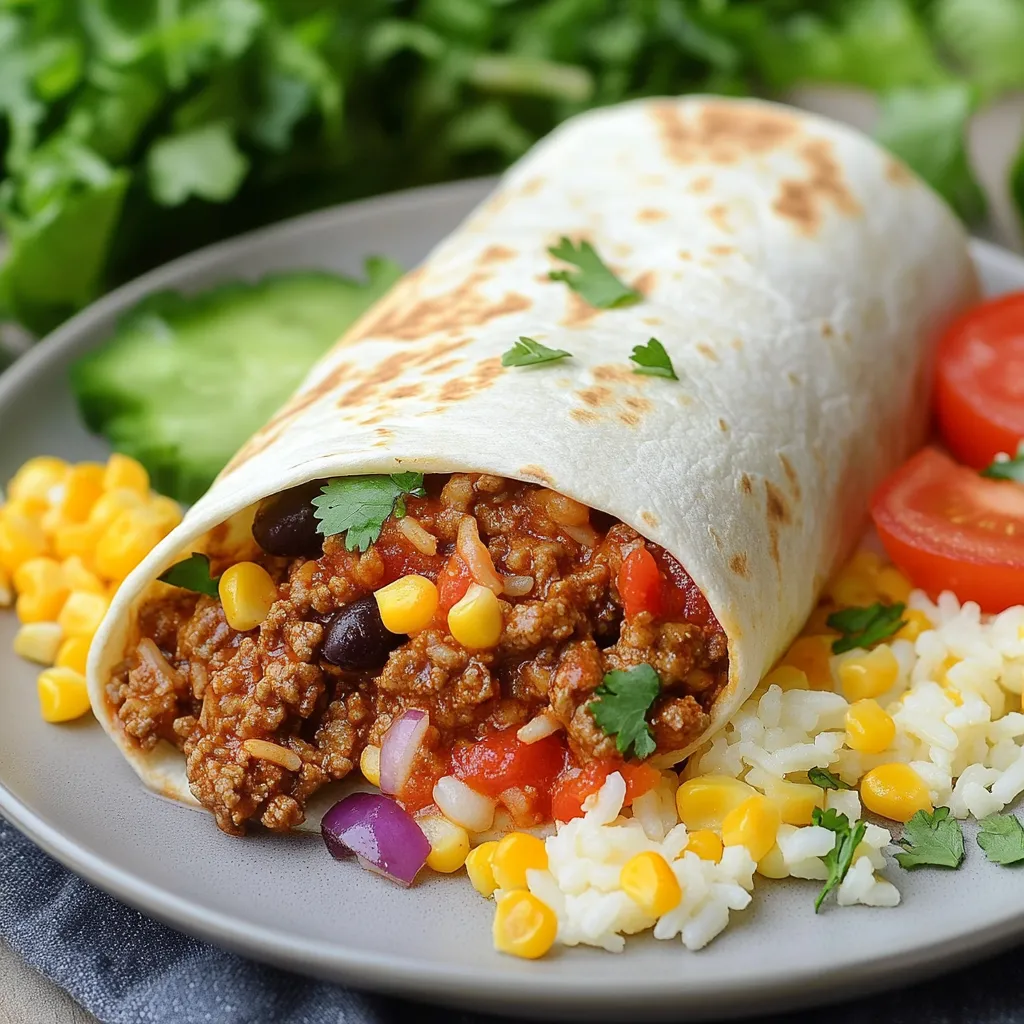
First, warm your tortillas—I use a dry cast iron pan for about 30 seconds each side until they're soft but not crunchy. How you layer stuff matters. I start with rice a little below the middle, then beef, beans if I'm using them, and fresh stuff like tomatoes and lettuce last. This smart arrangement keeps your tortilla from ripping and makes sure you get a bit of everything in each bite.
Getting The Heat Just Right
 Pin it
For a really good burrito, you've gotta watch your temperatures. Your beef should be hot enough to melt cheese but not so blazing that it makes everything soggy. Letting the meat cool for about 5 minutes after cooking hits that perfect middle ground. The rice should be warm but not steaming to avoid making water droplets inside.
Smart Stacking Tricks
Stack your fillings in the right order—rice first, then beef, then beans if you want them. Fresh stuff like tomatoes and lettuce go on last. This setup keeps wet ingredients from soaking through the tortilla and keeps crunchy things crunchy. If you plan to freeze some burritos, skip things like fresh tomatoes and lettuce, and use stuff that freezes well instead, like roasted peppers or corn.
 Pin it
Prep-Ahead Tricks
When you're freezing burritos, let everything cool completely before you wrap them up—this stops ice crystals from forming and ruining the texture. Wrap each burrito in parchment paper first, then in foil. This way protects against freezer burn and keeps them tasting fresh for up to three months.
Pro Kitchen Secrets
What's great about this dish is how flexible it is for different tastes and situations. Whether you need a quick dinner tonight, meals ready for the week ahead, or something to stock your freezer with, beef burritos always deliver on flavor and satisfaction.
Closing Thoughts
Making truly awesome beef burritos comes down to understanding how each part plays a role in the final product. The well-seasoned beef forms a tasty base, while carefully chosen extras create a complete, satisfying meal. After making these countless times, I've found that it's really the small details that take them from good to can't-stop-eating-this good.
Frequently Asked Questions
- → Can I freeze these wraps?
- Totally! Switch lettuce for cabbage and wrap snug in foil. They stay good in the freezer for up to 3 months.
- → What's the best way to reheat frozen wraps?
- Leave them in the fridge overnight, then bake at 350°F wrapped in foil for 30-40 minutes. You can also microwave and crisp them in a pan after.
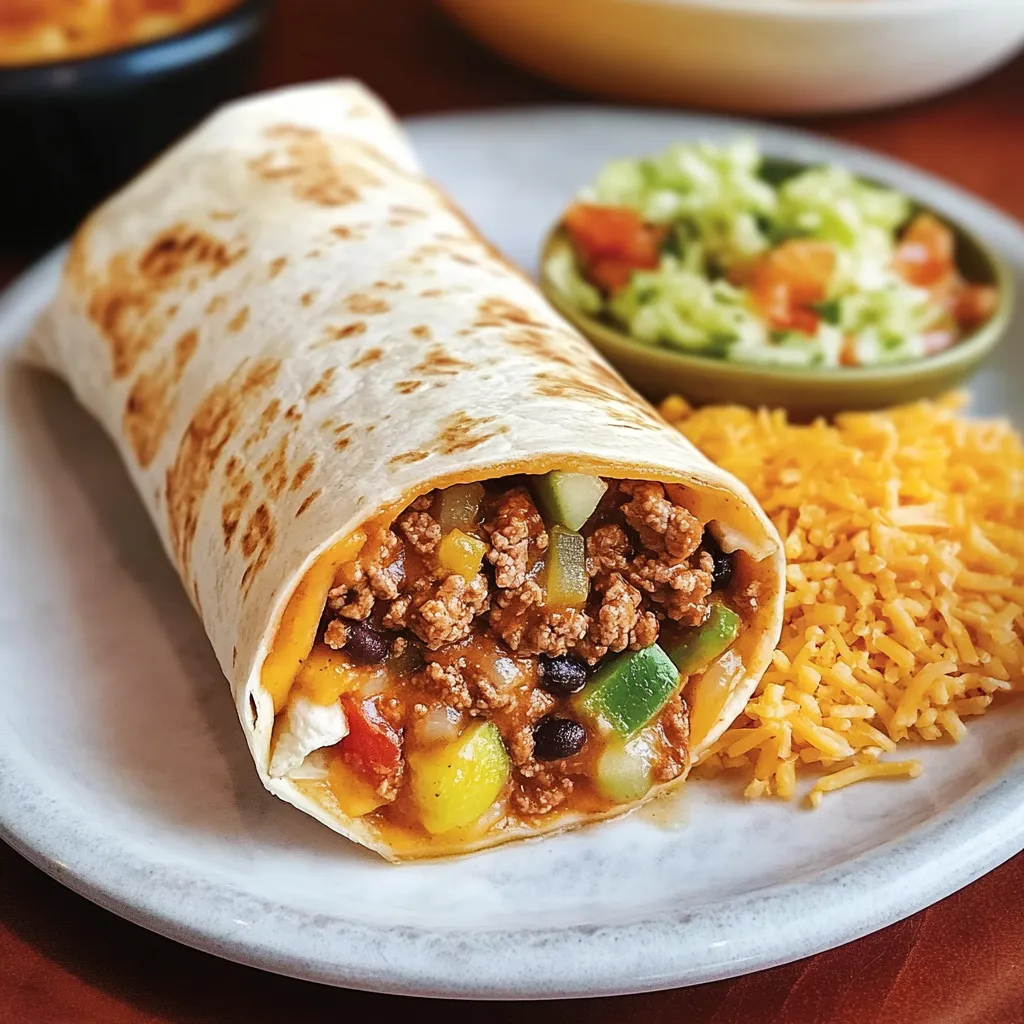
- → Can I throw in extra veggies?
- Yes! Try adding peppers, zucchini, or shredded carrots into the beef mix. Just season a bit more to balance it out.
- → What kind of tortillas should I use?
- Go with big, soft, 10-inch flour tortillas. They're flexible and won't crack when rolled.
- → How long do they stay good in the fridge?
- Keep them wrapped and refrigerated for up to 4 days, and they'll stay fresh.