
 Pin it
-
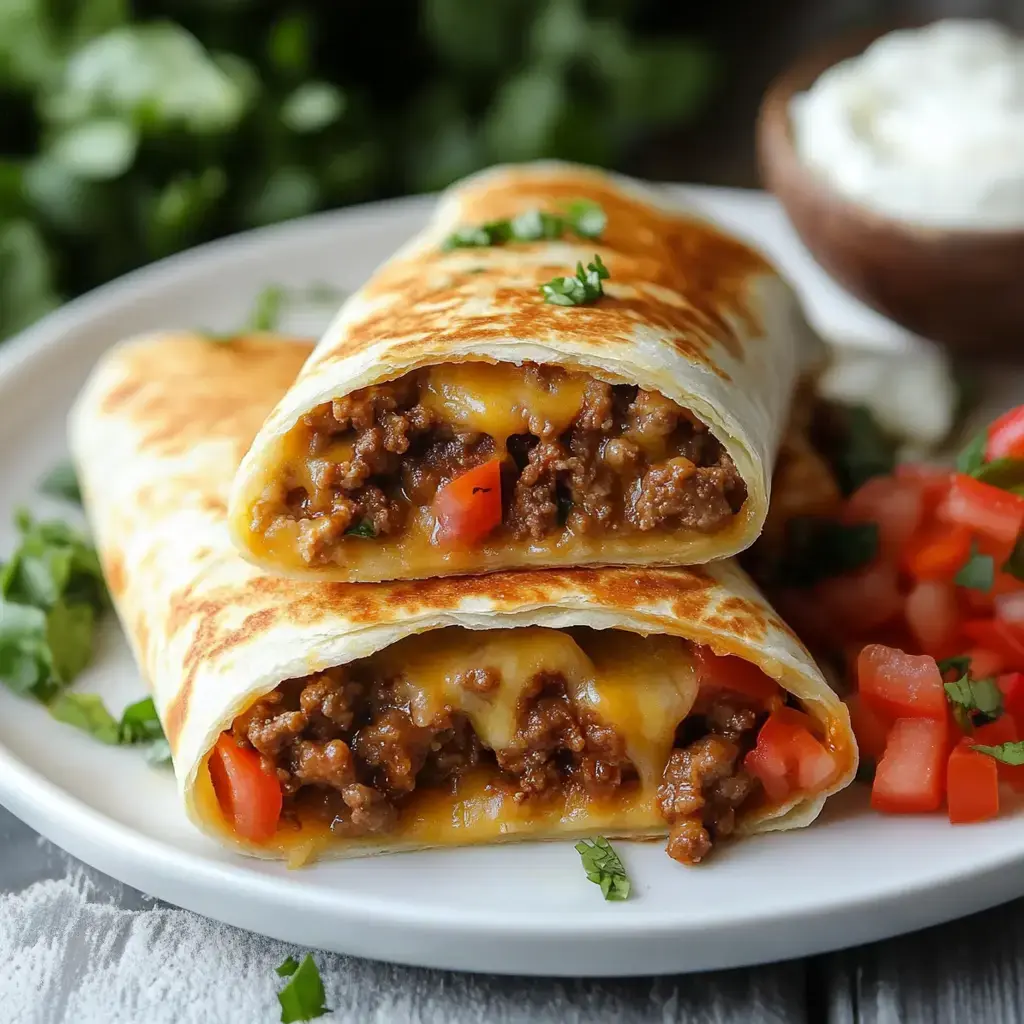
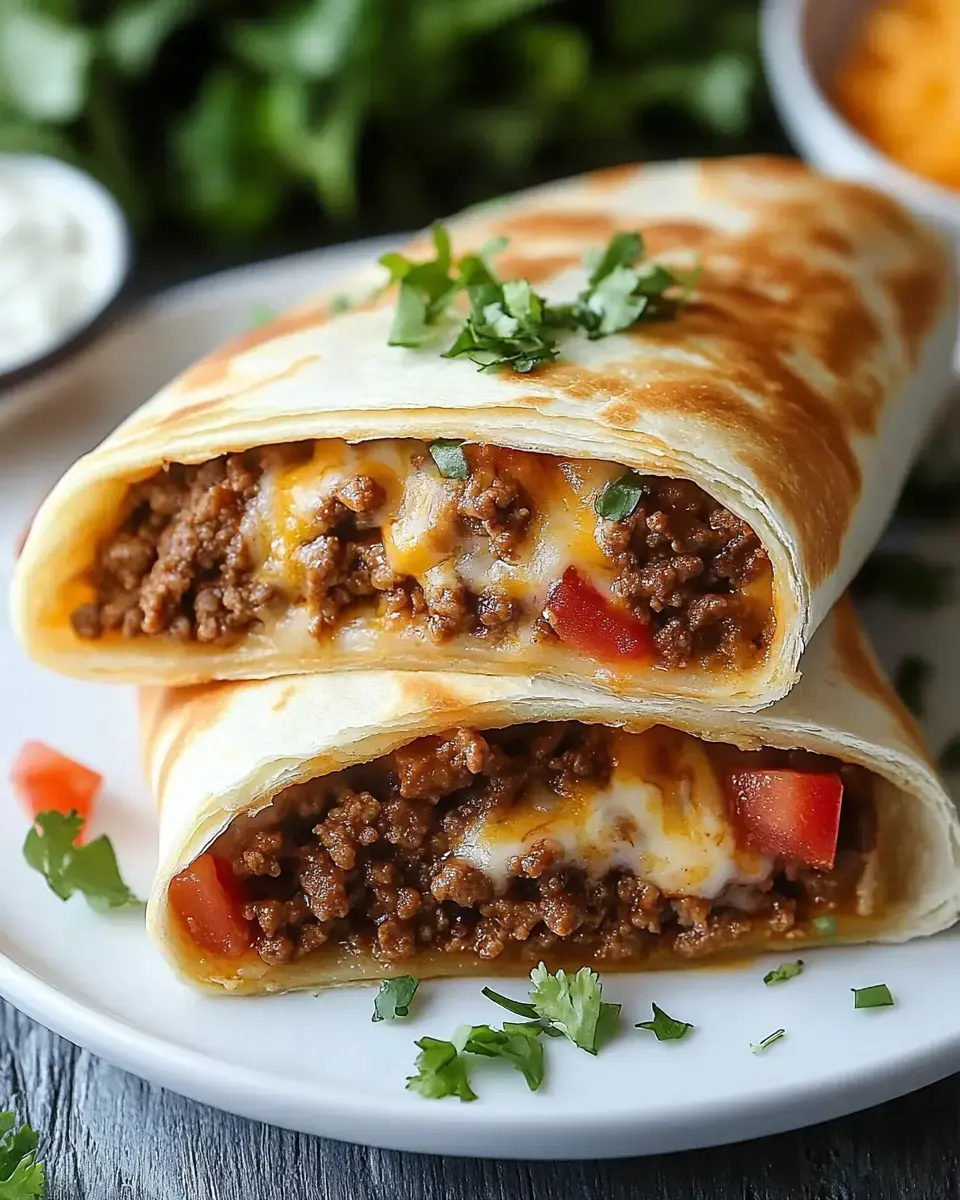
Ever dreamed of whipping up those crunchy chimichangas just like your local taqueria? My family goes crazy for these beef and cheese treats! I've nailed the technique for getting that super crunchy outside while keeping the spiced beef, cheese and beans nice and gooey inside. They're much simpler to make than you might think – just check out my pointers and you'll soon outdo your neighborhood Mexican joint.
What Makes These Special
-
A chimichanga is basically a burrito that's taken a dip in crunch paradise! Born in Southwestern kitchens, they're the ultimate feel-good food – that snap when you take a bite followed by all those cozy fillings inside. Once you make them at home, takeout versions just won't cut it anymore.
Grab These Items
- Ground Beef: Aim for 85/15 mix for the right fat and taste combo.
- Aromatics: Onions and garlic boost everything nicely.
- Seasonings: Chili powder, cumin, oregano create your taste foundation.
- The Binder: Refried beans work to keep all ingredients together.
- Some Heat: Rotel can adds just the right spice level.
- Large Tortillas: Go for 10-inch flour ones to wrap plenty of stuffing.
- Proper Cheese: Shred it yourself for way better melting.
- To Cook With: Vegetable oil or oil coating if you're baking.
- Garnishes: Load up with sour cream, guac, salsa!
Creating Flavor Bombs
- Cook Your Base
- Get that beef and onions going until everything's tender, then throw in garlic and all those yummy spices.
- Build The Mixture
- Stir in those tomatoes and beans until everything thickens up – this makes all your tasty goodness.
- Wrap Them Up
- Spread out tortillas, put filling and cheese down, then fold like you're wrapping gifts! Pop in some toothpicks to keep everything in place.
- Make Them Crunchy
- For frying fans, warm oil to 350°F and cook a few minutes per side until golden brown. If baking, go with 400°F for around 15-20 minutes after brushing with oil.
- Ready To Munch
- Remove those toothpicks, pack on the toppings and enjoy while everything's still hot!
Smart Tricks
-
Don't buy pre-shredded cheese, do it yourself and you'll notice the difference! When frying, keep your oil temp consistent. Don't skip the toothpicks unless you want a messy plate. After cooking, place them on a wire rack to stay crispy. Looking for a lighter version? They turn out great in the oven too!
 Pin it
Switch Things Around
-
Beef not your thing? Go with chicken, pork or even all veggies! Need more kick? Toss some jalapeños into your mixture. You can prep these ahead and stick them in the freezer before cooking – perfect for those busy evenings. Just don't forget those toothpicks before cooking or you'll have a big cleanup job.
Complete The Meal
-
Turn it into a complete dinner! Add some Mexican rice, chips with queso, and fresh guacamole. Got some extras? They'll stay good in your fridge for three days but warm them in the oven instead of microwave if you want that crispiness back. Need to freeze? Do it before cooking and they'll last about three months when wrapped properly.
Frequently Asked Questions
- → Why use freshly grated cheese?
Freshly grated cheese melts better compared to the pre-packed type.
- → How hot should the oil be?
Keep the oil at 175°C for the crispiest results.
- → Can I bake these instead?
You can, though they won't be as crunchy as fried ones.
- → How to avoid spills while frying?
Roll tightly and secure them with small picks.
- → Can I prep these in advance?
You can prep the wraps beforehand, just fry them when you're ready to serve.