
 Pin it
I stumbled on this dead-easy homemade sweetened condensed milk formula during a midnight baking emergency when I ran short of canned product while making my mother's special fudge. After a bit of quick searching and cabinet rummaging, I whipped up this alternative that worked better than what you buy! Through many trials (and yeah, several burnt pots), I've nailed down a technique giving you the smoothest, silkiest outcome every attempt.
What Makes This So Great
Creating your own sweetened condensed milk might seem tough, but this approach is really quite simple. You'll see everything that goes in - zero additives or weird stuff here! And you can tweak how sweet it is to match what you want. My best bit? The wonderful aroma that spreads through your house as it reduces. It's like cozy, sugary thoughts of grandma's cooking space.
What You Need
- Main Components:
- 4 cups whole milk (don't use low-fat)
- 1 cup granulated sugar
- 1/4 teaspoon salt
- 1 vanilla bean (totally optional but wonderful)
- Tools You'll Need:
- Heavy-bottomed saucepan
- Long-handled wooden spoon
- Candy thermometer
- Clean glass jars for storage
How To Make It
- Get Everything Ready
- Begin with butter at room temp - it goes on much better than cold butter. Get your chicken cut and set aside, your avocado just right, and your cheese all prepared.
- Start Your Foundation
- Put butter on one side of each bread piece, then turn them over. The buttered part will be the sandwich exterior that turns all golden and crunchy.
- Stack With Strategy
- Put cheese on both inner bread pieces first - this makes a shield that stops your bread getting mushy. Then add your hot chicken pieces, followed by those lovely avocado slices. Add some salt and pepper.
- Cook It Just Right
- Warm your pan over medium heat until water drops sizzle on it. Put your sandwich down butter-side first and let it cook about 3-4 minutes, until golden. Turn carefully and cook the other side.
- Last Little Bits
- Push down gently with your spatula to help everything blend. You want the cheese all melty and the bread golden, not dark. Let it sit one more minute before cutting corner to corner.
Smart Tricks For Great Results
Watch your temperature - if you notice large bubbles or hear loud boiling, lower the heat! We want a soft simmer here. If you spot the mix getting too brown around the sides, don't mix those bits in. And here's my top trick: heat your sugar in the oven a few minutes before adding it to the milk. It melts way quicker!
 Pin it
Fun Ways To Use It
Past the usual baking stuff, try adding this golden goodness to your morning coffee or tea. It works great as homemade ice cream base, and it's absolutely fantastic poured over fresh berries! My folks can't get enough when I use it for no-bake cookies - they come out super smooth and decadent.
How To Keep It Fresh
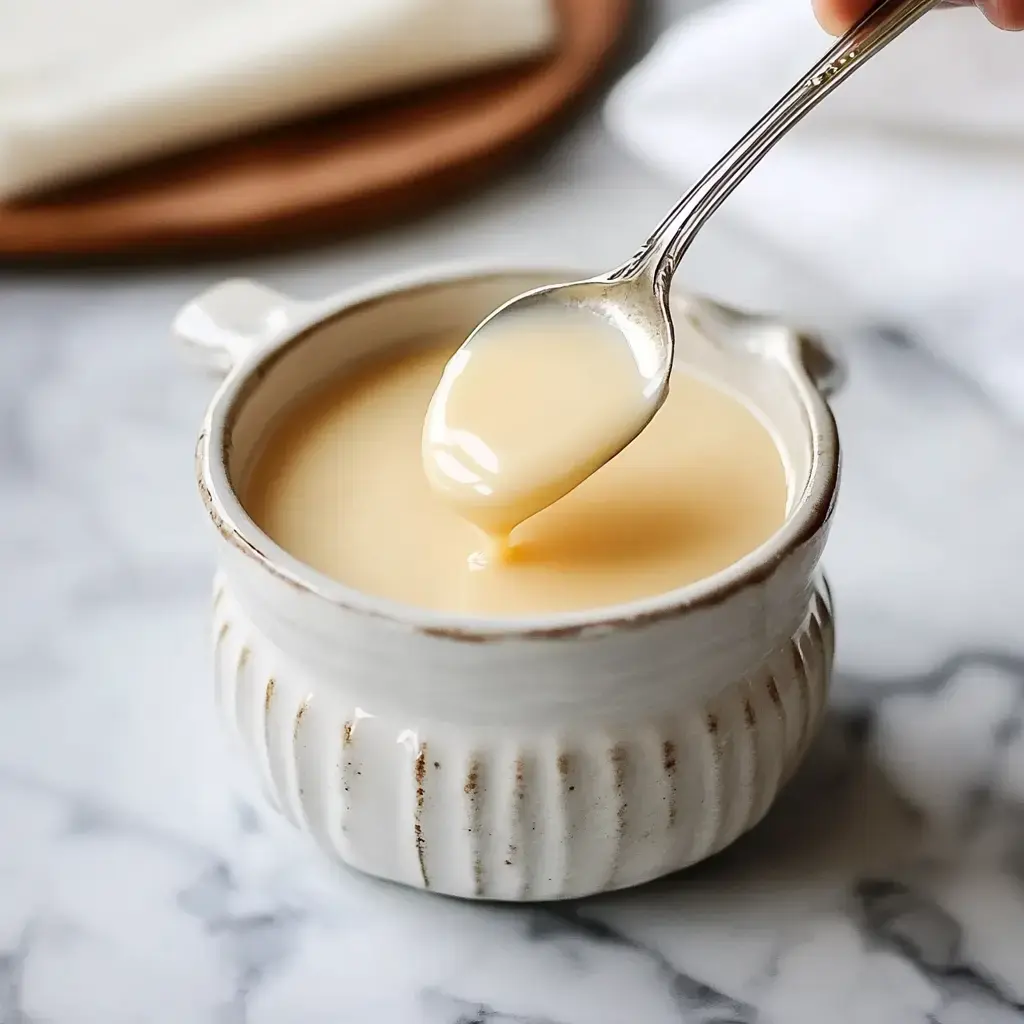
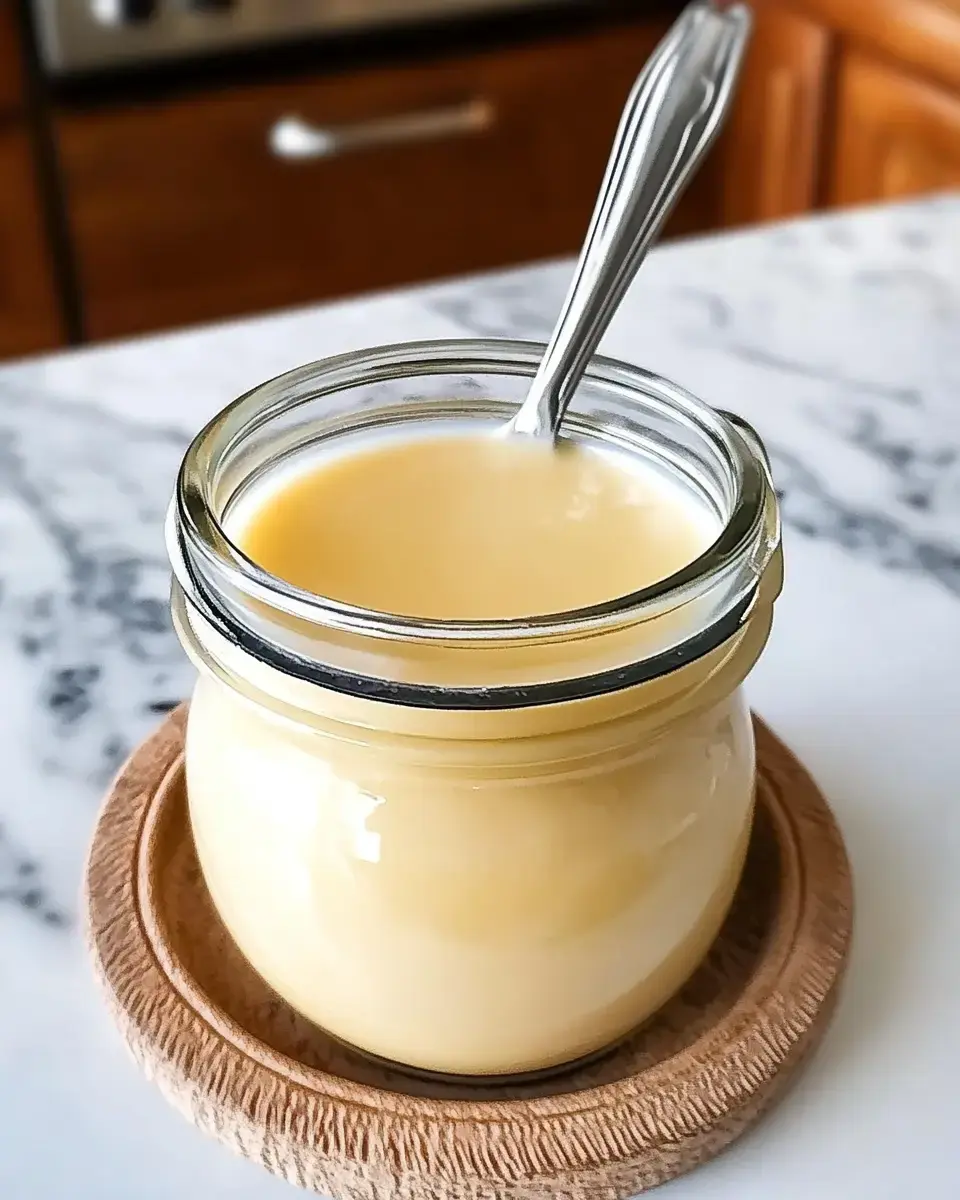
Transfer your finished sweetened condensed milk into clean glass jars while still hot. It'll stay good in the fridge up to a month - if you don't use it all first! As it gets cold, it'll get much thicker, so don't stress if it seems runny when you first bottle it. Just warm it up a bit if you need it more liquid for your recipes.
Frequently Asked Questions
- → Why is it still runny?
Smaller pans help speed it up. One big pot takes hours, but splitting into two medium pans cuts the time to 40 minutes.
- → How come it's so watery?
No worries - it'll thicken as it cools. As long as it's reduced by half, you're all set.
- → What's with crystals on the edge?
If you whisk too much after the sugar dissolves, crystals form. Stir just enough to keep the bottom from sticking.
- → How do I make it perfectly sweet?
Start with 1/2 cup sugar. Taste it after it simmers down, and add more if needed. Don't wait to add sugar—it won't dissolve later.
- → Why won't it pour after chilling?
That's just the cold. Microwave it in short bursts and it'll be easy to pour again.
Conclusion
Create sweetened condensed milk at home with basic ingredients and a little patience. It's surprisingly easy to make.