
 Pin it
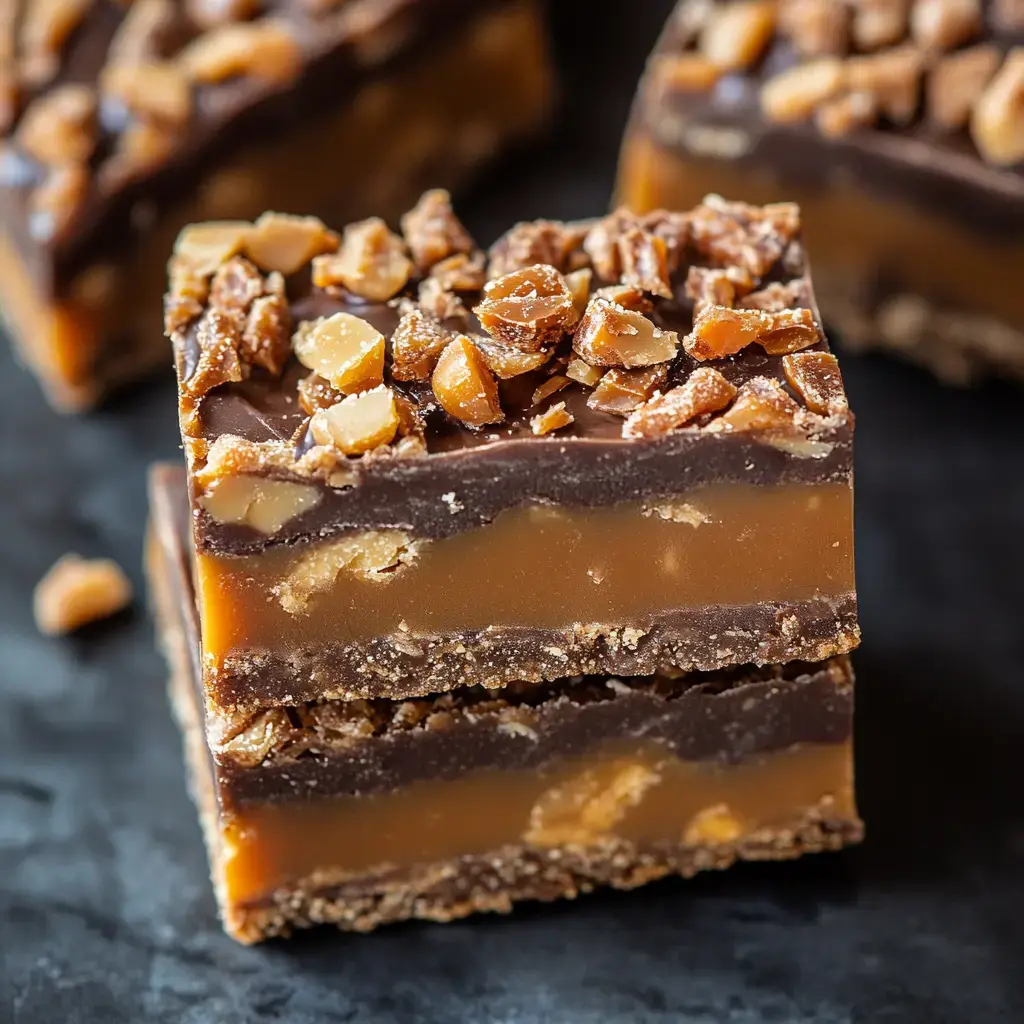
I gotta tell you about these dessert bars that made everyone go wild at our last bake sale! I played around with different candy combos and came up with these Butterfinger Caramel Crunch Bars that folks now beg me for. That killer mix of buttery graham base, sticky caramel and crunchy Butterfinger bits with smooth chocolate on top is just heavenly! When I first whipped these up, my children actually fought over who'd get to eat the final piece.
What Makes These Bars So Darn Good
These ain't your regular treat bars! Each layer brings something awesome from the crunchy graham bottom to the silky chocolate coating. Just last week I took these to my kid's soccer team gathering and the coach wanted them for every single game! Even my buddy who always says she doesn't like sweet treats couldn't stop grabbing more.
Stuff You'll Need
- For The Base:
- Graham crumbs from scratch works best
- Melted butter not margarine
- White sugar
- For The Filling:
- Caramels that are soft or caramel chunks
- Cream that's heavy
- Butterfinger candy bars smashed up
- For The Top:
- Semi-sweet chocolate chips quality ones
- Extra butter
- Crushed Butterfinger pieces to scatter
Time To Get Baking
- Creating That Yummy Base
- We'll start with that buttery graham foundation. While it bakes your house smells amazing like a cookie shop! My children always hang around hoping to clean the bowl.
- Working The Caramel Wonder
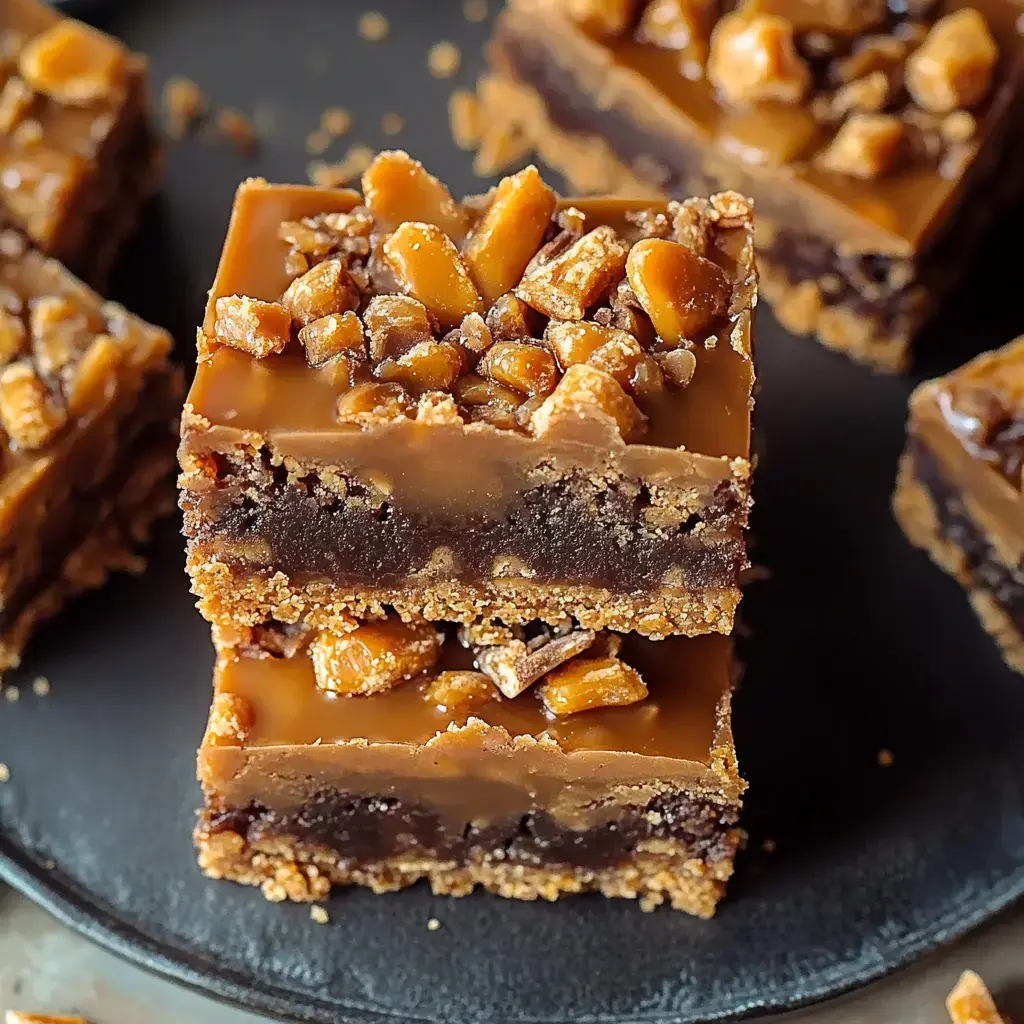
- When you mix the caramel with cream you get this perfectly gooey middle. Seeing it flow over the warm base is so pretty! Then comes the fun bit smashing those Butterfinger candy bars.
- Finishing Touch
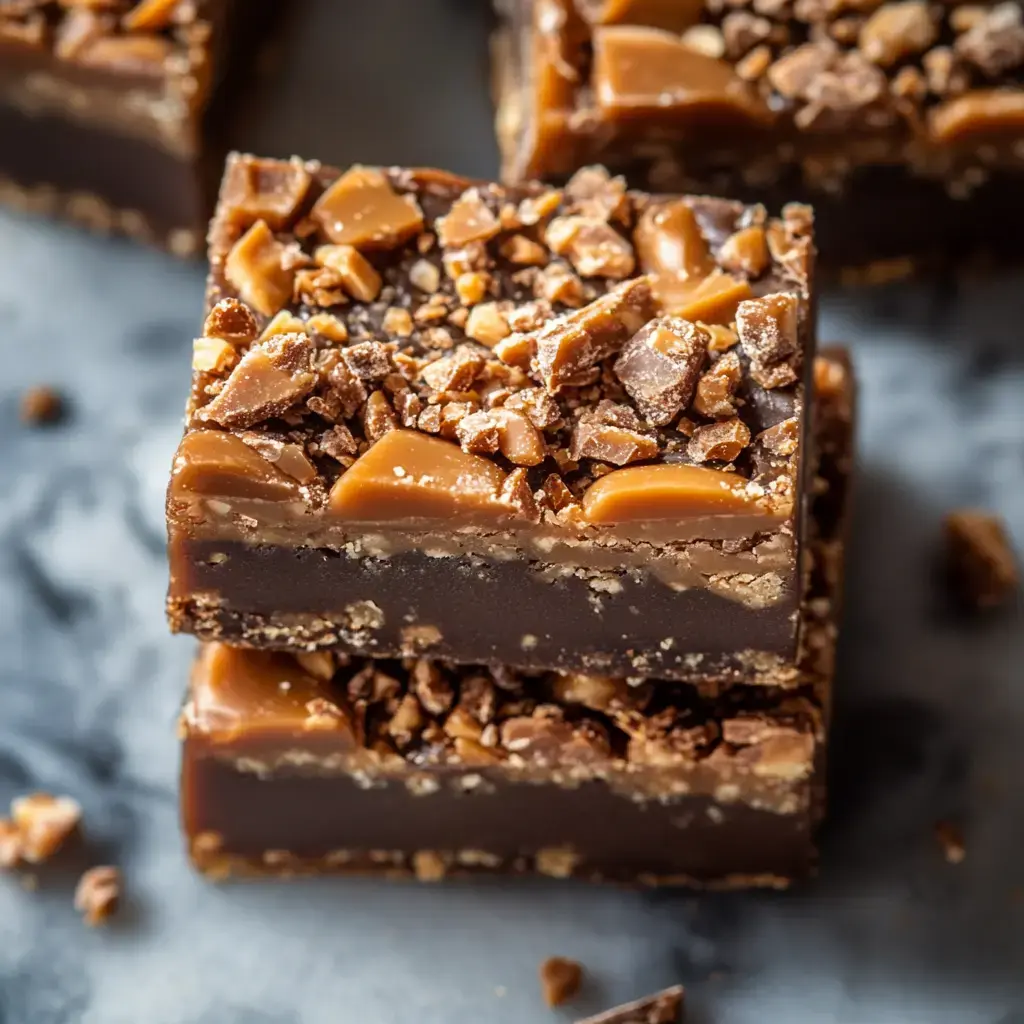
- That smooth chocolate layer is like wrapping a gift. When you toss those extra Butterfinger chunks on top it looks totally stunning!
 Pin it
Getting Them Just Right
Wanna know my tricks for awesome bars? Put parchment in your pan with extra hanging over the edges so you can lift them out super easy! Don't hurry cooling time that's how you get those neat slices. And my fave trick cool your knife between cuts for the prettiest squares ever!
How To Serve Them
These treats work for any event! They're great for potlucks since they travel so well. At bake sales I wrap them one by one and people can't resist seeing all those pretty layers. Sometimes I'll add extra chocolate drizzle if I want to show off makes them look super fancy!
Made Ahead Goodness
Here's a handy party tip these bars taste even better on day two! All those flavors really come together nicely. They stay good in your fridge up to a week if you can keep your hands off them. I usually make two batches and stash some in my freezer for when we need a treat though my family has gotten pretty good at finding my hidden goodies!
Switch Things Up
Don't stick to just one way of making them! I sometimes use milk chocolate instead of semi-sweet. My son who loves peanut butter thought of adding a PB layer total game changer! Once I tried Heath bars instead of Butterfingers also turned out amazing. That's the fun of baking finding your own special twist!
 Pin it
The Real Meaning Behind Them
These bars have become our family's go-to celebration treat! There's something really special about making something that brings so much joy to people. My kids are learning to bake too helping smash cookies and stack layers watching simple stuff turn into something amazing.
The best thing isn't just how tasty they are it's watching everyone's reaction with that first bite! Whether you make them for a special day bake sale or just because you're craving something sweet they always hit the spot. And seeing people realize they can make something way better than store-bought? That's why baking feels so good!
Frequently Asked Questions
- → Can these be prepped in advance?
- Sure! Keep them at room temperature for five days, or refrigerate for up to a week.
- → Why use parchment paper?
- The paper helps you lift bars out easily and slice them cleanly after they set.
- → What if I want other candy flavors?
- Go ahead and swap for Heath, Skor, or another favorite. It'll give it a new twist!
- → What’s the trick to neat cuts?
- Heat a sharp knife, dry it off, and slice. Wipe it clean between cuts for smooth edges.