
 Pin it
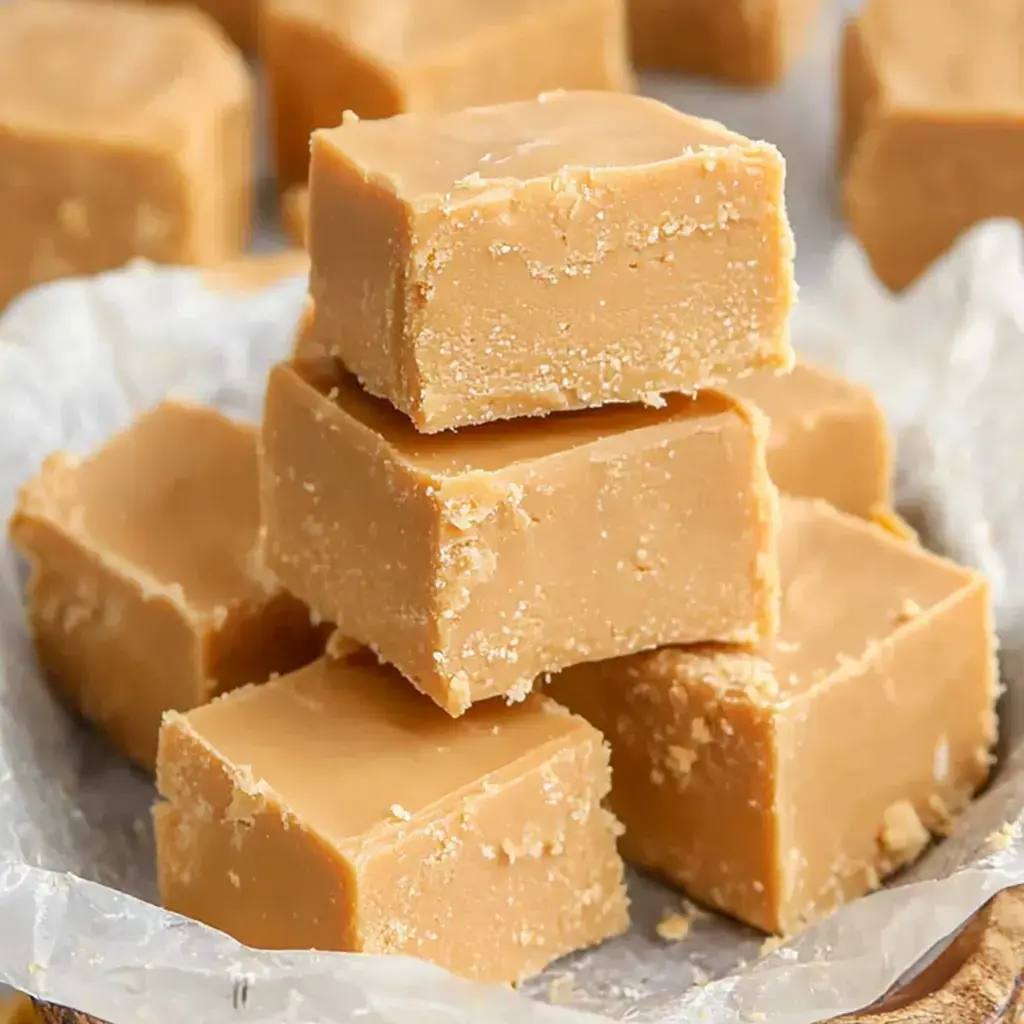
Whip up this basic peanut butter fudge at home with just a handful of everyday ingredients. It's fast, simple, and comes out great every single time. You'll keep coming back to this recipe once you've given it a shot.
The Magic Behind This Dreamy Peanut Butter Fudge
This fudge calls for only four items and can be thrown together in no time. It's velvety, rich, and will transport you straight to those charming old candy stores. Wrap it up as a present - homemade goodies always bring smiles. Even the little ones can pitch in since we're using the microwave. Toss in whatever extras you fancy to customize it completely.
Your Shopping List
- Butter: Grab unsalted butter for cleaner flavor. Running low? Margarine or coconut oil will do the trick.
- Smooth Peanut Butter: Go with your top pick of creamy peanut butter. Feeling adventurous? Switch it up with almond or sunflower butter.
- Vanilla: Brings that extra touch of yum. Don't stress - both pure and imitation work just fine.
- Powdered Sugar: Creates that silky sweetness we all love. In a pinch? Blitz regular sugar with a tiny bit of cornstarch in your blender.
The Cooking Process
- Combine and Warm:
- Find a microwave-safe glass bowl and toss in your peanut butter, butter, and a dash of vanilla. Microwave it for roughly 90 seconds. Take it out and stir until you've got a glossy, smooth mix. Any chunks still hanging around? Pop it back in for a few more seconds - you want it completely melted.
- Mix in the Sweet Stuff:
- Time for the powdered sugar part. Add it gradually, one cup at a time, mixing thoroughly between each addition. The mixture will gradually thicken up, and yes, your muscles might complain, but keep going. You're aiming for a thick, moldable dough that sticks together when pressed.
- Prep Your Container:
- Take an 8 or 9 inch dish and either coat it with butter or cover it with parchment paper (this makes cleanup so much easier). Dump your mixture in and smooth it out. Push it down firmly with a spoon back or clean fingers - this helps your fudge stay together when sliced later.
- Let It Set and Slice:
- Now comes the waiting game! Stick your pan in the fridge for at least 4 hours until completely firm. Once it's solid, cut into whatever size squares you prefer. Keep your treats in a sealed container in the fridge, though they probably won't last long!
- No Microwave Method:
- Working without a microwave? No worries! Just throw your peanut butter, butter, and vanilla in a saucepan and warm it slowly over medium-low. Keep stirring constantly to avoid burning. Once everything's melted together perfectly, remove from heat and stir in your sugar just like in the microwave version. Works perfectly too!
 Pin it
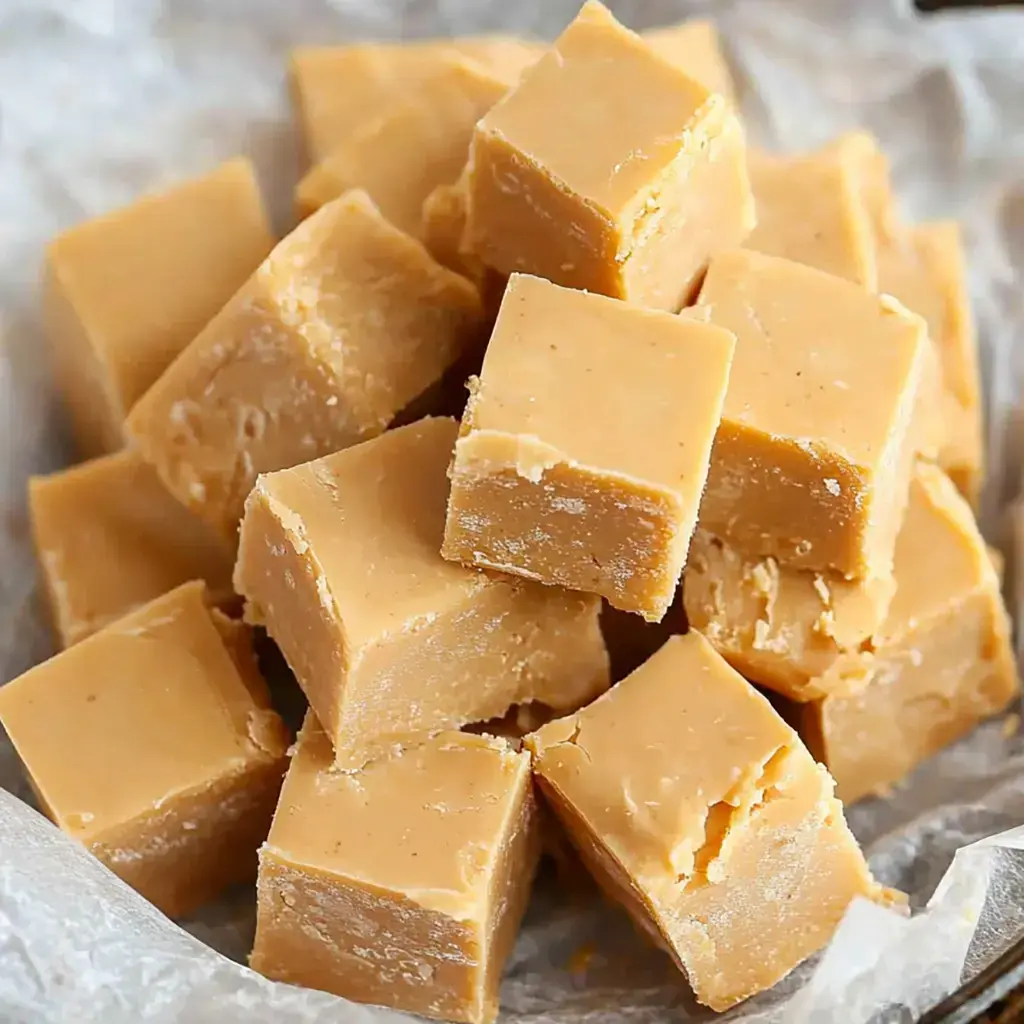
Nostalgic Treats
This fudge brings back childhood days when I'd stand staring at candy shop displays. Everyone wants seconds after trying a piece. It's got that perfect mix of sweet, salty, and creamy that's so hard to beat.
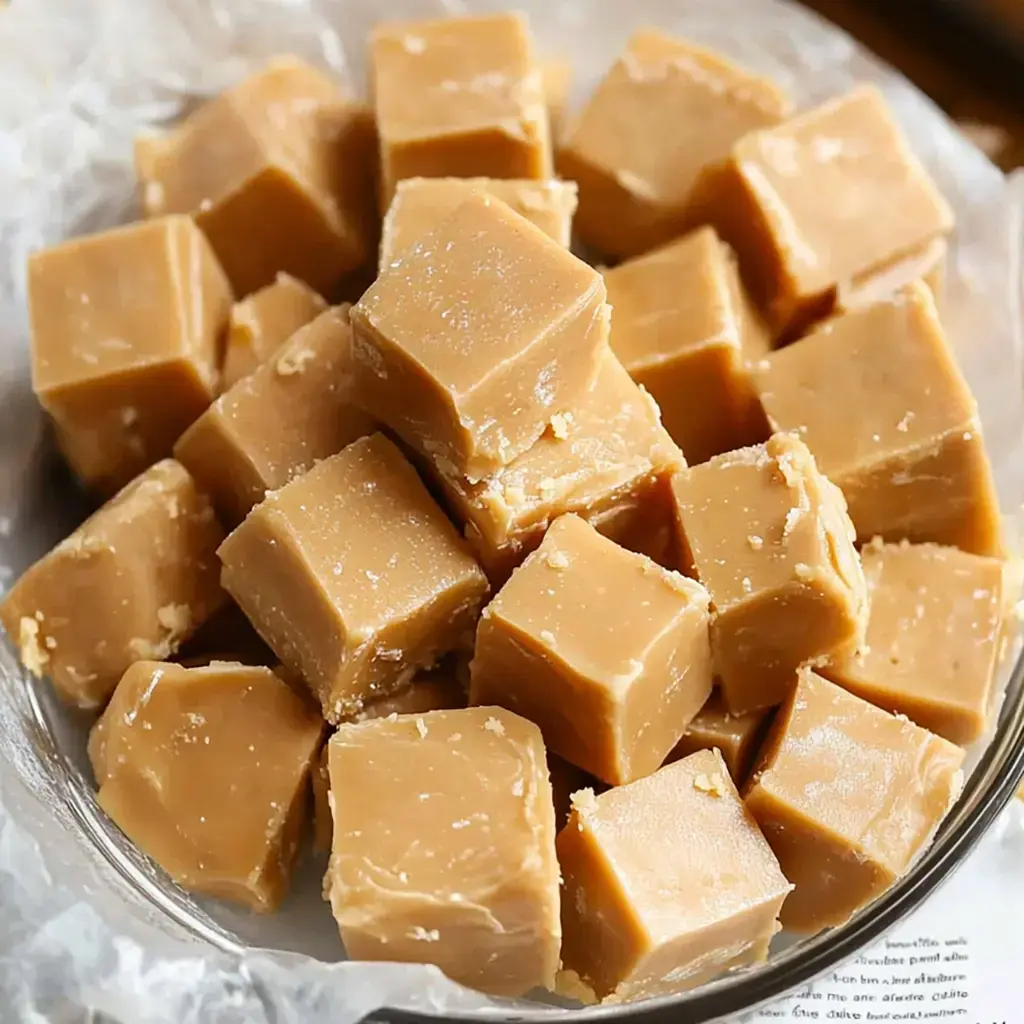
Powdered Magic
The confectioners' sugar is what makes this fudge incredibly smooth. It blends in completely unlike granulated sugar, leaving no grainy texture behind. That's why each bite feels so luxuriously creamy.
Customize Your Creation
Feel free to swirl in some chocolate, sprinkle a bit of sea salt on top, or mix in crushed nuts. A drizzle of caramel works wonders too. Keep experimenting with different add-ins until you find what you love most.
Perfect Presents
Looking for something thoughtful to give? Put some fudge in a pretty container with a bow. Folks always appreciate homemade snacks, and nobody will guess how quickly you made it. It shows thoughtfulness without breaking your bank or schedule.
Ideal Moments
Enjoy a square with your morning joe, afternoon cup of tea, or as an after-dinner treat. It's wonderful during family gatherings around the fireplace. Pair it with your favorite beverage - this fudge tastes amazing with practically anything.
 Pin it
Frequently Asked Questions
- → How much time for chilling?
Let it rest in the fridge for no less than four hours. Overnight works even better to make sure it sets solid. Don’t hurry through this step—it’s worth being patient!
- → Can I make it chunky?
Sure, chunky peanut butter is an option. Although smooth makes mixing easier, chunks add texture. Just expect more effort stirring since it's thicker, but it still comes out delicious.
- → What pan should I use?
An 8-inch pan is a great size. A 9-inch one works but gives thinner pieces. Use parchment or a liner to avoid sticking. A square pan's best to get nice edges.
- → Can I heat on the stove instead?
Yes, it works just fine. Keep the heat low and stir constantly to avoid burning. It'll take a bit longer than the microwave though, so be patient.
- → Can I make it vegan?
Absolutely, just swap in plant-based butter alternatives. Pick nut butter that melts easily. Most work fine, and it’ll set up nicely like usual.
- → Why’s it turning soft?
Check that the amount of sugar’s spot on. It also needs to stay cold, so keep it in the fridge. Make sure the butter wasn’t too warm when mixing, and let it chill longer if needed.
- → How do I pack these for travel?
Place them in a sturdy, sealed container. Keep it cool with an ice pack if needed. Cut them up at your destination to avoid a sticky stack. Separate layers with paper so they don’t stick together.
- → How can I make it faster?
Use the freezer to speed up chilling. It’ll set quicker in a chilled pan too. Be prepared ahead of time and don’t skip the cold step—it’s essential for the texture.
- → Can I double this recipe?
Definitely! You’ll just need a larger pan and a longer chilling time. Mixing everything evenly will take extra effort too. Just be mindful of sugar proportions.
- → How can I enhance the flavor?
A small pinch of salt can bring out sweetness. Try mixing in a different nut butter or adding a splash of vanilla. A bit of honey’s nice too, but steer clear of adding too much liquid.
- → Is it too sweet or plain?
If it's overly sweet, cut back on sugar next round. Add more nut butter to balance taste or a tiny bit of salt. Once it's made, you can't fix sweetness, so aim for balance.
- → Why can’t I cut clean edges?
Let the fudge warm up slightly before cutting. Use a sharp knife dipped in hot water and wipe the blade between cuts. Press straight down instead of sawing, and mark even squares before slicing.
Conclusion
Love these squares? Try making French nut bars or whip up quick nut cookies. They're simple and just as tasty.