
 Pin it
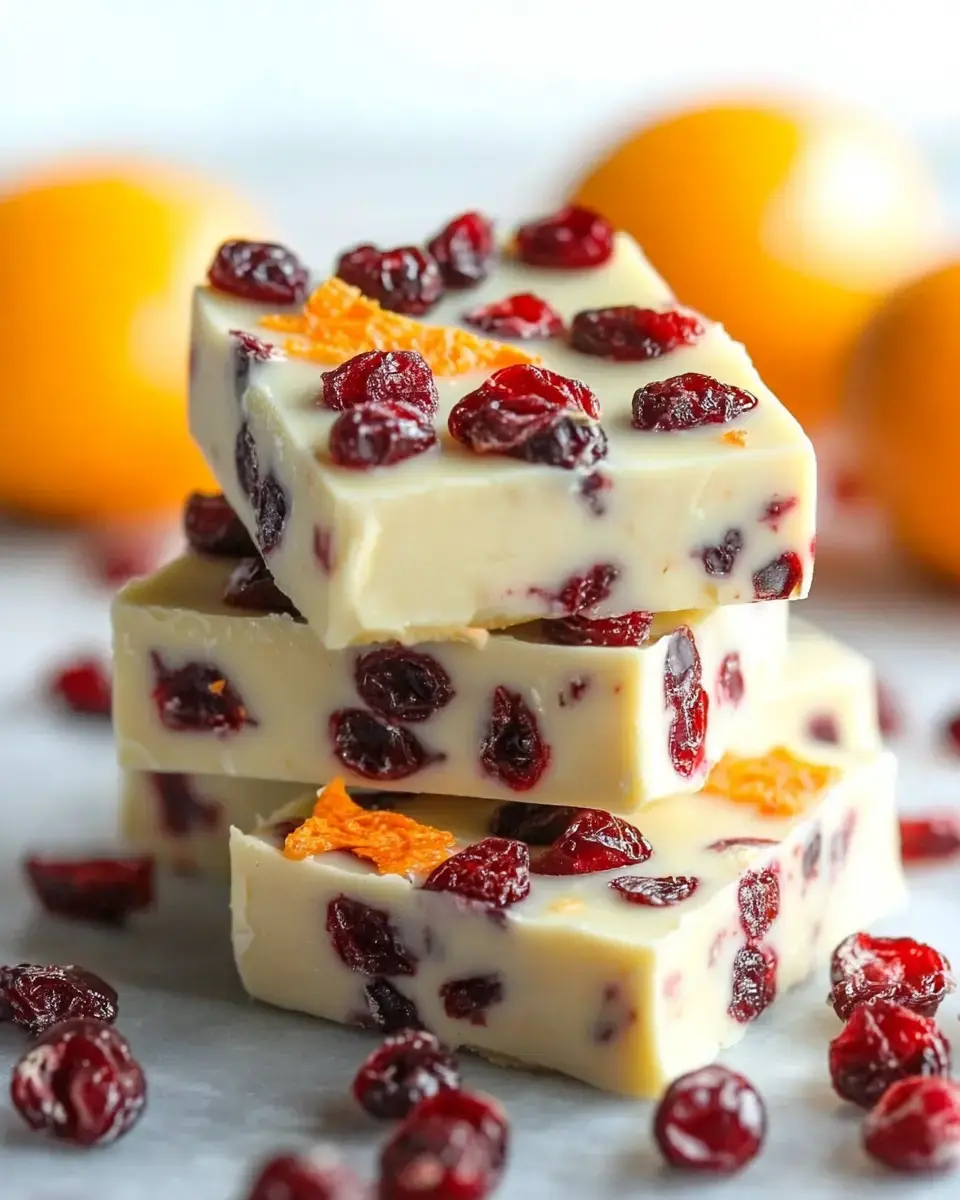
I changed gift-giving during the holidays forever with this simple cranberry orange fudge. After trying countless versions in my kitchen, I found that tart cranberries mixed with bright orange creates something special. What's great about this treat is how easy it is - just a few good ingredients come together to make fudge that looks fancy but doesn't need any special skills.
Getting to Know Your Components
The success of this treat depends on good stuff. You need real white chocolate containing cocoa butter - don't use those things labeled 'white baking chips' as they won't melt right. Make sure your cranberries feel soft when you squeeze them, not hard and wrinkly. Always go for fresh oranges since they pack the most flavor. And don't swap the full-fat sweetened condensed milk for a lighter option or your fudge won't set properly.
Tools and Materials You'll Need
- For the Main Mix:
- High-quality white chocolate, 24 oz
- Full-fat condensed milk, 14 oz
- Premium dried cranberries, 1 cup
- Organic oranges, 2 large
- Orange extract (pure)
- For Topping:
- Cranberries set aside
- Orange zest freshly grated
- Gold dust for eating (if you want)
- Kitchen Gear:
- Setup for double boiler
- Thermometer with digital display
- Grater (Microplane type)
- Metal pan, 8x8 size
- Parchment paper (sturdy)
- Spatula with offset design
Following the Steps
- Getting the Pan Ready
- Put parchment in your pan with extra hanging over the sides so you can lift it out later. Push it into all the corners without air bubbles. Add a tiny bit of grease to the paper so nothing sticks.
- Melting Your Chocolate
- Pour water in the bottom pot about 2 inches deep. Warm it to exactly 180°F. Put your chocolate and milk in the top bowl. Keep stirring in a figure-eight pattern until everything looks smooth.
- Adding the Flavors
- Take it off the heat when it hits 88°F. Mix in your cranberries and zest with care. Put in the orange extract at the end and stir just enough to mix it in.
- Letting It Set
- Right away, pour everything into your ready pan. Spread it all around evenly with your offset spatula. Sprinkle your toppings while it's still wet. Let it sit in the fridge without touching it for at least 4 hours.
Expert Advice and Fixing Problems
Want clean cuts? Heat your knife between slices and wipe it off each time. If your mix looks grainy, warm it gently while stirring until it smooths out. Don't let chocolate get hotter than 90°F when melting. Add your mix-ins bit by bit - throwing everything in at once can make the chocolate seize up. Make sure all your tools are completely dry because even tiny water drops will mess up your fudge.
 Pin it
Fun Twists to Try
Mix white chocolate with blueberries and lemon or maybe raspberries and lime instead. Throw in some chopped nuts for a bit of crunch. Make cool patterns by keeping some melted chocolate separate and adding natural food colors to it. For fancy events, try pouring a layer of dark chocolate on top for a pretty contrast.
Keeping Fresh and Looking Nice
Keep pieces between sheets of parchment in a container that seals tight. Store in the fridge but let sit out a bit before eating for the best texture. When giving as gifts, cut into perfect 1-inch squares and put them in paper candy cups. Use pretty boxes with see-through tops to show off the toppings. They'll stay fresh for two weeks if you store them right.
Frequently Asked Questions
- → Why use a double boiler?
- It helps avoid burning the white chocolate, keeping it smooth and silky.
- → Can I use fresh cranberries?
- Nope. Fresh ones are watery and will mess up the fudge texture.
- → Is orange extract necessary?
- Yep, the zest alone isn't strong enough. The extract really boosts the flavor.
- → Why does my fudge feel rough?
- You probably heated the chocolate too much. Use a gentle heat and stir often.
- → How long will it last?
- Keep it in the fridge for two weeks. Let it sit out for a bit before enjoying.