
 Pin it
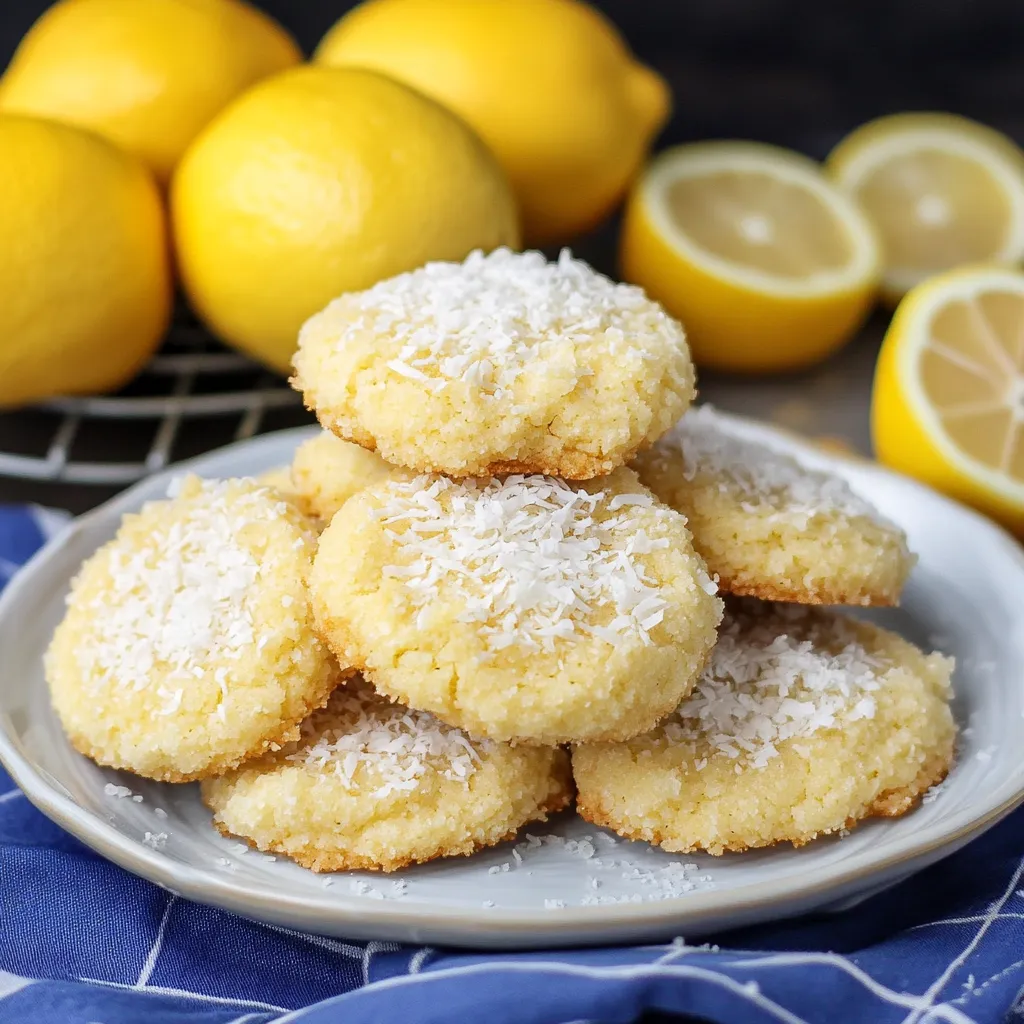
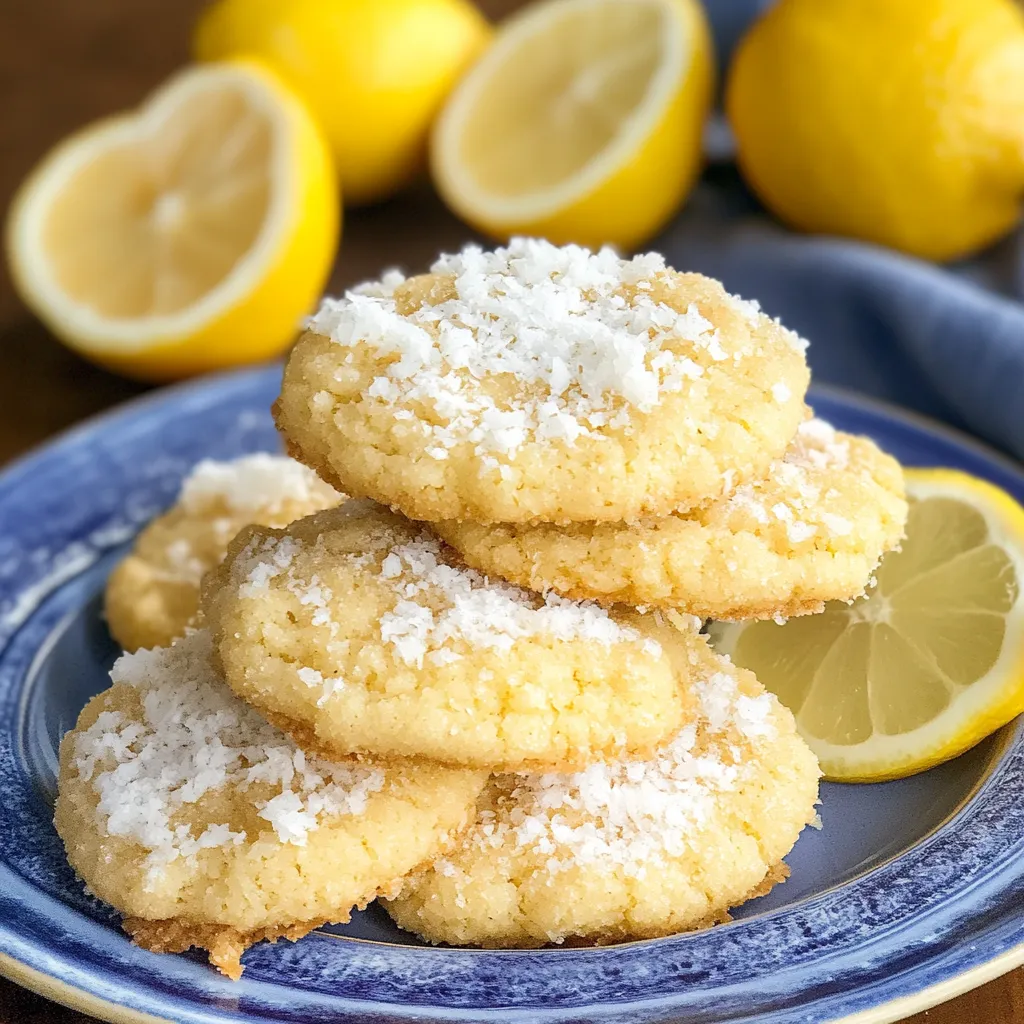
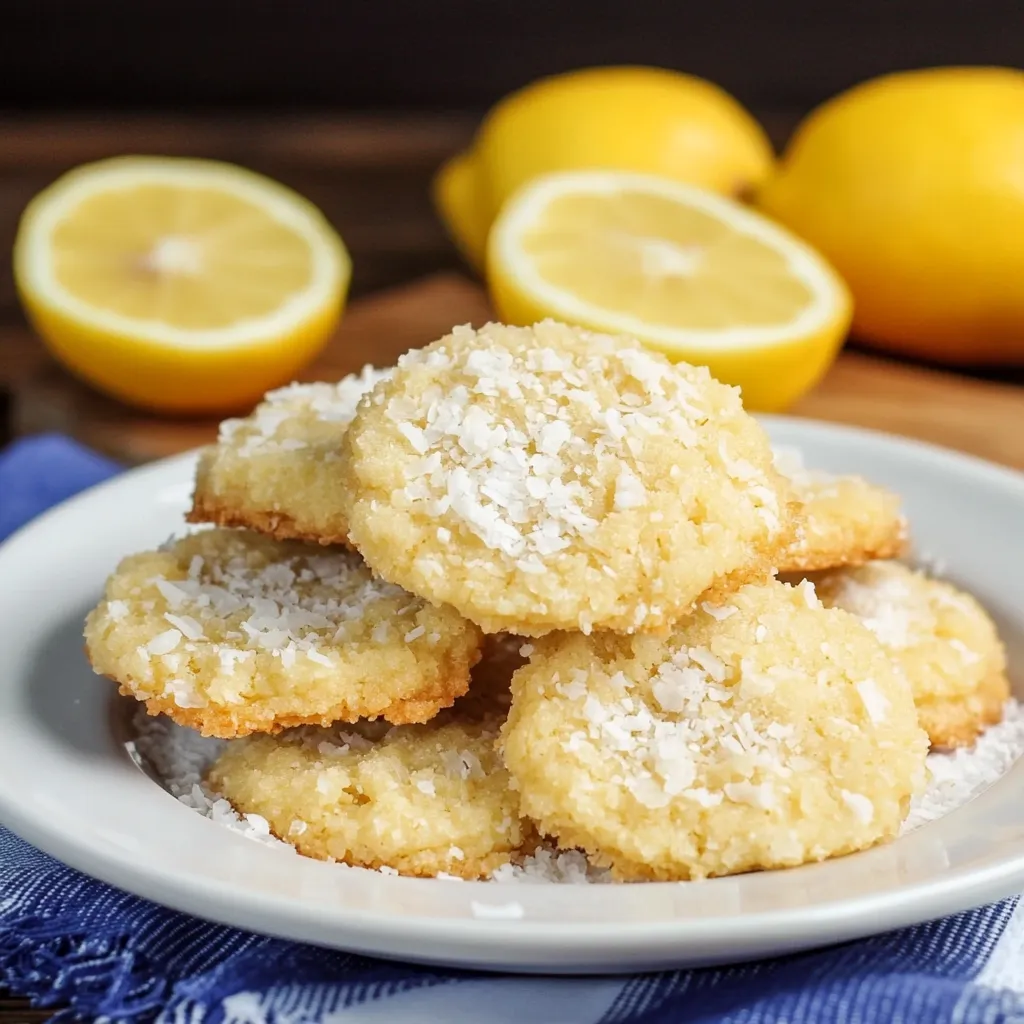
Take a bite of these cookies and you'll get the perfect mix of bright citrus and sweet coconut flavors. I came up with this treat when I wanted something sunny to share during our family weekend get-togethers. They've got this amazing texture—crispy around the edges but so wonderfully chewy in the middle.
I brought these to my neighbor's backyard party last weekend and they were gone in minutes. Don't skip the fresh lemon zest—it works so much better than just using bottled juice.
Key Ingredients Breakdown:
- Butter: Make sure it's completely softened—I like to leave mine out for 2+ hours
- Lemon Zest: Just grab the yellow part and skip the white stuff underneath
- Shredded Coconut: Go for unsweetened to keep things from getting too sweet
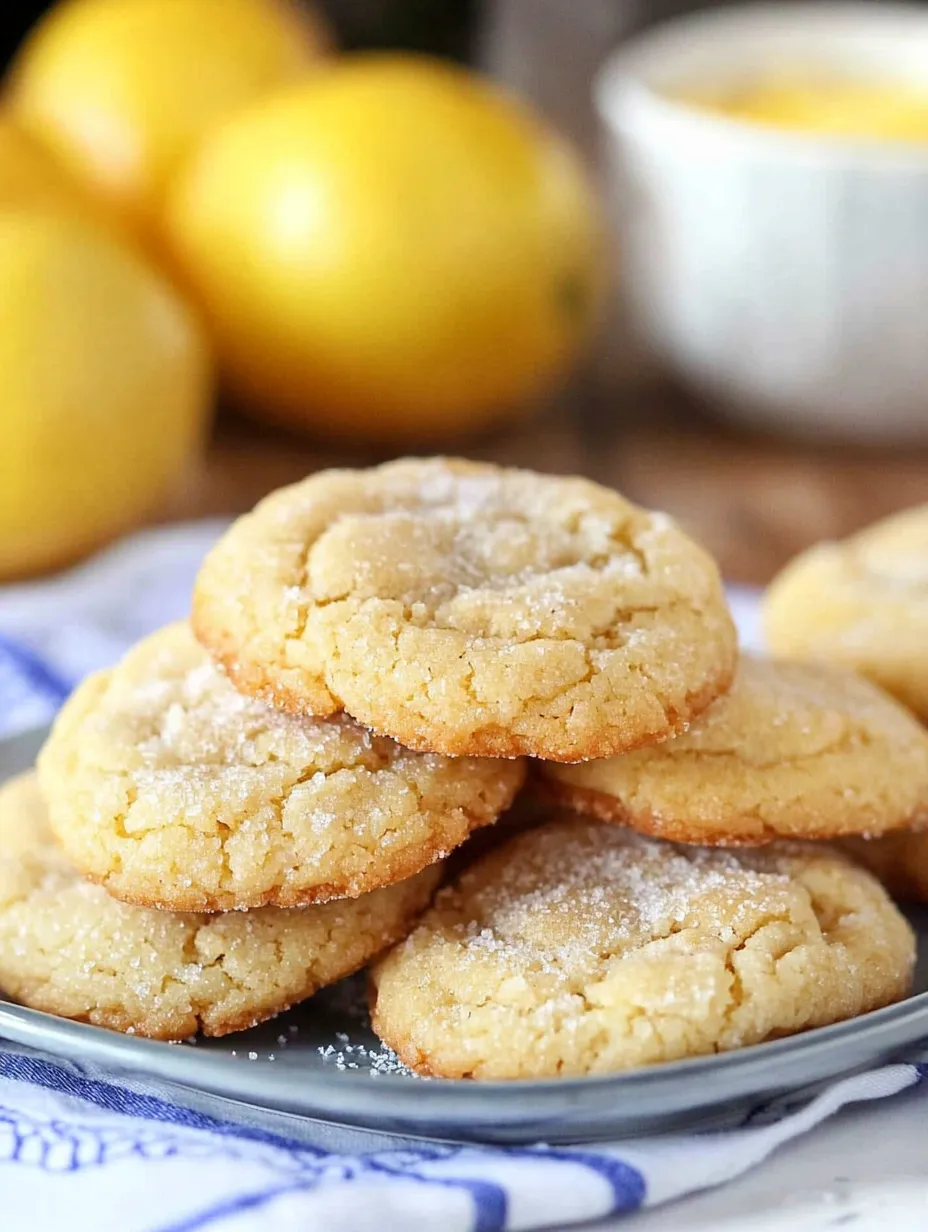
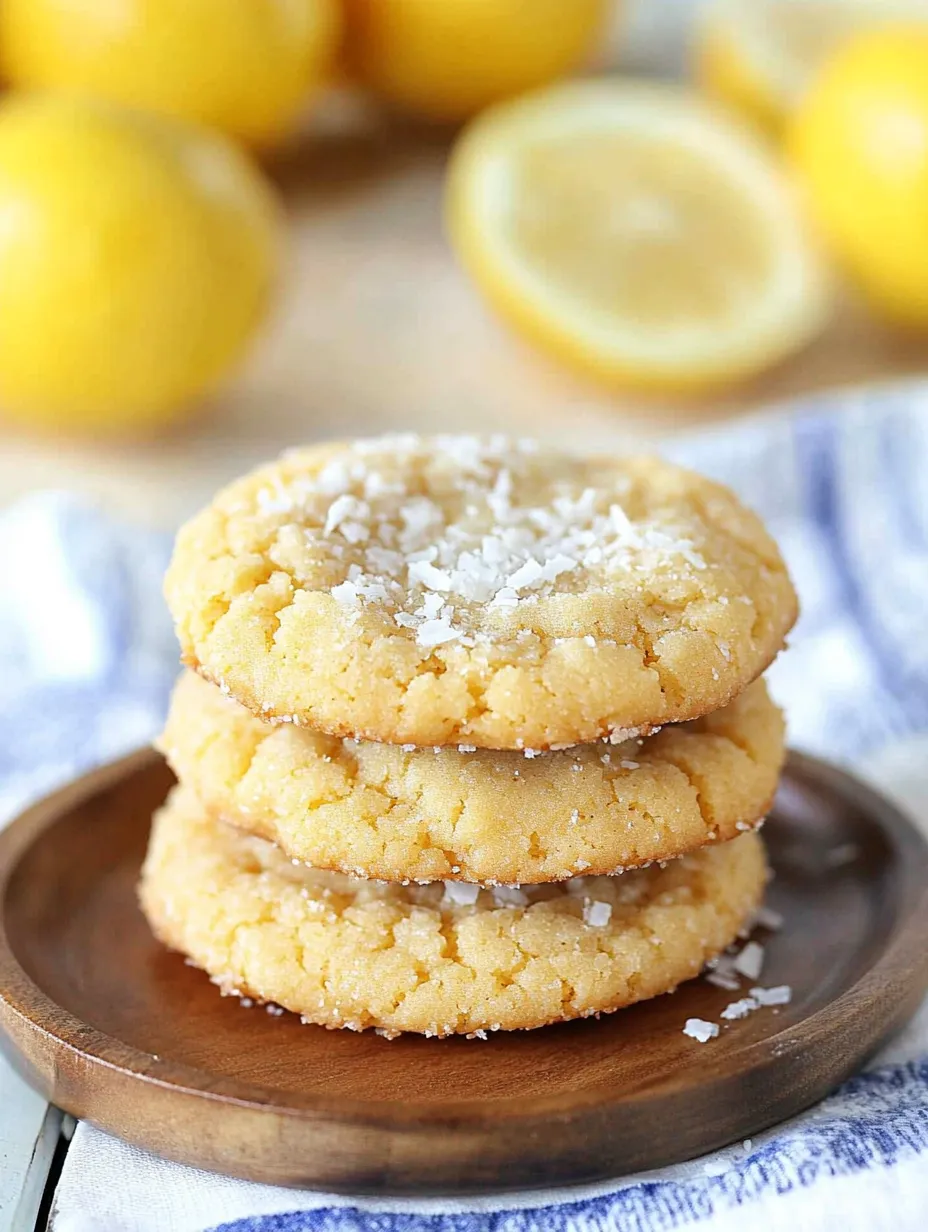
- Coarse Sugar: This gives you that beautiful sparkly outside texture
- Fresh Lemon Juice: Adds wetness and boosts the lemon flavor naturally
 Pin it
Foolproof Baking Guide:
- 1. Watch Your Temperatures
- - Use ingredients that have been sitting out at room temp.
- Double-check your oven heat with a thermometer.
- Let baking sheets cool between batches for best results. - 2. How to Zest Lemons
- - Clean and dry your lemons first.
- Don't push too hard or you'll get bitter white stuff.
- Zest right into your bowl to catch all those fragrant oils. - 3. Getting the Butter Mix Just Right
- - Mix until it's truly fluffy and light—this takes time.
- Keep scraping the sides of your bowl.
- Look for the mix to turn pale yellow. - 4. Forming Your Cookies
- - A cookie scoop helps make them all the same size
- Make sure to coat the dough balls completely in sugar
- Flatten them slightly if you don't want puffy cookies - 5. Baking Timing
- - Look for golden edges as your done signal
- Remember they'll keep baking on the hot pan after
- Turn your pans halfway through baking time
 Pin it
I figured out how good coconut could be when I was playing around with different textures. Even my daughter, who wasn't big on coconut, couldn't stop eating these—it adds a nice chew without tasting too tropical.
Texture Secrets Revealed:
I made tons of test batches to get that perfect chewy middle with crisp edges. Using both baking soda and baking powder isn't random—the soda helps them spread out while the powder gives just enough lift for that amazing texture.
Getting Lemon Flavor Just Right:
Finding the sweet spot between zest and juice took some work. Too much juice makes them too cakey, too little and you miss that zingy lemon kick. After lots of tries, this recipe hits the spot perfectly.
 Pin it
All About That Sugar Coating:
The sugar you roll them in really matters. I found that mixing regular sugar with some coarse sugar gives you the best sparkle and a really nice crunch when you bite in.
Keeping Them Fresh:
These cookies stay nice and fresh when stored right. The trick is letting them cool all the way before putting them away. If you live somewhere really dry, throw a slice of bread in the container with them.
Plan-Ahead Options:
What's great about this recipe is you can work ahead. You can freeze the dough balls for up to 3 months—just roll them in sugar right before baking. I always keep some in my freezer for when friends drop by or when I need a cookie fix.
Smart Baking Tricks:
- Pop the dough in the fridge for 30 minutes if it gets too warm while you're working
- A microplane makes the thinnest, most flavorful zest
- Always use parchment or baking mats—they help with even browning and make cleanup way easier
I've been baking cookies for years, and this recipe gets requested more than any other. There's something special about how the lemon and coconut work together. It's become our family's favorite for everything from holiday cookie swaps to afternoon coffee with friends.
Holiday Twist Ideas:
For special events, I sometimes add a simple lemon juice and powdered sugar drizzle, or stick a piece of candied lemon peel on top before baking. During Christmas, a little white chocolate drizzle makes them extra fancy.
Fixing Common Problems:
If your cookies spread too much, your butter might be too soft or your pans too hot. Chilling the dough for 15 minutes between batches helps. If they aren't spreading enough, just press the dough balls down a bit before baking.
Connecting Through Cookies:
These treats bring people together. I've taught this recipe in so many baking classes and everyone loves it. Something about that fresh lemon smell filling up the kitchen just puts people in a good mood.
Year-Round Favorite:
While these taste extra good in summer, they work in any season. They're light enough for spring gatherings, fancy enough for holiday parties, and comforting enough for fall afternoons with a cup of tea.
Family Traditions:
This recipe has grown beyond just being a cookie—it's part of our family story now. My kids make these with their own children, adding their own little changes but keeping the main recipe the same. It shows how something simple like a cookie recipe can build lasting memories.
Neighborhood Famous:
These cookies have become a hit at our local fundraisers and community events. The lemony smell pulls people in, and that special flavor combo keeps them coming back. I've written out this recipe countless times at school events and block parties. It feels good seeing others create their own memories with something that means a lot to my family.
Wrapped With Love:
Over time, I've learned these cookies make wonderful presents. Tucked in a nice tin with paper between the layers, they stay fresh for days. I often include a little note with storage tips and the story behind the recipe. During the holidays, I pair them with some nice tea and a pretty lemon zester for a thoughtful homemade gift.
Tools That Help:
While you can make these with basic kitchen stuff, certain tools make it easier. A good microplane zester works wonders on the lemons, and a cookie scoop gives you same-sized cookies. I've found that light-colored aluminum baking sheets work best—dark pans tend to make the bottoms too brown.
Getting Temperatures Right:
Managing temperature is key for these cookies. Beyond warming up the oven, I've learned to watch the temp of everything. Butter that's too warm makes flat cookies, while cold butter won't cream up right. Even egg temperature matters—I put mine in warm water for 5 minutes if they're cold from the fridge.
Flavor Changes Over Time:
One cool thing about these cookies is how their taste changes. They're good right out of the oven, but after a day, the coconut flavor gets deeper. The lemon stays bright, but everything blends together better. That's why they're great to make ahead for parties.
Making Them At High Altitudes:
Living in different places taught me how to tweak this recipe. At higher elevations, adding a bit more flour and using less baking powder helps the texture. What's great about this recipe is how flexible it is—you can adjust it for all kinds of baking conditions.
How Weather Affects Your Cookies:
Weather plays a big role in how cookies turn out. On humid days, you might need an extra spoonful of flour to stop spreading. When it's super dry, the coconut might need a quick soak in lemon juice first so it doesn't pull moisture from the dough. These little changes make a big difference.
Baking With Beginners:
These cookies are perfect for teaching new bakers. The techniques—from creaming butter properly to zesting lemons—are great learning steps. I love teaching kids how to make them and seeing their faces light up when they roll the dough in sparkly sugar.
 Pin it
Fancy Restaurant Touches:
For a more upscale look, I sometimes add homemade candied lemon peel on top. Making candied peel is pretty simple but turns these everyday cookies into something that looks like it came from a fancy bakery. The extra citrus flavor works perfectly with the cookie while making them look more special.
Choosing Your Ingredients:
After making countless batches, I've tried lots of different brands and quality levels. Good butter does make a noticeable difference, but you can be more flexible with other ingredients. The most important thing is using fresh lemons—bottled juice or dried zest just can't match that flavor.
Passing It Down:
What makes me happiest is watching this recipe live on through younger family members. My grandkids have started playing with their own versions, trying different citrus zests or new sugar mixtures for rolling. It warms my heart seeing how a simple cookie recipe can connect different generations.
Frequently Asked Questions
- → Can I freeze these cookies?
- Absolutely! Store baked cookies in the freezer for up to 3 months, or freeze the dough uncoated for up to 2 months.
- → What kind of coconut should I use?
- Both sweetened and unsweetened shredded coconut are fine. Stay away from bigger flakes, as they don’t mix evenly.
- → Do I need a stand mixer?
- Nope! A hand mixer or even mixing by hand works. Just be sure your butter is softened enough to blend smoothly.
- → Why did my cookies spread too much?
- Butter might’ve been too melted. Pop the dough in the fridge to cool it down before baking if needed.
- → How should I store them?
- Keep them in a sealed container at room temperature for 5 days. For longer storage, freeze them.