
 Pin it
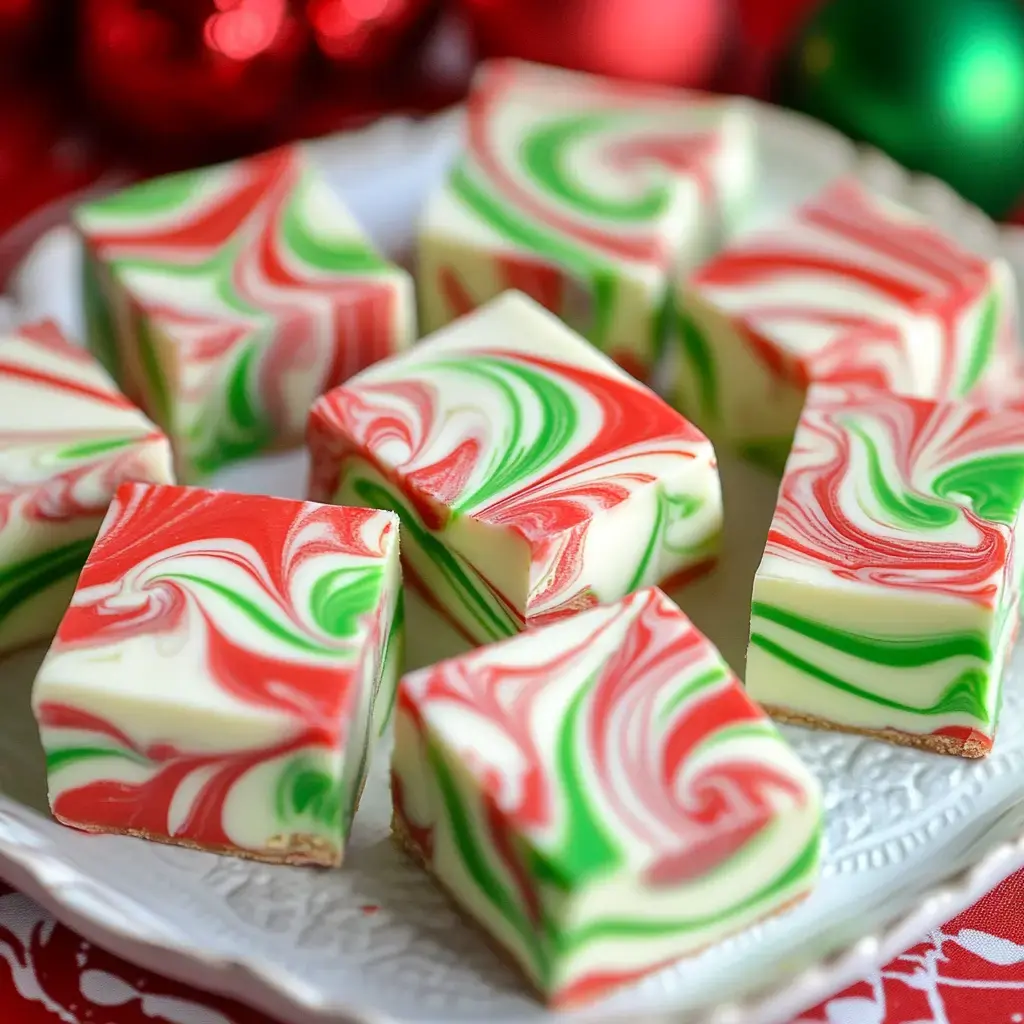
I first whipped up this holiday fudge when I needed something cute for the kids' Christmas sale. My first attempt was a disaster - green and red everywhere, including stained hands for what felt like forever! These days I've nailed it, creating this cool swirly design that my kids swear looks just like those old-fashioned ribbon candies from Santa's workshop. My super critical mom even sneaks pieces when she thinks no one's watching!
What Makes This Fudge Special
- No complicated candy techniques required
- Creates wow-factor results that seem time-consuming
- Stands out from typical holiday cookies
- Creating swirls is fun for little helpers
- Wraps up beautifully for presents
- Works without candy thermometers so you won't mess up the sugar
- Keeps well for ages if you can hide it successfully
What You'll Need
- The Basics:
- Quality white chocolate as bargain brands turn grainy
- Sweetened condensed milk in a can
- Gel-type food coloring in red and green for better results
- Kitchen Stuff:
- Microwave-safe mixing bowl
- Foil or parchment paper
- Square 8x8 baking dish
- Good knife for slicing
Creating Your Festive Treat
- Prep Work
- Get your pan ready with parchment paper leaving some hanging over the edges for easy fudge removal later. Break the chocolate into small bits for better melting. I skipped this step once and ended up with a chunky disaster.
- The Melt Down
- Combine your chocolate pieces and condensed milk in your bowl and microwave in 30-second bursts, giving it a good stir each time. Continue until it's completely smooth. Don't rush or you'll end up with a burnt mess.
- Adding Life
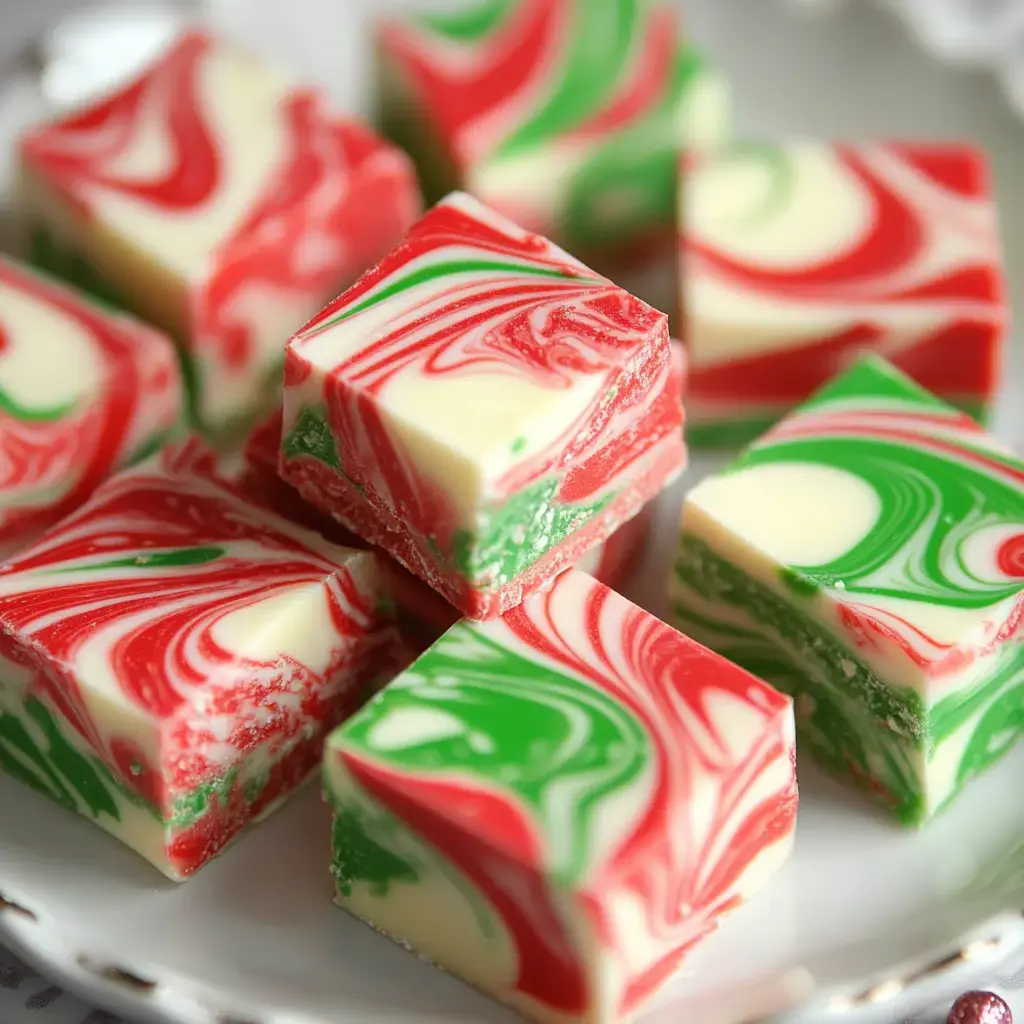
- Split your mixture into three portions with one staying white. Mix red coloring into one batch and green into another. The little ones love helping here, but watch out - I ruined my favorite top when those gel colors splattered everywhere.
- The Art Part
- Spoon dollops of each color randomly into your pan. Then grab a toothpick or knife and gently pull through to create patterns. Go easy though - I learned the hard way that too much swirling turns everything into a brownish blob.
- Cooling Off
- Let it firm up in the fridge for a few hours. This is when everyone tries sneaking tastes before it's ready - me included!
 Pin it
Tricks For Success
Use ingredients at room temperature for smoother melting. Make sure your tools are completely dry since any water drops will ruin the chocolate instantly. I learned to add coloring gradually - one batch turned out so intensely red it looked more Valentine's Day than Christmas!
Fun Variations
I've tried tons of color combinations. White and blue gives you a snowy wonderland feel. Black and orange works great for Halloween. Sometimes I toss sprinkles on top before it sets and the kids go wild. Once I mixed in smashed candy canes which tasted awesome despite getting a bit messy!
Keeping And Giving
After it's completely cold, cut into squares with a knife dipped in hot water between slices for clean edges. They look fantastic on holiday platters. It stays fresh for a couple weeks in the fridge if nobody finds your hiding spot! For gifts, wrap individual pieces in wax paper, pack them in a cute box with a ribbon and you've got a homemade present everyone will love.
Frequently Asked Questions
- → What’s special about gel colors?
They’re thicker and won’t mess up fudge texture. Liquid ones might water it down and give dull colors.
- → How can I create pretty swirls?
Keep it simple. Drag a knife lightly in different directions a couple of times. Overdo it and you’ll lose the swirls.
- → Why is my chocolate clumping?
Moisture or too much heat causes this. Always heat slowly and stir often. Dry tools and bowls are key too.
- → Can I try other color combos?
Of course! Swap out red or green for other colors to match your celebration. Just make sure the mix is even.
- → What’s the point of chilling it?
It firms up the fudge and keeps the colors distinct. Leaving it at room temp takes longer and can leave it mushy.