
 Pin it
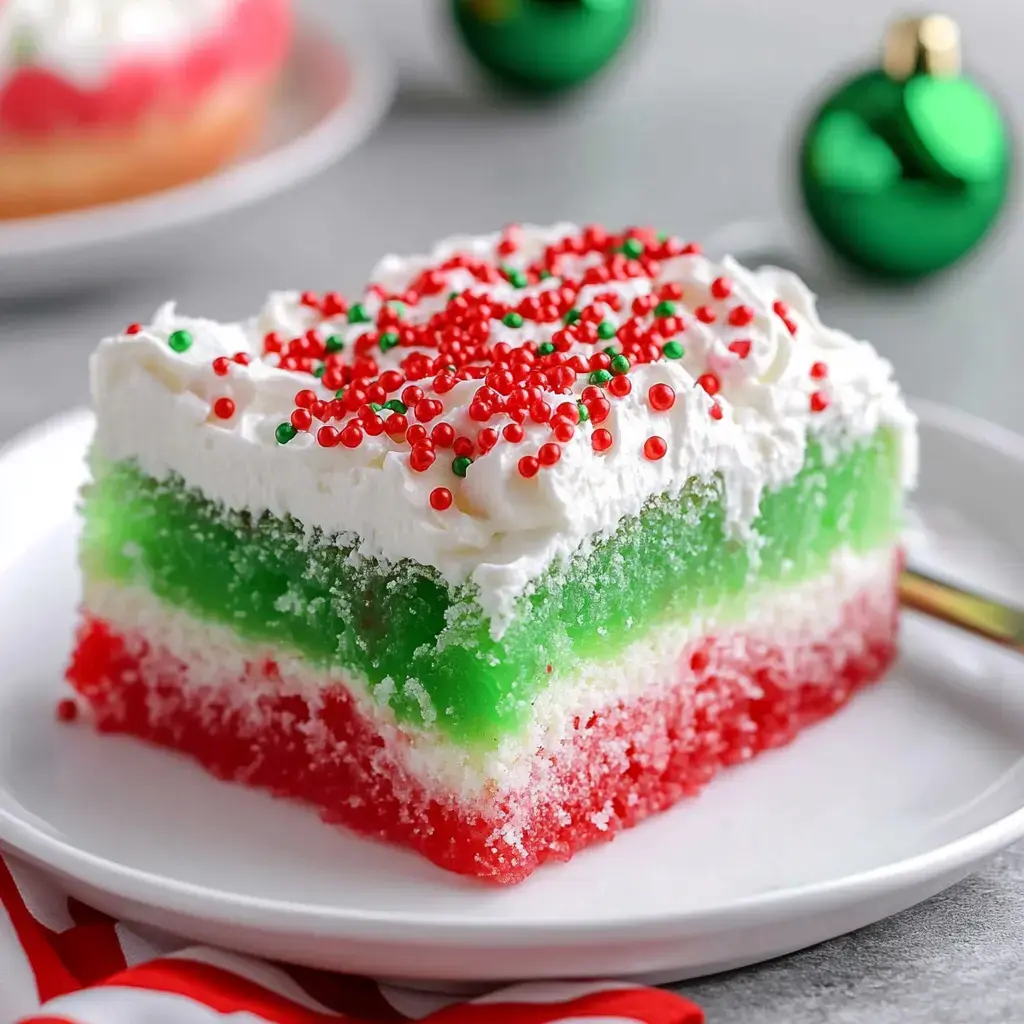
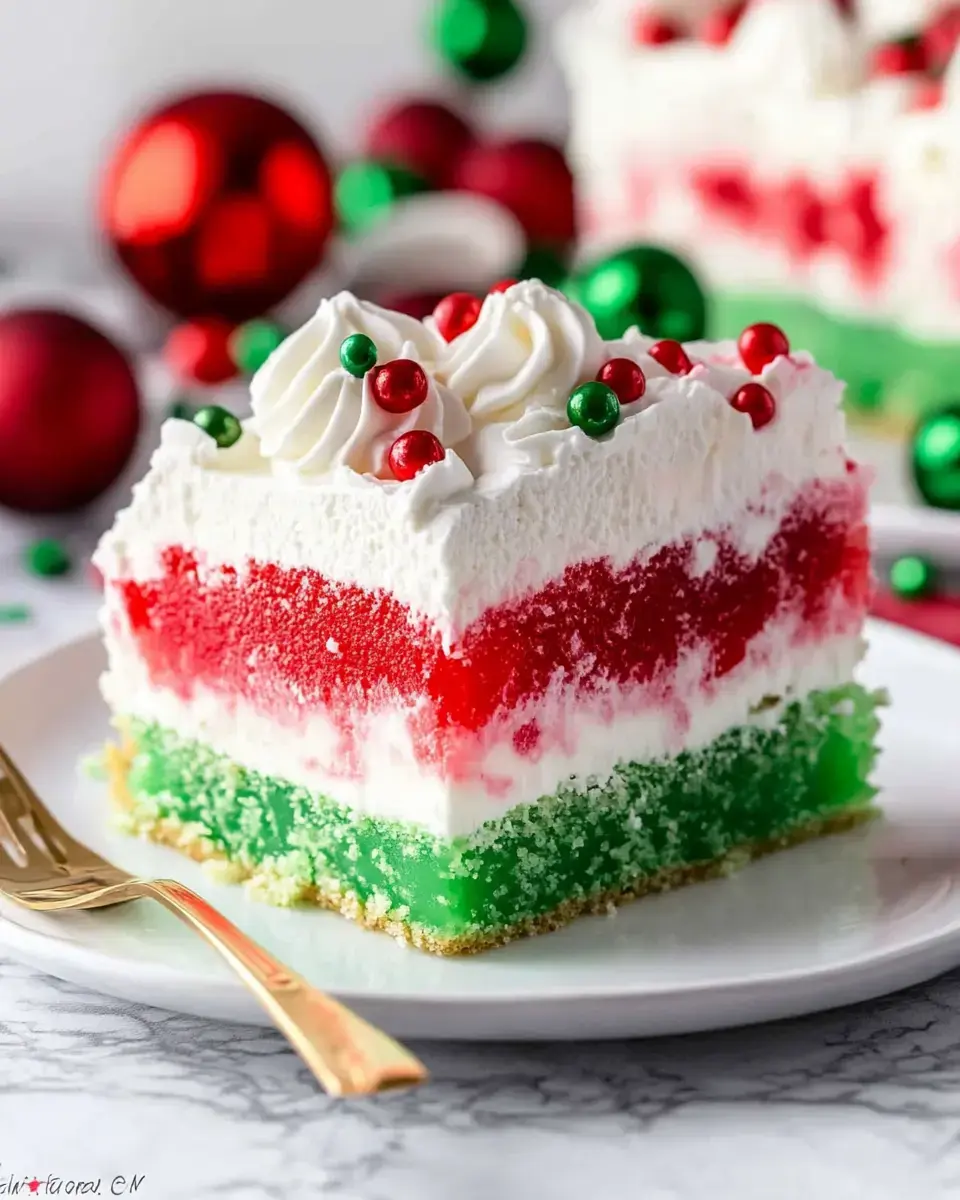
Holiday Jello Stab Cake
I stumbled on this eye-catching Holiday Stab Cake ages ago and now it's my go-to party showstopper. Folks always gasp when they spot those cheerful red and green layers peeking out. And guess what? While it looks impressive, it needs just basic stuff like boxed cake mix and Jell-O, so you can pull it off even when your December calendar's packed.
What Makes This Dessert Special
Here's why this cake knocks it out of the park:
- The green and red stripes scream holiday fun right from the first slice
- Every bite stays super juicy thanks to the Jell-O soak
- You can whip it up in a flash when you're swamped with holiday tasks
- Put it together a day early and just top it when guests arrive
What You'll Need
- White Cake Mix: This neutral base works perfectly to showcase our vibrant colors and keeps prep super simple.
- Lime Jell-O: This gives us those wow-worthy green streaks that make the cake so darn festive.
- Cherry Jell-O: Adds those stunning red streaks for that classic holiday vibe.
- Whipped Topping: Creates that dreamy, fluffy layer that everyone loves on top.
- Holiday Sprinkles: These tiny colorful bits add that final touch of seasonal cheer.
- Boiling Water: Needed to melt the Jell-O crystals completely before pouring.
- Cold Water: This cools down our Jell-O mixture so it won't melt our cake.
Simple Preparation Steps
- Bake Your Base
- Mix up your boxed cake following the package instructions. Dump the batter into a greased 9x13 dish and bake it. After it's done, let it sit out for roughly 20 minutes until it's just slightly warm.
- Prepare Your Jell-O
- During the cooling time, get both Jell-O flavors ready. Dump the boiling water over each packet and stir till everything melts. Add your cold water and let them cool a bit but don't wait till they start getting thick.
- Create Your Openings
- Now comes the fun bit. Grab your straw or handle and start jabbing holes throughout the cake. Keep them about an inch apart and push down deep without hitting the bottom. More holes mean more flavor in every bite.
- Add Your Colors
- This is where it gets exciting. Carefully pour your mixtures over the cake, red on one side, green on the other. Watch as the liquid disappears into the holes. If some pools up, just guide it toward nearby holes.
- Chill Time
- Wrap your creation with plastic and pop it in the fridge. Give it at least 6 hours, but leaving it overnight works even better. This gives everything time to soak in properly.
- Add The Finishing Layer
- Right before serving, spread your fluffy topping across the entire cake, making it nice and smooth. Scatter your sprinkles however you want. Get artsy with it since this is what grabs attention first.
Helpful Hints
The white cake base really makes those holiday hues pop
- Don't worry about sticking to these exact Jell-O flavors, pick ones you love
- The cake cuts cleaner after a good long chill
- Wait to add the whipped topping and sprinkles until you're about to serve
 Pin it
Keeping It Fresh
This cake will stay yummy in your fridge for around 3 days if you keep it covered. Want to plan way ahead? Don't add the topping yet, wrap it up good and stick it in the freezer for up to a month. Just thaw it in your fridge and add the topping right before you bring it out.
A Crowd-Pleasing Sweet Finish
Whenever I bring this cake to holiday parties, it's gone in no time flat. Something about those bright colorful layers under that fluffy topping just puts a smile on everyone's face. Pair it with some warm cocoa or a festive drink and watch the holiday joy spread!
Frequently Asked Questions
- → Why is less cold water added?
Using less water keeps the Jello flavors stronger, so they come through better in the cake.
- → How far in advance should I prepare it?
Make it a day early to give the Jello enough time to fully set into the cake.
- → Why cool the cake before adding holes?
This prevents the cake from breaking apart when you’re poking holes in it.
- → Is homemade cake okay to use?
Absolutely! Any plain white cake recipe can be used instead of a boxed mix.
- → Can I use real whipped cream instead?
Sure, though Cool Whip tends to stay sturdy longer when serving.