
 Pin it
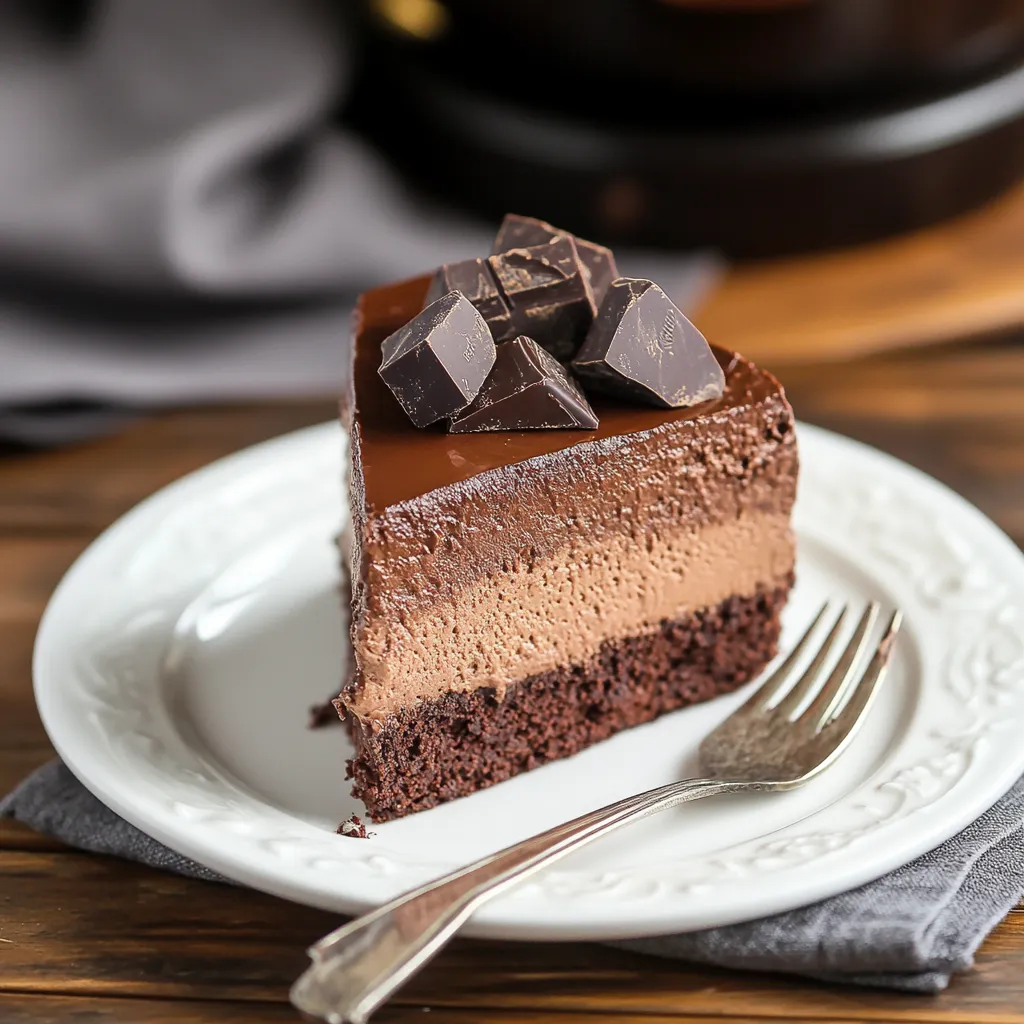
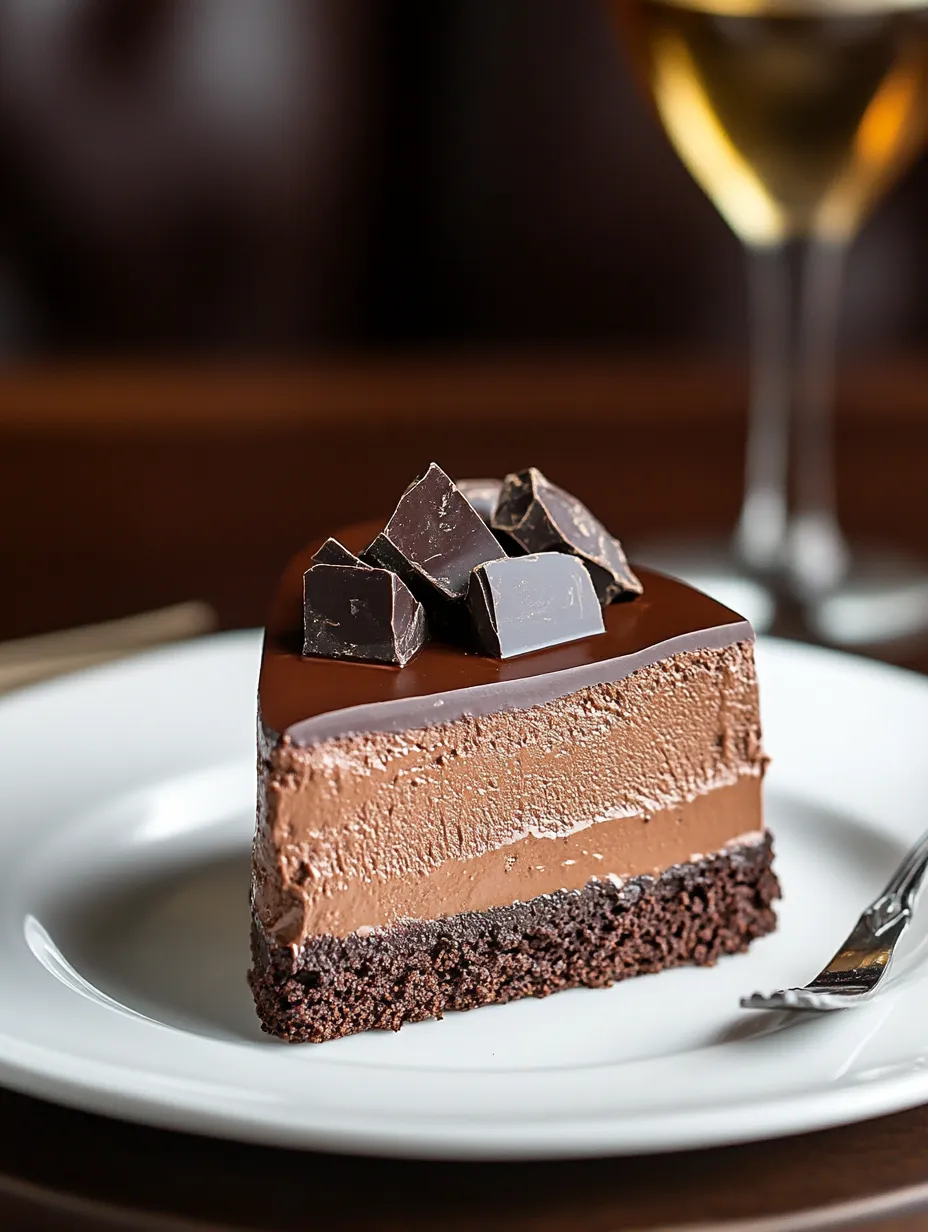
Chocolate decadence takes on a whole new meaning with this three-tiered chocolate wonder. Each section builds on the previous to deliver a dessert that's both elegant and deeply rewarding - a bottom layer of flourless chocolate goodness sets the stage for a velvety bourbon-enhanced mousse, all finished with a gleaming ganache topping that reflects light and delivers pure chocolate joy.
When I made this for a dinner gathering recently, I noticed everyone went quiet mid-conversation after taking their first taste. Even my mother-in-law, who's usually careful about chocolate treats, asked for another piece.
Key Ingredients and Shopping Advice
- Bittersweet Chocolate: Grab bars instead of chips for smoother melting and richer taste. Go for something with 60-70% cacao
- Bourbon: This liquor adds caramel and vanilla hints that boost the chocolate flavor. Try some Maker's Mark or Woodford Reserve
- Heavy Cream: Pick one with more fat (36-40%) for better whipping and a silkier ganache
- Eggs: Let them sit out until they reach room temp so they mix in better
- Butter: European varieties bring extra richness and help nail the perfect consistency
 Pin it
Step-by-Step Guidance
- Getting the Chocolate Ready (Cake Layer):
- The bottom layer needs careful melting - keep water barely bubbling, not boiling hard. Watch as your chocolate changes from dull to shiny. Once it's totally smooth with zero lumps, you're good to move forward.
- Working with Eggs (Cake Layer):
- When you're mixing eggs into your cake mix, make sure each one blends completely before adding another. You'll see the mixture getting smoother with each addition. This slow approach keeps eggs from cooking and makes everything mix evenly.
- Creating the Mousse Layer:
- For a perfect mousse, getting the temperature right matters a lot. Your chocolate should be warm enough to mix well but cool enough not to flatten your whipped cream. Touch the bowl - it should feel just slightly warm, about the same as your skin.
- Preparing the Ganache:
- Don't rush your ganache or it might turn grainy. After pouring hot cream over chocolate, let it sit untouched for the full two minutes. When you start mixing, begin in the middle and work your way out in bigger and bigger circles.
- Putting It All Together:
- Building the cake takes careful timing. Each section needs to be fully set before adding the next one. For clean-looking slices, dip your knife in warm water and wipe it dry between cuts.
 Pin it
I first tried making this cake for my sister when she got engaged. Waiting for each layer to set properly taught me that some baking magic just can't be hurried.
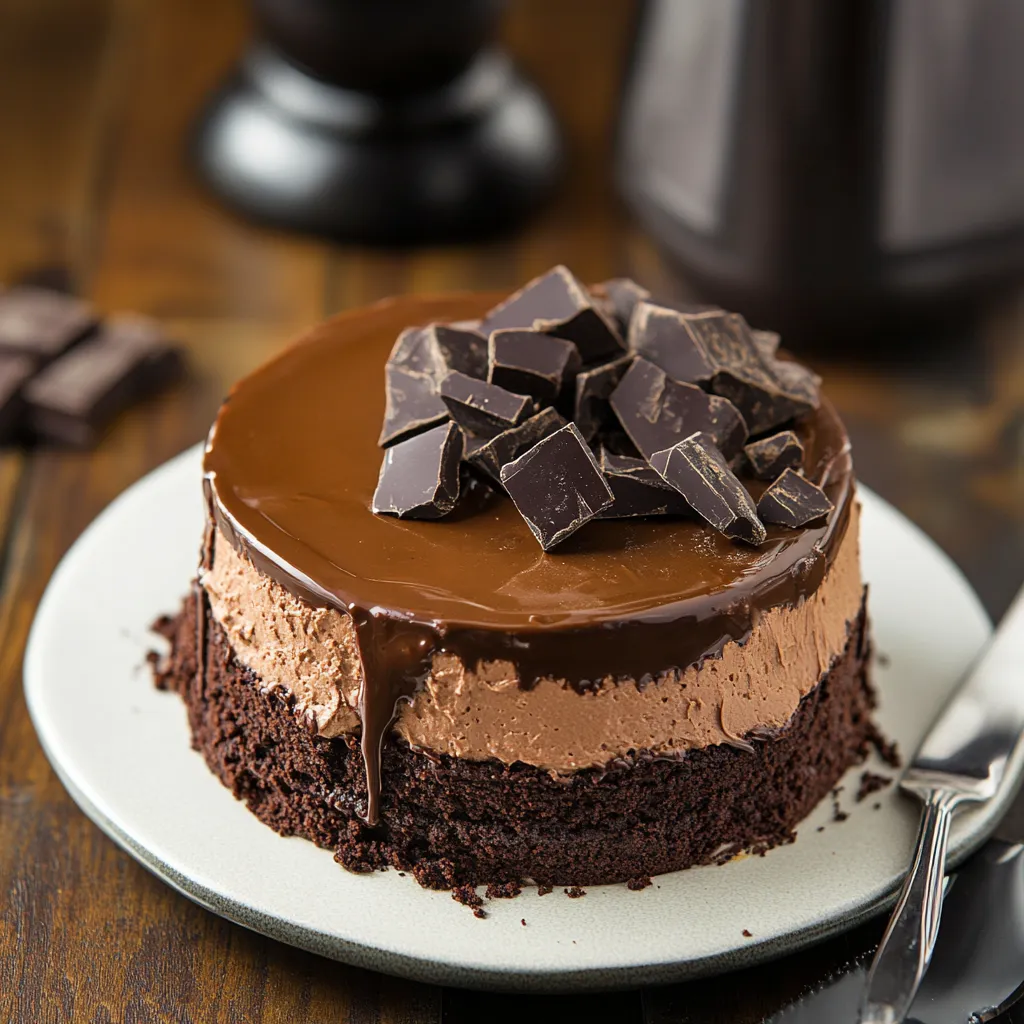
Creating Perfect Layers
Knowing how the layers work together makes every slice amazing. The solid cake base supports the light mousse while the ganache adds that fancy finishing touch. I've learned that chilling the first two layers a bit longer than needed - around 3 hours instead of 2 - makes putting everything together way easier.
Easy Decoration Ideas
While this cake looks great even plain, these simple touches can make it even fancier:
- Sprinkle cocoa powder on the sides for a soft, velvety look
- Make chocolate curls using a warm peeler against a chocolate bar
- Add tiny gold leaf touches on top for special celebrations
Getting the Temperature Just Right
How warm or cold your cake is really changes how it tastes:
- Take it out of the fridge 20-30 minutes before eating
- The mousse should be cool but not cold from the fridge
- The ganache should look slightly glossy
Working with this cake has shown me that chocolate acts differently at various temperatures. The way the mousse changes as it warms up is almost like magic - it gets smoother and smells better as it comes to room temperature.
Fancy Occasions
When hosting dinner parties, I like to put slices on warm plates, creating a nice temperature mix that brings out more flavor. Serving a small amount of aged bourbon alongside turns this into a grown-up tasting experience.
Prep-Ahead Possibilities
You can make the flourless cake part 2 days early if you wrap it well
The whole cake stays fresh for up to 5 days in the fridge
It actually tastes better after sitting for the first 24 hours
Closing Thoughts
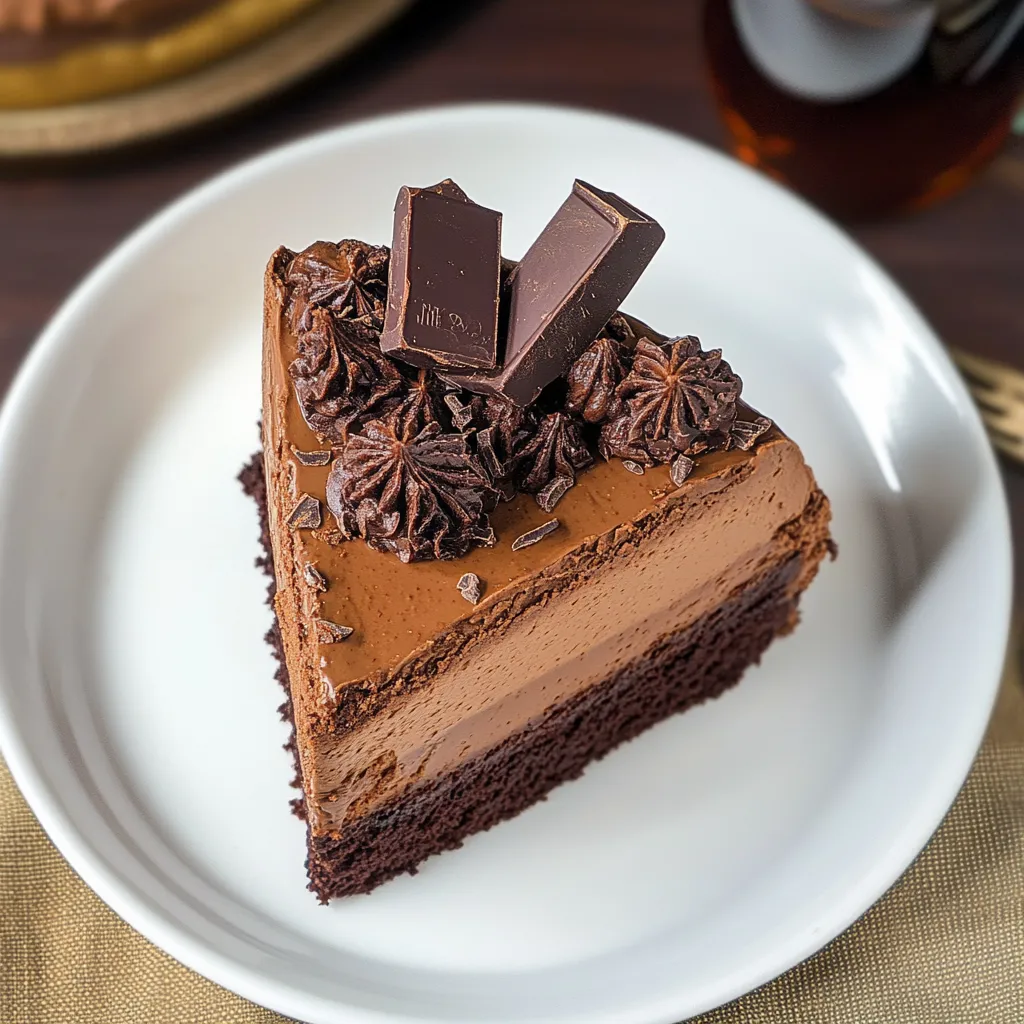
This Bourbon Chocolate Mousse Cake brings together skill and pure enjoyment. Each layer has its own personality - from the rich flourless bottom to the fluffy bourbon-flavored middle and the shiny ganache on top. It's a dessert that gets attention without being too fancy, sophisticated but still comforting.
The best part about serving this cake is watching people take that first perfect bite - seeing how the layers yield to the fork, noticing the hint of bourbon coming through, and enjoying the complete chocolate satisfaction. It's more than just dessert; it's something worth sharing.
Just remember, what makes this recipe great is patience and careful attention. Take your time with each layer and let the ingredients do their thing. The end result will be nothing less than wonderful.
Getting the Technique Right
Working with lots of chocolate has taught me that success comes from understanding how moody it can be. When melting chocolate for any part, always remember:
- Even tiny water drops will make it seize up - keep everything completely dry
- Slow, indirect heat stops burning and keeps everything smooth
- How you control temperature affects the final look and snap
Deeper Flavor Development
The bourbon does more than just add taste:
- It makes the chocolate's natural flavors stand out more
- The alcohol helps stop ice crystals from forming in your mousse
- Its natural vanilla notes work perfectly with dark chocolate
Keeping It Fresh
Pro bakers know that storing it right makes all the difference:
- Use a cake box instead of plastic wrap to protect the shiny top
- Keep it away from foods with strong smells in your fridge
- Let moisture form on the box, not directly on your cake
 Pin it
Fixing Common Problems
If your ganache separates and looks grainy:
- Warm up 2 tablespoons of cream until hot
- Slowly mix it into the broken ganache
- Keep stirring until it looks smooth and shiny again
Solving Typical Issues
Mousse not firm enough? You probably mixed too much or whipped the cream too far
Ways to Serve
Create a complete dessert experience by thinking about:
- How your drinks change temperature alongside the cake
- Using lighting that shows off the ganache's glossy top
- Arranging plates so everyone can easily cut and enjoy their piece
Learning Along the Way
Every time I make this cake, I notice something new. How ingredients work together, why timing matters so much, and the little signs that show it's turning out just right. It's a recipe that rewards careful attention while teaching valuable lessons about pastry making.
This cake isn't just about following directions - it's about understanding chocolate chemistry, temperature science, and the art of making something truly unforgettable. Each slice you serve celebrates both skill and care.
Frequently Asked Questions
- → Can I skip the bourbon?
- Sure, swap it with coffee or vanilla extract for an alcohol-free option.
- → How early can I prep this dessert?
- You can make it up to 2 days before. Keep it covered and in the fridge.
- → Is freezing this dessert possible?
- Yes, freeze it for a month. Let it thaw in the fridge overnight before eating.
- → What makes ganache separate?
- It splits when the cream's too hot. Cool it a bit before mixing in the chocolate.
- → Can I switch to milk chocolate?
- Sure, but it'll taste sweeter and lose that deep chocolaty punch.