
 Pin it
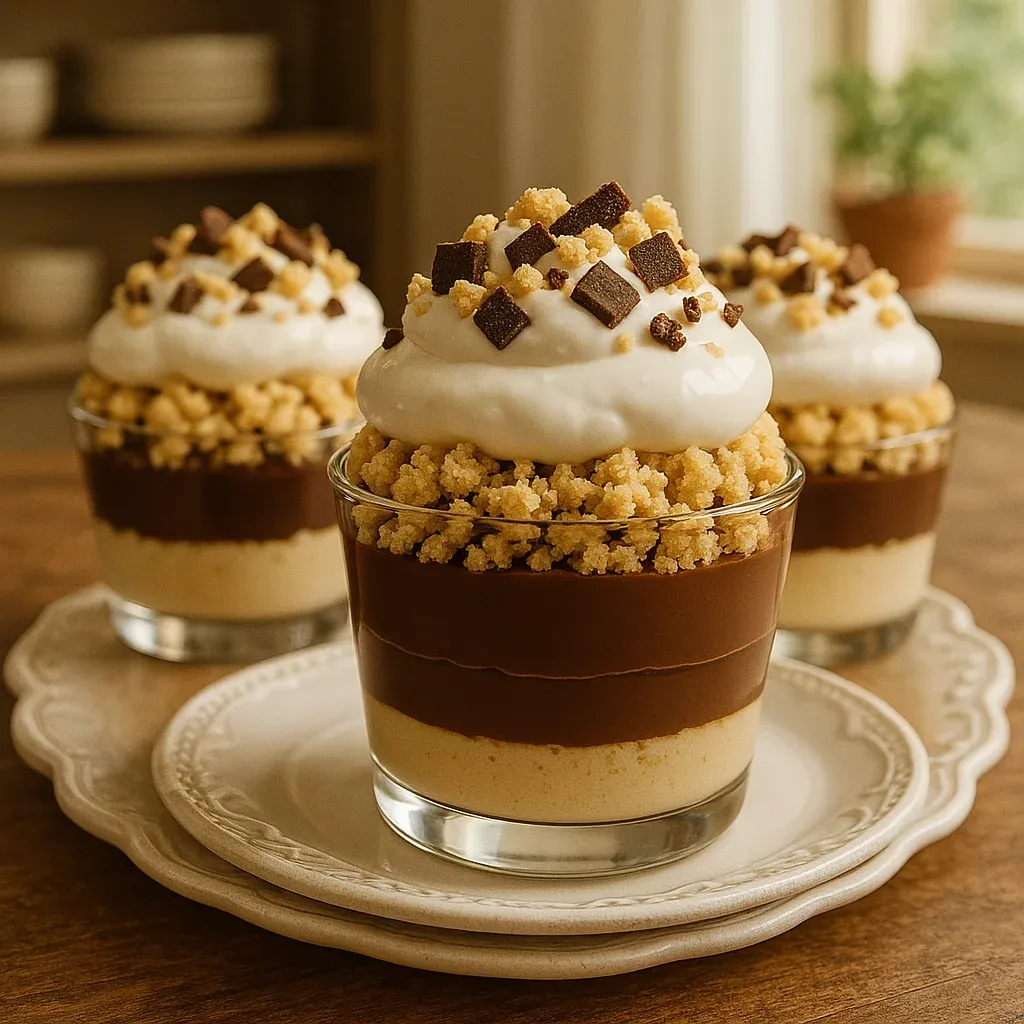
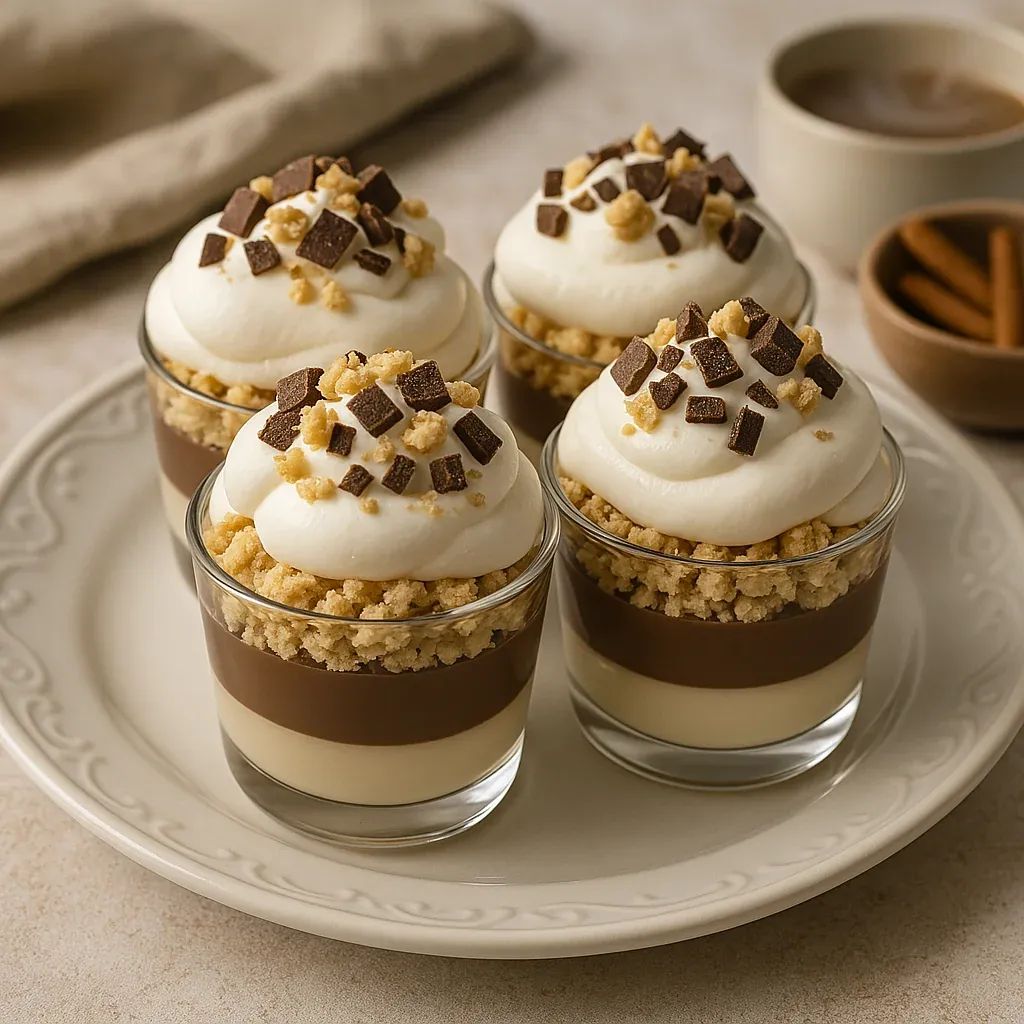
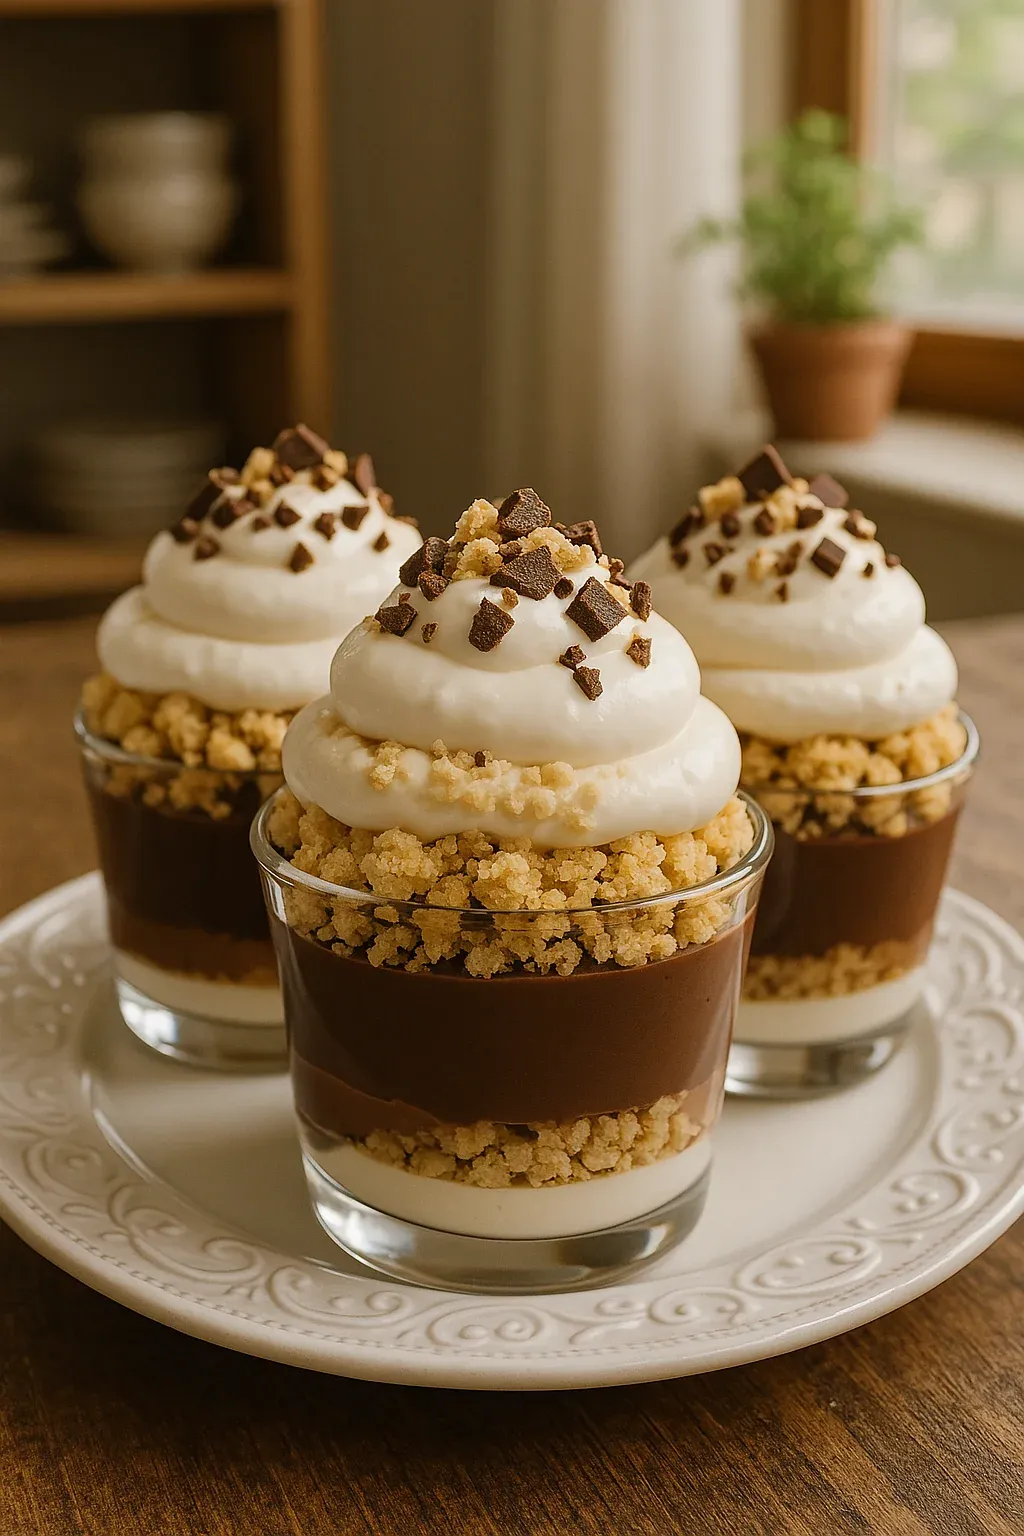
These indulgent S'mores Cheesecake Pudding Cups turn traditional campfire treats into a mouthwatering no-bake sweet that combines two favorite desserts. I whipped these creamy, multi-layered treats up for my niece's summer birthday celebration, and they've since become the family's go-to dessert whenever we get together.
I first threw these pudding cups together during a family backyard camping adventure. We planned for a bonfire, but rain showed up instead, leaving the kids pretty upset. These indoor treats quickly turned their frowns upside down. We've made them part of our tradition ever since, rain or shine.
What You'll Need
- For the Graham Cracker Crust
- Graham cracker crumbs: They create that signature s'mores foundation - honey grahams work best for that authentic taste
- Melted butter: Keeps your crust from falling apart and adds some luxury - go with unsalted to manage sweetness yourself
- Granulated sugar: Boosts graham flavor while helping make a sturdier bottom layer
- For the Cheesecake Pudding
- Instant vanilla pudding mix: Makes for a speedy filling base - don't grab the cheap stuff if you want the best outcome
- Cold milk: Gets the pudding going - full-fat milk makes everything extra smooth
- Cream cheese: Brings that cheesecake flavor everyone loves - make sure it's soft or you'll battle lumps forever
- Powdered sugar: Adds sweetness without the crunch and helps everything stay put
- Vanilla extract: Gives depth to all the other flavors - grab the real stuff instead of imitation
- For the Toppings
- Milk chocolate pieces: Can't have s'mores without chocolate - pick one that gets nice and melty
- Mini marshmallows: Give you that toasty finish everyone loves - tiny ones fit better in individual cups
Getting It Done
- Get Your Base Ready:
- Mix your graham crumbs with sugar and melted butter until it looks like damp sand. You'll know it's right when it sticks together if you squeeze it but doesn't feel soaked. Put about two spoons of mix in each cup and press it down hard with the back of your spoon. Really pack it in there so it'll stay solid under all the creamy stuff.
- Make Your Cheesecake Mix:
- Beat that cream cheese for a good 2 minutes till it's super smooth. Any bumps you see now will still be there when you serve it. Slowly add your powdered sugar and vanilla until it gets fluffy. In another bowl, mix your pudding powder with cold milk for a full 2 minutes until it starts to thicken up. Now fold everything together with gentle moves so it stays light but gets completely mixed.
- Stack Everything Up:
- Spoon your cheesecake mix over each graham base, filling about three-quarters of the cup. Smooth the top with your spoon so the chocolate has a flat place to sit. Take your time - neat layers just look better. Scatter chocolate pieces all over the cheesecake part, using enough so there's chocolate in every bite but not so much that it takes over.
- Get Those Marshmallows Toasty:
- Arrange your mini marshmallows across the chocolate, letting them overlap a bit so they cover everything. Toast them with a kitchen torch, moving it around about 2 inches away until they turn golden brown. That contrast between crispy outside and gooey inside is what makes real s'mores so amazing. If you're using your oven broiler instead, don't walk away - they'll burn in seconds if you don't keep an eye on them.
- Cool It Down:
- Put your finished cups in the fridge for at least 2 hours. I know waiting is tough but it really matters for the right texture. The cooling time helps everything firm up nicely and lets all those flavors get friendly with each other.
 Pin it
Those little marshmallows really make this dessert shine. I found out by chance that the tiny ones give you the perfect amount in every bite. My daughter once talked me into using the jumbo kind and while they tasted great, they totally overpowered the delicate cheesecake flavor underneath. Sometimes the little things make the biggest difference.
Plan It Out
These cups are perfect for making before your friends come over. The cheesecake part actually gets tastier when it sits in the fridge for a while. You can put everything together except the marshmallows up to a day ahead. Keep them covered in the fridge, then add and toast those marshmallows right before everyone shows up. This way, you won't be stuck in the kitchen during your party, but your guests still get that wow moment when they see the freshly toasted tops.
Switch It Up
Once you've got this basic version down, you can play around with it. If you love chocolate, swap in chocolate pudding instead of vanilla or use chocolate graham crackers for your base. When fall rolls around, try adding a bit of cinnamon to your graham mix and use caramel-filled chocolate pieces for a taste of autumn. For a grown-up twist, splash a spoonful of coffee liqueur into your cheesecake mixture and top with dark chocolate curls alongside your toasted marshmallows. You can go wild with changes but still keep that cozy s'mores feeling everyone loves.
 Pin it
How To Serve
These S'mores Cheesecake Pudding Cups taste fantastic on their own but can become a real showstopper with thoughtful presentation. Try setting up a toppings station next to your prepared cups with extras like chocolate sauce, caramel drizzle, extra graham bits, and chocolate shavings so everyone can add their own final touches. In summertime, throw some fresh berries on the plate to cut through the sweetness. During the holidays, arrange them on a tray with some pine sprigs or serve them with peppermint hot cocoa to create a wintery vibe that reminds everyone of gathering around a campfire.
Frequently Asked Questions
- → Can I swap milk chocolate for dark?
Absolutely! Dark chocolate brings a bold, rich flavor to this dessert. Feel free to switch it up to suit your preferences.
- → What if I don't have a kitchen torch?
Your oven's broiler can do the job in about a minute or two. Just keep an eye on the marshmallows so they don't burn.
- → Can I prep these ahead of time?
Yep! Prepare the cups ahead but toast the marshmallows right before serving for the best look and flavor.
- → How should I store these cups?
Pop them in the fridge inside a sealed container, and they'll stay fresh for 2-3 days. To keep the marshmallows crispy, toast them last-minute.
- → Can I freeze these desserts?
Sure thing! Leave the marshmallows off before freezing. Once thawed overnight in the fridge, toast some fresh marshmallows for topping.
- → What's the best way to serve these?
Use small mason jars or clear glass dishes. The layers look amazing through the glass!