
 Pin it
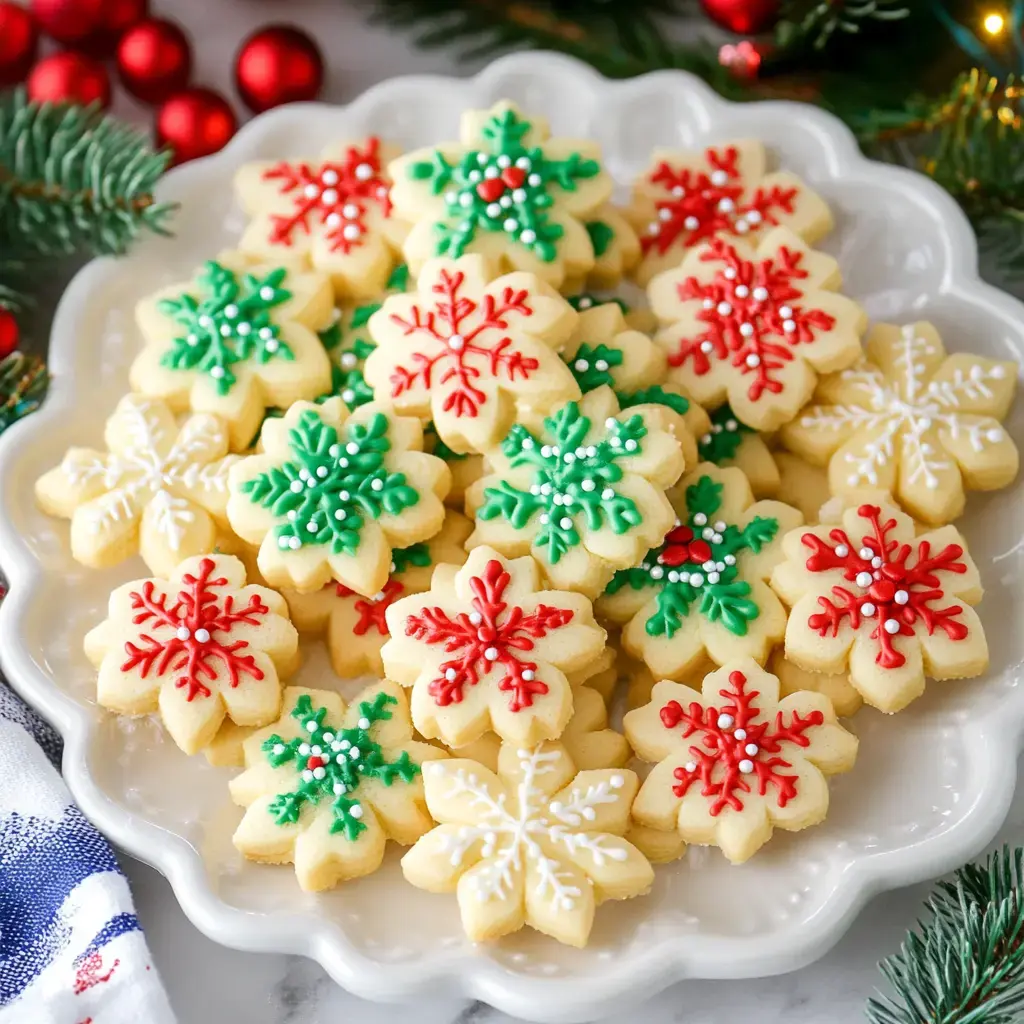
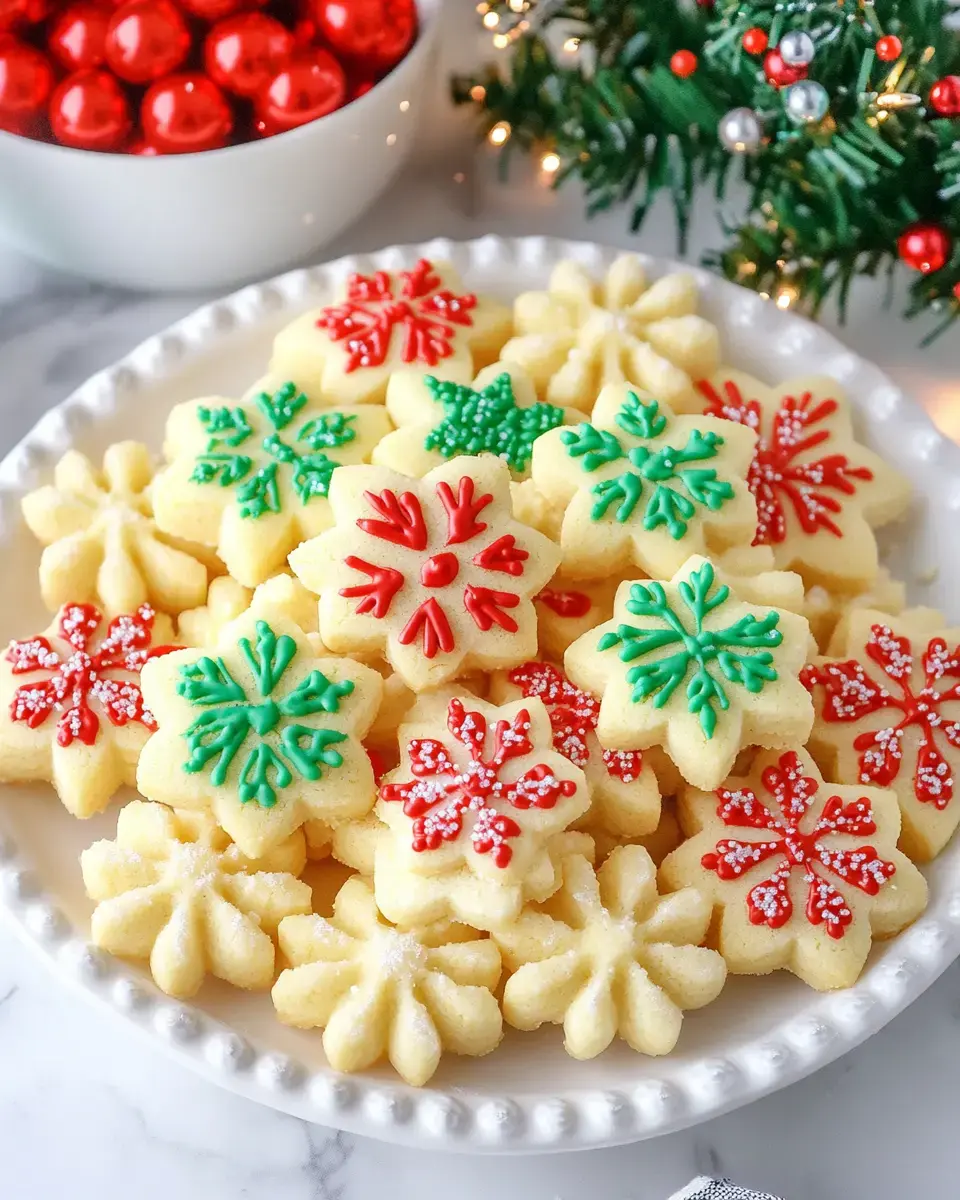
These buttery, delicate Classic Spritz Cookies come together easily and make perfect holiday treats. They're made with a cookie press to form fun shapes, drawing inspiration from traditional German baking. The rich, buttery base with subtle almond and vanilla notes creates tender cookies that look stunning on any platter, whether simply topped with colored sugar or fancied up with chocolates and colorful sprinkles.
What Makes These Cookies Special
You'll fall in love with the incredible texture of these spritz cookies—they're somewhere between a butter cookie and shortbread with a wonderful melt-away quality you can't get from the store. The best part? No need to chill the dough, so you can whip them up fast and get dozens from a single batch. They're super adaptable with endless shape and decoration options for any celebration.
What You'll Need
- Cookie Dough Basics:
- 2 cups unsalted butter, softened
- 1 cup granulated sugar
- 2 large eggs, room temperature
- 2 teaspoons vanilla extract
- 1/2 teaspoon almond extract
- 4 1/4 cups all-purpose flour
- 1/2 teaspoon salt
- For Topping:
- Colored sugar
- Nonpareils
- Mini chocolate chips
- Gel food coloring
- Tools You'll Want:
- Cookie press with design plates
- Ungreased baking sheets
- Electric mixer
- Cooling racks
Easy Preparation Method
- Mix Your Base
- Cream butter and sugar until fluffy and light, roughly 3 minutes. Drop in eggs individually, then add vanilla and almond extracts. Gently fold in flour and salt just until everything comes together.
- Add Some Color
- Split the dough and add gel food coloring to create different shades if you want. Blend until the color looks even, but don't overwork it.
- Load Your Press
- Put dough into your cookie press with your favorite design plate attached. Press cookies straight onto cool, ungreased cookie sheets.
- Fancy Them Up
- Top with colored sugar or other decorations before they go in the oven. Push slightly to make sure they stick.
- Finish Them Off
- Bake at 375°F for 5-7 minutes until they're firm but not brown. Let them sit on the sheets for 2 minutes before moving to cooling racks.
Tricks for Perfect Results
Always start with butter that's been sitting out till soft. Don't let your dough get too warm while working. Make sure to wipe off press plates between batches for crisp designs. If cookies won't stick to your pan, try popping the baking sheet in the fridge for a minute. Never grease your cookie sheets or the dough won't stick properly. Always test one cookie first to check if your dough feels right.
 Pin it
Creative Finishing Touches
Mix it up with various press plates and dough colors for eye-catching treats. Add melted chocolate drizzles once they've cooled down. Put two cookies together with chocolate or jam filling. For a simple look, dust them with powdered sugar. Match your colors and toppings to upcoming holidays. They make great gifts in clear bags or pretty tins.
Keeping Them Fresh
Keep them fresh in sealed containers at room temp for up to a week. Put wax paper between layers so they don't get damaged. You can freeze baked cookies for up to 3 months in sealed containers. Just let them warm up before serving. The dough can be made and kept in the fridge for up to 3 days, but bring it back to room temperature before using your press.
Frequently Asked Questions
- → Why skip parchment paper?
You want the dough to grab the surface when you press it. Parchment is too slick for this. Silicone mats are a better option.
- → How do I cream butter and sugar right?
When the mix gets fluffy and turns a bit paler, you're all set! This usually takes 3-4 minutes of beating.
- → Can the dough be colored?
Absolutely! Use gel colors and add a little at a time. Avoid liquid dyes—they'll make your dough too soft. Split the dough to do multiple colors if you'd like.
- → How long will they stay good?
If kept airtight, they’ll taste great for up to a week!
- → Why are my cookies spreading?
These cookies shouldn’t really spread. If they do, it’s likely because the dough is too warm or too thin. Try popping it in the fridge for a bit before pressing.
Conclusion
These cookies are a classic holiday crowd-pleaser, loved for their buttery texture and cute, pressed designs. You can dress them up with sprinkles or colors to fit any festive vibe. Just follow simple steps for soft, tasty results!