
 Pin it
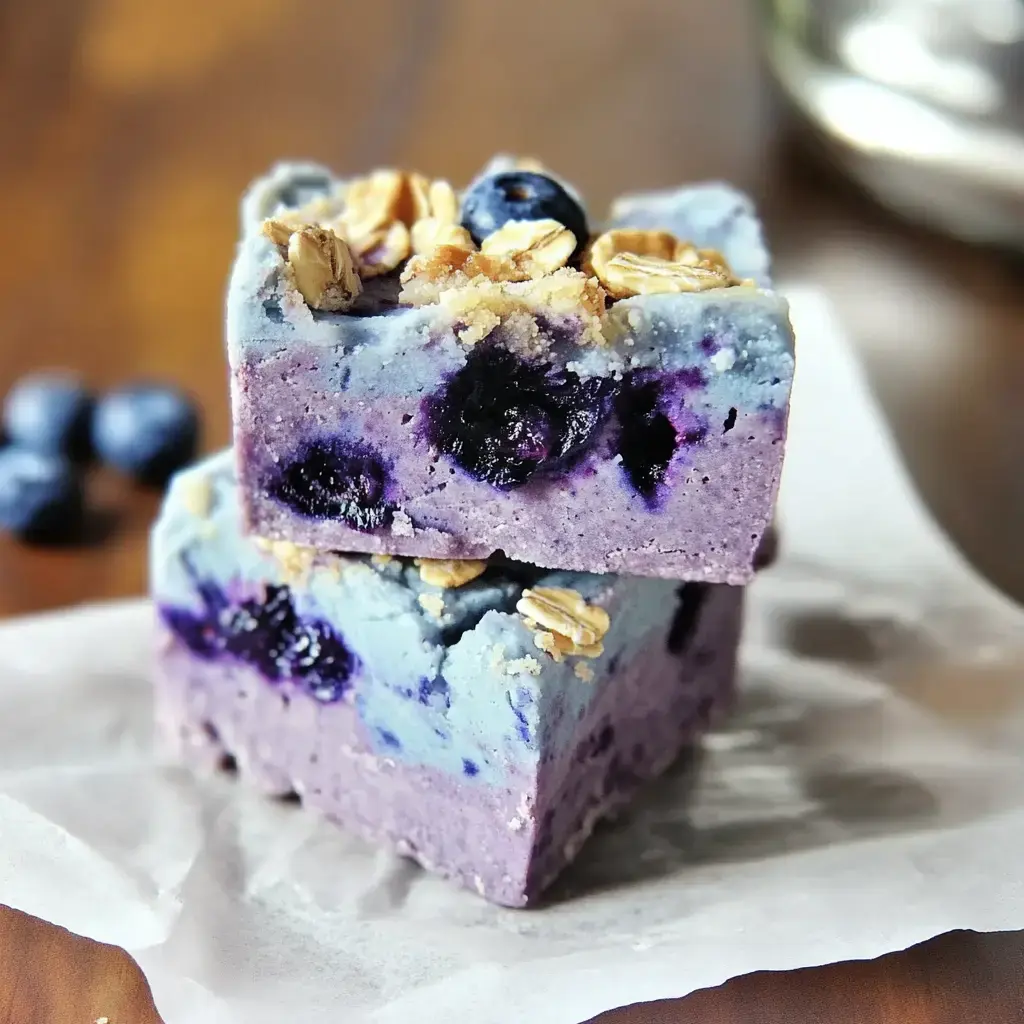
Last summer, when my garden was bursting with berries, I whipped up this blueberry fudge. The inspiration came from mixing my grandma's old muffin ideas with my favorite no-bake sweets. These days, my little ones start begging whenever blueberries show up at the grocery store. That combo of creamy white chocolate and tangy berries creates a fudge that reminds us of breakfast muffins.
Why This Fudge Stands Out
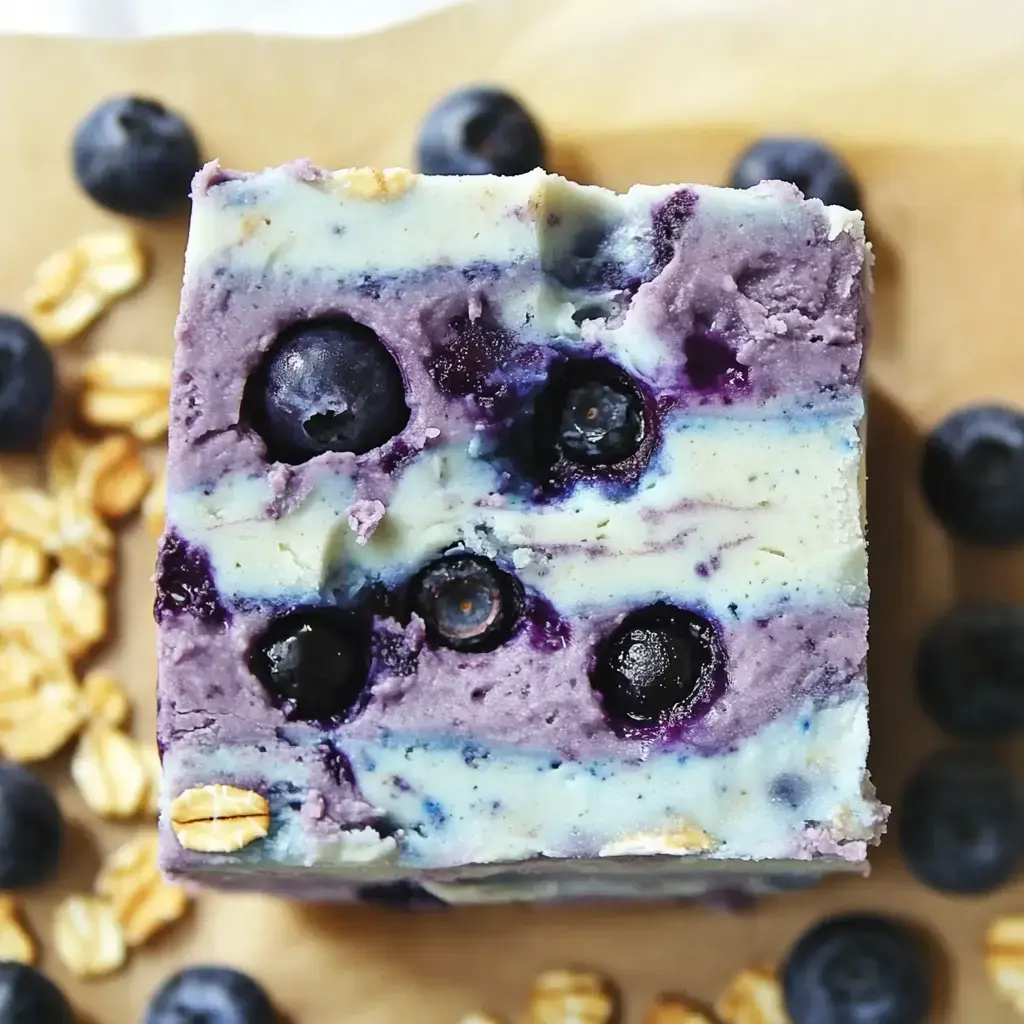
The natural blue patterns make this fudge really stand out on any dessert table. Whenever I take it to outdoor gatherings, the neighbors won't leave without the instructions. I often make extra batches for holiday gifting. And the biggest win? You don't need to turn on your oven when it's blazing hot outside.
Your Ingredient List
- Main Stuff:
- 1/2 cup unsalted butter, at room temperature
- 1/4 cup regular sugar
- 1 tsp real vanilla extract
- 1 cup regular flour (heat it in microwave first)
- 1 can sweetened condensed milk (14 oz)
- 3 cups white chocolate chips
- 1 cup fresh blueberries
- Blue and purple food coloring if desired
- For the Topping:
- 1/2 cup rolled oats
- 2 tbsp brown sugar
- 1 tsp vanilla extract
- 1 tbsp honey
Fudge Preparation Steps
- First Step
- Get a 9x9 baking dish and put parchment paper in it.
- Start the Base
- Combine your butter sugar and vanilla in a mixing bowl till it's smooth. Warm the flour in the microwave and then mix it into your butter combo.
- Get the Chocolate Ready
- Combine white chocolate with condensed milk in a bowl. Heat in microwave a few seconds at a time mixing between until smooth. Pour this into your first mixture and blend well.
- Time for Berries
- Add your blueberries to the mix. For prettier colors, add drops of blue and purple food coloring.
- Let it Set
- Pour the mixture into your pan smooth it out and stick it in the fridge all night.
Mix It Up
You can try pouring melted white chocolate on top instead of using oats. Smashed graham crackers work wonderfully too. My mother adds some lemon peel to her version and it pairs wonderfully with the blueberries.
The Crunchy Topping
Line a cookie sheet with parchment paper. Stir together your oats brown sugar vanilla and honey in a small bowl. Spread this mixture on your sheet and cook at 400° for about 10 minutes. Stir occasionally until it turns golden brown. Wait for it to cool down before adding it to your fudge.
 Pin it
Final Steps
After your fudge has fully chilled cut it into blocks. Scatter the tasty oat mixture over the top and maybe add some extra fresh berries for a fancy look. I think it tastes best when it warms up a bit and gets super creamy but straight from the fridge works great too.
Tips From My Kitchen
Fresh berries beat frozen ones because they won't make everything soggy. Start with just a little food coloring you can always put in more later. Make sure it's completely chilled before slicing or you'll end up with a big mess.
Keeping Your Fudge Fresh
It'll stay good in a container on your counter for about 3 days. Pop it in the fridge if you want it firmer. You can even freeze it just wrap it up tight and it'll stay good for 3 months. Let it thaw in your fridge when you want some.
 Pin it
Delightful Summer Indulgence
This blueberry fudge always takes me back to summer days cooking with my grandma. It's great for gatherings cookouts or just spoiling yourself a bit. Those pretty blue swirls and sweet berry taste make it so hard to stop at just one piece.
Frequently Asked Questions
- → Why toast the flour first?
This gets rid of the raw taste and makes it safer for no-bake dishes.
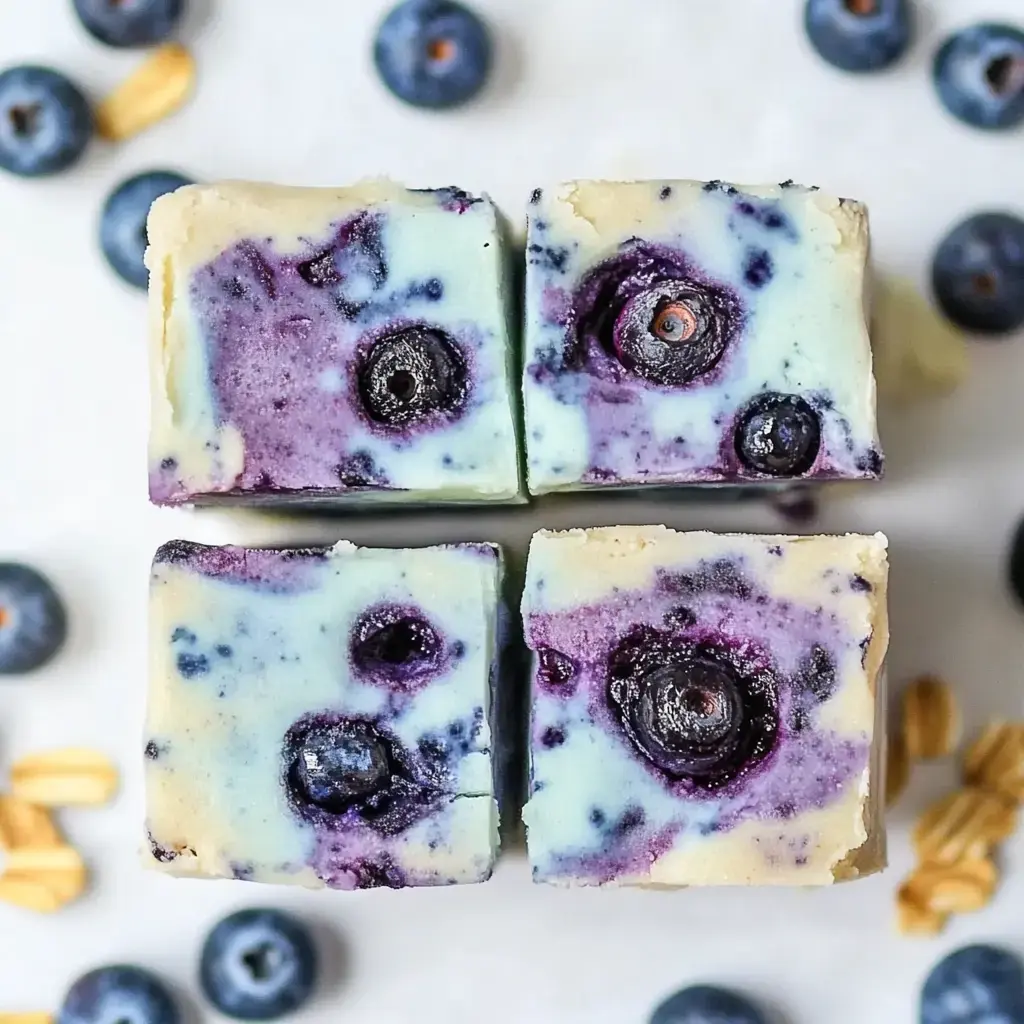
- → How to keep marble swirls?
Turn the mixer just once for each color. Stirring too much blends it all together.
- → Can I use frozen berries?
Fresh are best, but if wet, frozen ones can affect the fudge texture.
- → Why does my topping burn?
Oats toast quickly—stir them and keep an eye on the color.
- → Why isn't it setting right?
Chill it overnight for perfect firmness. Short chilling can leave it soft.
Conclusion
This no-bake treat layers creamy white chocolate fudge with swirled blueberry marble and a golden oat crumble on top.