
 Pin it
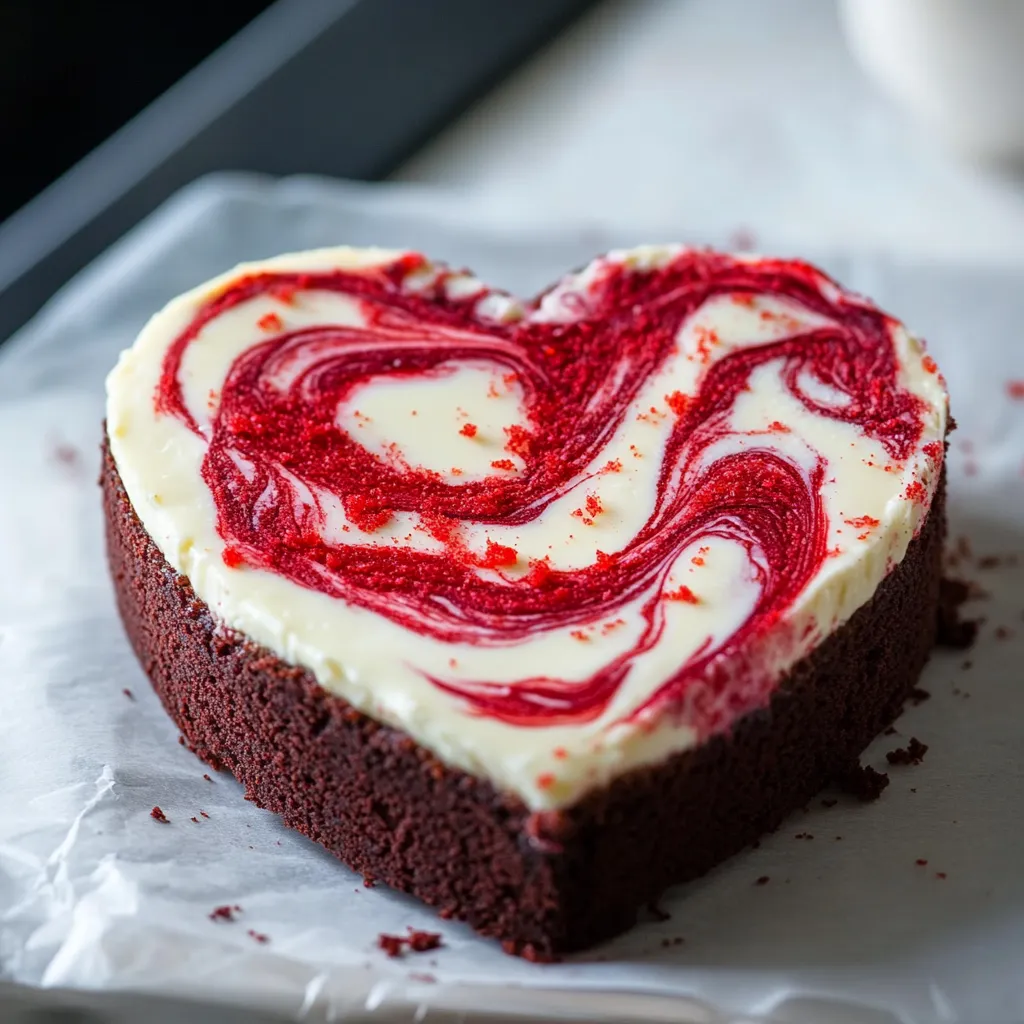
This decadent combo of Red Velvet Cheesecake brings together two favorite treats in one eye-catching dessert. Every portion showcases beautiful contrast - a velvety crimson bottom layer topped with creamy cheesecake, making a mouthwatering treat that's gorgeous to look at and impossible to resist.
When I first baked this cheesecake for my kid's birthday party, everyone went "wow" as soon as I sliced into it. All that careful work paid off! The beautiful contrast between the deep red cake and snow-white cheesecake layer makes guests grab their cameras before they even take a bite.
Key Ingredients
- Cream Cheese: Full-fat and left out until soft. I always pick Philadelphia for the best results
- Unsalted Butter: Go for fancy European kinds to get richer taste
- Large Eggs: Set them out to warm up for better mixing
- Semisweet Chocolate: Cut up good quality bars, don't use chips
- All-Purpose Flour: Gently scoop and level off for the right amount
- Pure Vanilla Extract: Skip the fake stuff for authentic flavor
- Red Food Coloring: The gel type gives strong color without extra moisture
- Greek Yogurt: Use full-fat for the right tang and moisture
MAKING IT STEP BY STEP
- 1. Getting Ready:
- Put your oven rack in the middle and heat to 325°F. Make sure everything's warmed to room temp. Grease a 9-inch springform pan and put parchment on the bottom. Wrap the outside twice with heavy-duty foil. Set up your kitchen with different spots: one for melting, one for mixing, and one for putting it all together. Measure everything out first.
- 2. Making The Red Cake Base:
- Set up a bowl over simmering water. Melt your butter and chocolate together, stirring now and then until smooth. While that's happening, mix your dry stuff in another bowl. Use your stand mixer to beat butter and sugar until fluffy, about 3-4 minutes. Add eggs one by one, scraping down the sides between each.
- 3. Getting The Batter Just Right:
- Add dry ingredients and buttermilk to your butter mix, going back and forth but starting and ending with dry stuff. Mix just enough after each addition. Put in vanilla and slowly add red coloring until you get that deep red you want. Scrape the bowl well so everything's mixed properly.
- 4. Creating The Cheesecake Top:
- Beat cream cheese until it's totally smooth with no lumps, around 3-4 minutes. Gradually pour in sugar while mixing. Add eggs one at a time, letting each one blend in completely. Mix in vanilla and lemon zest. Beat until it's silky but don't go overboard.
- 5. Putting It Together And Baking:
- Pour your red velvet batter into the pan and smooth the top. Carefully spoon cheesecake mixture over the red layer. Put this in a bigger roasting pan and pour hot water around it halfway up the sides. Bake for 1 hour 15 minutes until the edges are set but the middle still jiggles slightly.
 Pin it
EXTRA KNOW-HOW
- Getting That Smooth Texture:
- During my cooking classes, I found out the real secret to amazing cheesecake is taking your time. Room temp ingredients, gentle mixing, and proper cooling all work together for that smooth-as-silk feel. My teacher always said, "If you hurry, everyone will taste your impatience in every bite."
- Why Water Baths Work:
- Learning about water bath science totally changed my cheesecakes. The moist heat stops cracks and cooks everything evenly. I figured this out after lots of failures - now I always use one. It's basically like giving your dessert a protective steam treatment.
- Managing Temperatures Right:
- Getting temperatures just right can make or break this dessert. I learned watching my grandma, who would touch the cream cheese - if it felt cool, she'd wait longer. This patience helps everything blend together perfectly for that dreamy texture everyone loves.
Important Points
- Keep that oven door closed while baking or you'll get cracks
- When done, the middle should still wiggle a little bit
- Cool it down slowly to avoid cracks on top
- Don't skip warming up your ingredients - it really matters
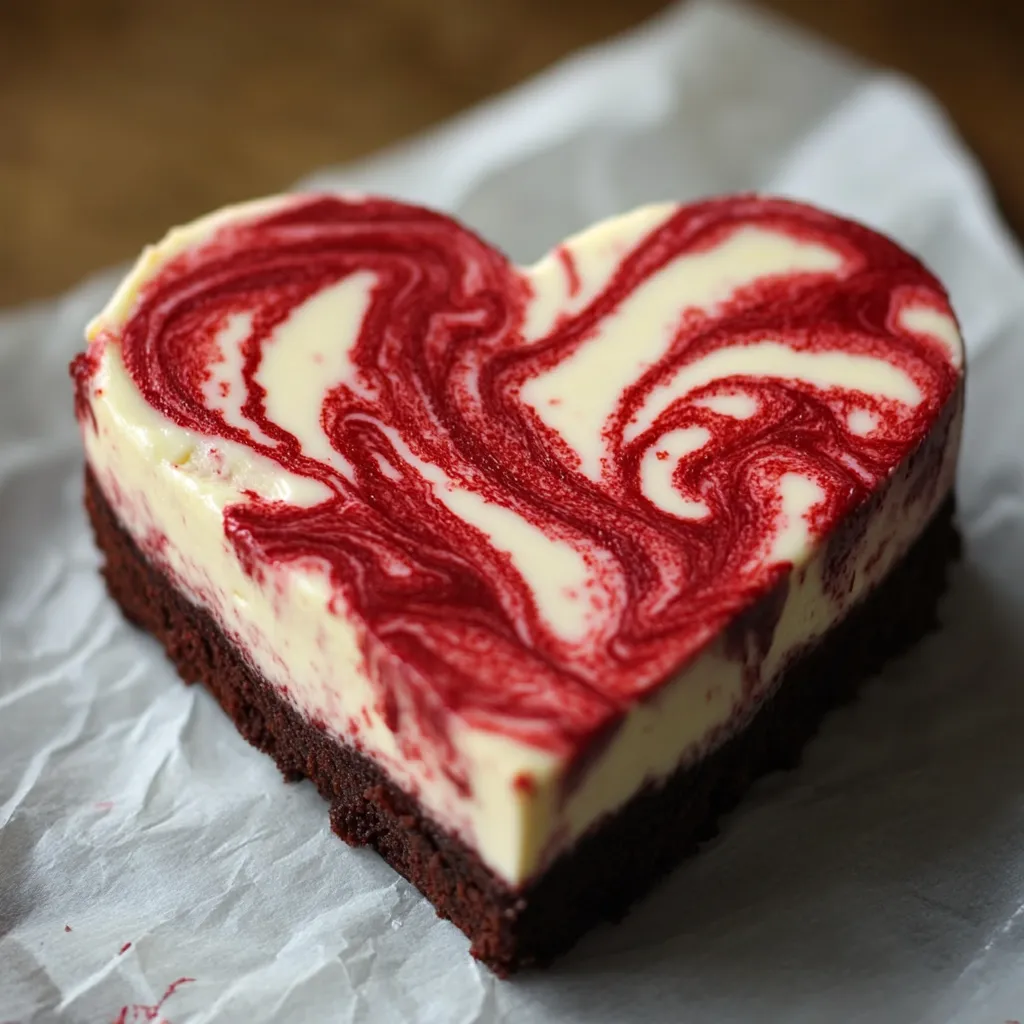
My whole family loves the moment we cut into this cheesecake. Seeing my daughter smile at those perfect red and white layers makes all the careful work worthwhile. It's now become our go-to dessert for any celebration.
 Pin it
Smart Cooking Pointers
- Use two layers of heavy-duty foil around your pan so water can't get in
- Keep cream cheese cold for cutting neat slices
- Let the red cake layer firm up a bit before adding the cheesecake mix
- Store a vanilla bean in your sugar container to boost flavor
- Always pick gel food coloring for bold red without changing the texture
I've learned that making this Red Velvet Cheesecake shows how mixing classic desserts in new ways can create something amazing. Whether you're hosting a holiday dinner, throwing a birthday party, or just want to treat yourself, this dessert always brings smiles around the table. What makes it turn out great isn't just what goes in it, but the care you take with each step. My grandma used to tell me, "A cheesecake that's rushed ends up crushed" - and that's so true when you see how each perfect slice turns out.
Frequently Asked Questions
- → Can I prepare this early?
- Sure, keep it in the fridge for up to 3 days. Cut hearts right before serving.
- → What do I do with the extras?
- The leftovers are yummy! Snack on them or crumble them over ice cream.
- → Can I store these in the freezer?
- Absolutely! Keep whole or heart-shaped pieces in the freezer for 2 months. Let them thaw in the fridge overnight.
- → Why include Greek yogurt in the mix?
- It adds a nice tang and makes the cheesecake soft and silky.
- → Can I swap out the food dye?
- You can, but gel dye gives a deeper red without messing with the texture.