
 Pin it
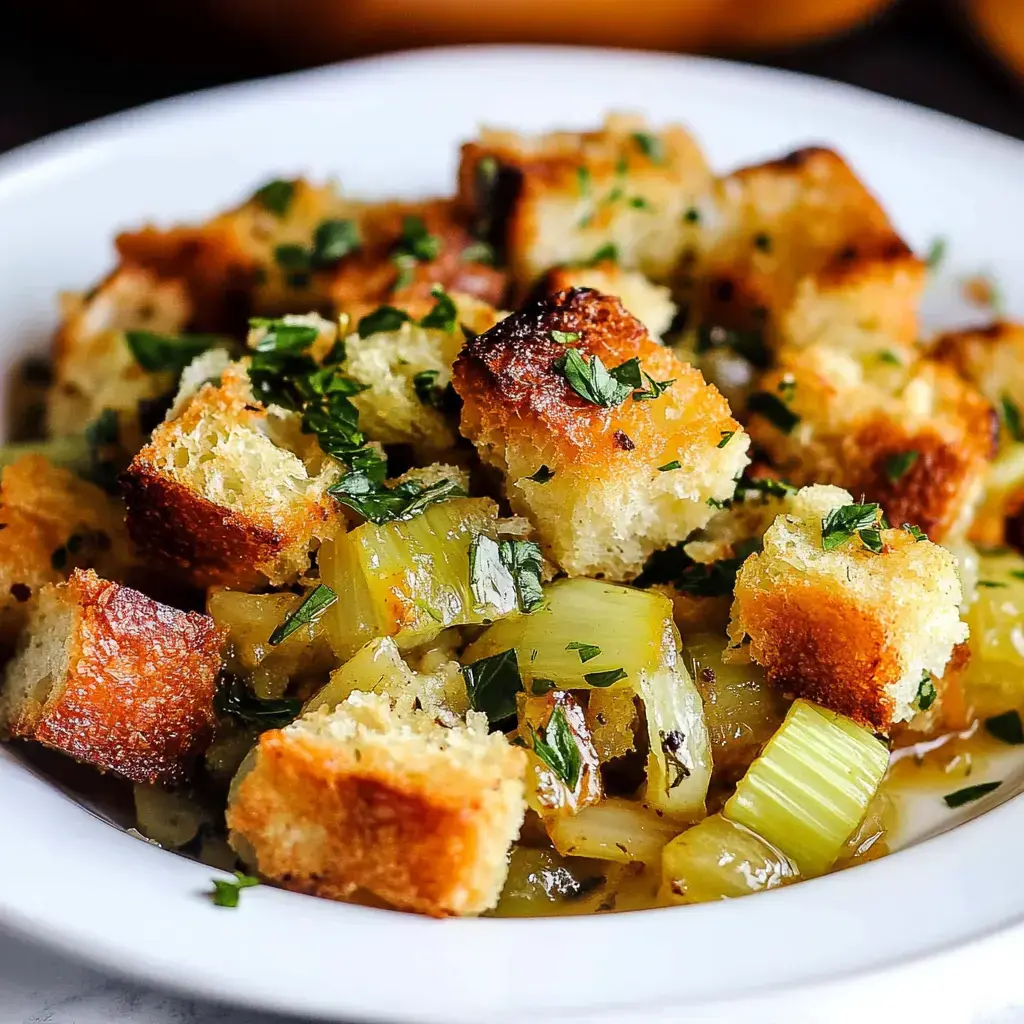
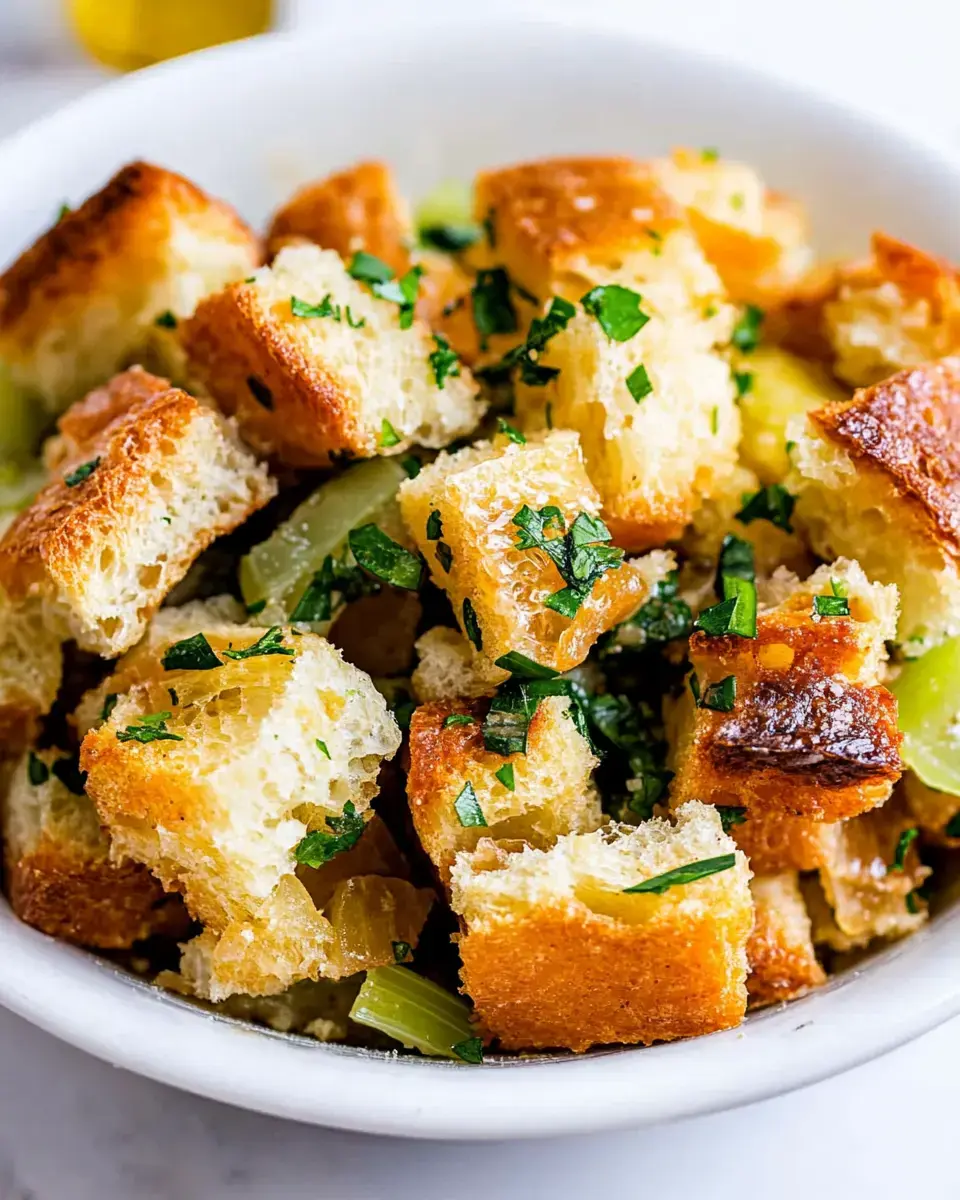
Want an amazing Thanksgiving stuffing you can make at home? This simple method gives you those buttery, herby flavors we all remember from grandma's kitchen! You'll get that perfect combo of soft centers and crunchy tops that screams holiday comfort. The magic happens when those toasted bread chunks meet fresh herbs - your kitchen will smell incredible!
What Makes This Method Special
This stuffing delivers everything you're craving - soft middles, crispy edges, and authentic holiday taste. You can get it ready beforehand, which really helps when you're juggling multiple dishes on Thanksgiving. And it works with whatever bread you have around. Everyone will beg you for the instructions!
What You'll Need
- The Base: Any bread works here - try sourdough, white, or French for your creation.
- Good Butter: Adds that luxurious flavor throughout.
- Fresh Stuff: Onions and celery create that foundation of classic taste.
- Fresh Herbs: Mix in parsley, sage, rosemary, and thyme for that authentic touch.
- The Liquid: Broth keeps everything perfectly damp.
- Binding: A pair of eggs helps everything stick together nicely.
Let's Make Stuffing
- Prep Your Bread
- Cut your bread into chunks and brown them in the oven - this works so much better than waiting for staleness!
- Cook Your Veggies
- Melt that butter and soften those vegetables. This is where the amazing flavors start developing.
- Mix It Up
- Combine everything in your largest mixing bowl - you need plenty of space to blend it all properly.
- Add The Moisture
- Slowly pour in the broth-egg mixture. You want everything damp but not swimming.
- Baking Time
- Put it all in a well-buttered dish and cook covered first, then remove the cover to get those irresistible crunchy bits!
My Best Tips
I've made this stuffing countless times, and here's what I've learned: Don't wait for bread to go stale naturally - oven toasting gives much better results. Cut those herbs really small, and don't rush when adding liquid. And don't forget to butter that baking dish thoroughly for amazing crispy edges!
 Pin it
Plan Ahead
This approach fits perfectly with busy holiday schedules! You can mix everything up a day early - just wrap it well and store in your fridge. Need more lead time? You can freeze it for up to 3 months with no problems. You can even bake it first, then freeze the finished product. Just heat it slowly when needed, and uncover at the end to crisp those edges.
Leftovers Are Gold
Lucky enough to have extras? There's so much you can do! Stack it on turkey sandwiches, fry it with eggs for breakfast, or stuff it into bell peppers with cheese on top. My family goes wild for stuffing waffles - just add a splash of broth and press in a hot waffle iron. It even makes a fantastic bottom layer in a quick shepherd's pie!
Frequently Asked Questions
- → Why is toasted bread better than stale bread?
Toasting makes the bread absorb the broth more effectively while keeping a crisp texture. Old bread just gets chewy and tough instead.
- → Can this be prepared ahead of time?
Sure! Prep it up to a day in advance and stash it in the fridge unbaked. You can also freeze it before or after baking for later use.
- → Is it okay to use dried herbs?
Of course! Just use about one-third of the amount and toss them in while cooking the veggies to help bring out the flavors.
- → Why is there so much butter in this recipe?
The butter makes it rich and flavorful while also keeping the bread just the right texture during baking.
- → How do I tell if the stuffing needs more broth?
If the bread feels damp and soft but not soggy, you’re good. There shouldn’t be any pools of liquid gathering in the bowl.