 Pin it
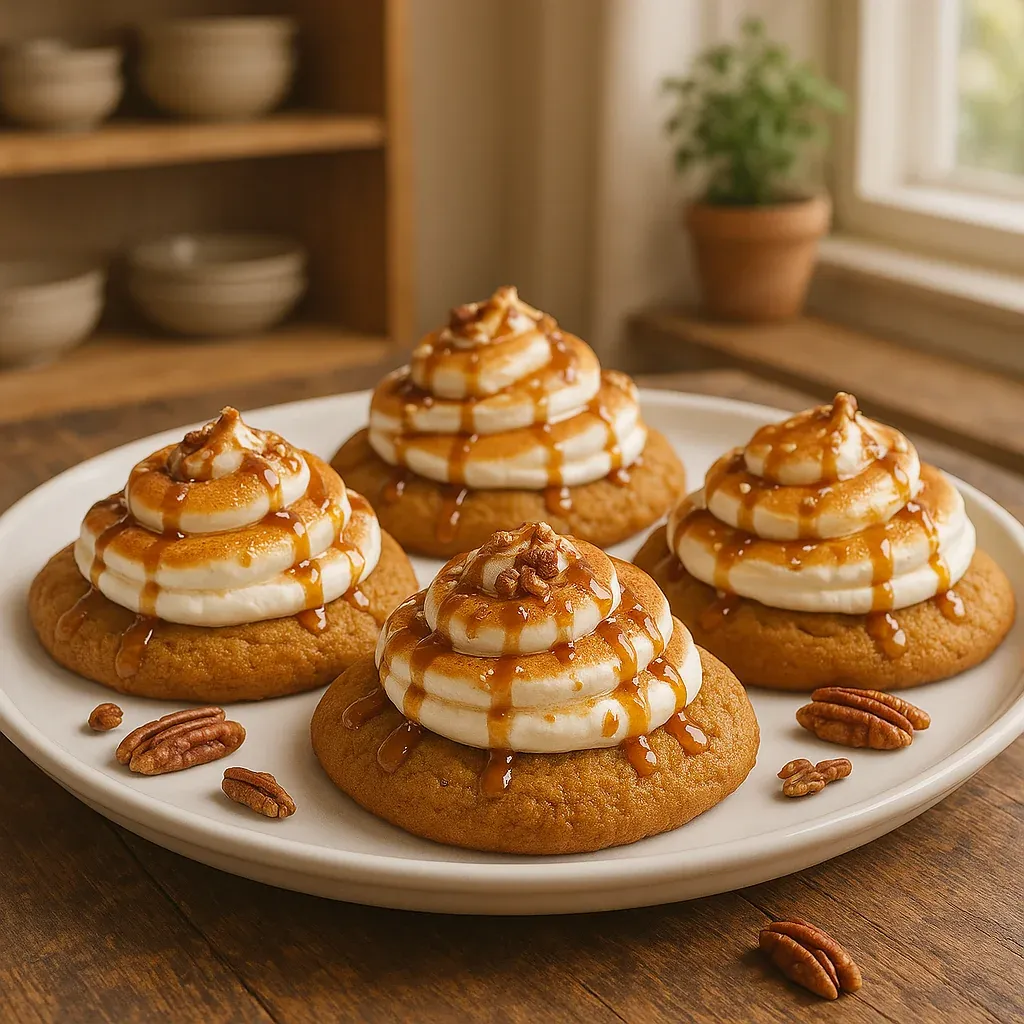
These indulgent sweet potato cookies blend cozy autumn flavors with a gooey campfire-style marshmallow crown. The sweet potato gives you a soft, damp cookie while the toasted marshmallow brings that classic s'mores feeling right to your table. I came up with this treat during a drizzly afternoon when my kids wanted something different from our go-to sweets.
I first baked these treats while trying to use up extra sweet potatoes after our family dinner. What began as just playing around in the kitchen soon turned into our autumn tradition, with everyone crowding together to watch as I brown the marshmallow tops.
- Gluten free flour: Makes the ideal foundation for your soft-textured cookies
- Cornstarch: Gives you that tender middle everyone wants in a cookie
- Salt: Cuts the sweetness and lifts all the other tastes
- Baking soda and baking powder: Team up for just the right lift
- Brown sugar or coconut sugar: Brings rich caramel undertones
- Egg: Holds things together while the yolk adds a rich touch
- Vanilla extract: Adds depth and coziness to the mix
- Cooked mashed sweet potato: Keeps everything moist with natural sweetness
- Ground cinnamon: Pairs beautifully with the sweet potato flavor
- Butter: Makes everything soft and spreads flavor throughout
- Egg whites: Create the foundation for your puffy marshmallow top
- Sugar: Turns into shiny meringue when beaten enough
- Caramel drizzle: Finishes things off with a touch of luxury
- Finely chopped pecans: Add a nice crunchy element to each mouthful
Easy Baking Guide
- Set Up Your Kitchen:
- Heat your oven to 350°F and put parchment on two cookie sheets. Getting organized helps your baking go smoothly and makes sure each tray of cookies bakes the same way.
- Mix Your Cookie Dough:
- Beat butter and sugar together in a big bowl until it looks fluffy and light, about 3 minutes at medium. It should look whipped and lighter in color. Mix in the egg, extra yolk, vanilla, and sweet potato mash until they're all combined. Don't worry if it looks a bit separated at this point, that's totally fine.
- Add Your Dry Stuff:
- In another bowl, mix the gluten free flour, cornstarch, salt, baking soda, baking powder, and cinnamon. Slowly add this to your wet mix, stirring on low just until it comes together. Don't mix too much or your cookies will get tough, so stop when you can't see any more flour.
- Form And Bake Them:
- Drop spoonfuls of dough onto your cookie sheets, leaving about 2 inches between each one. Gently press them down with your hand. Bake for 12-14 minutes until the edges look set but the middles stay soft. Let them sit on the pan for 5 minutes before moving to a cooling rack.
- Whip Up The Marshmallow:
- Put egg whites and sugar in a bowl over a pot of simmering water. Keep whisking until the mix hits 160°F and all sugar melts. Take it off the heat and beat with an electric mixer on high until it forms stiff, shiny peaks, around 5-7 minutes. Your meringue should stand up when you lift the beaters.
- Put It All Together:
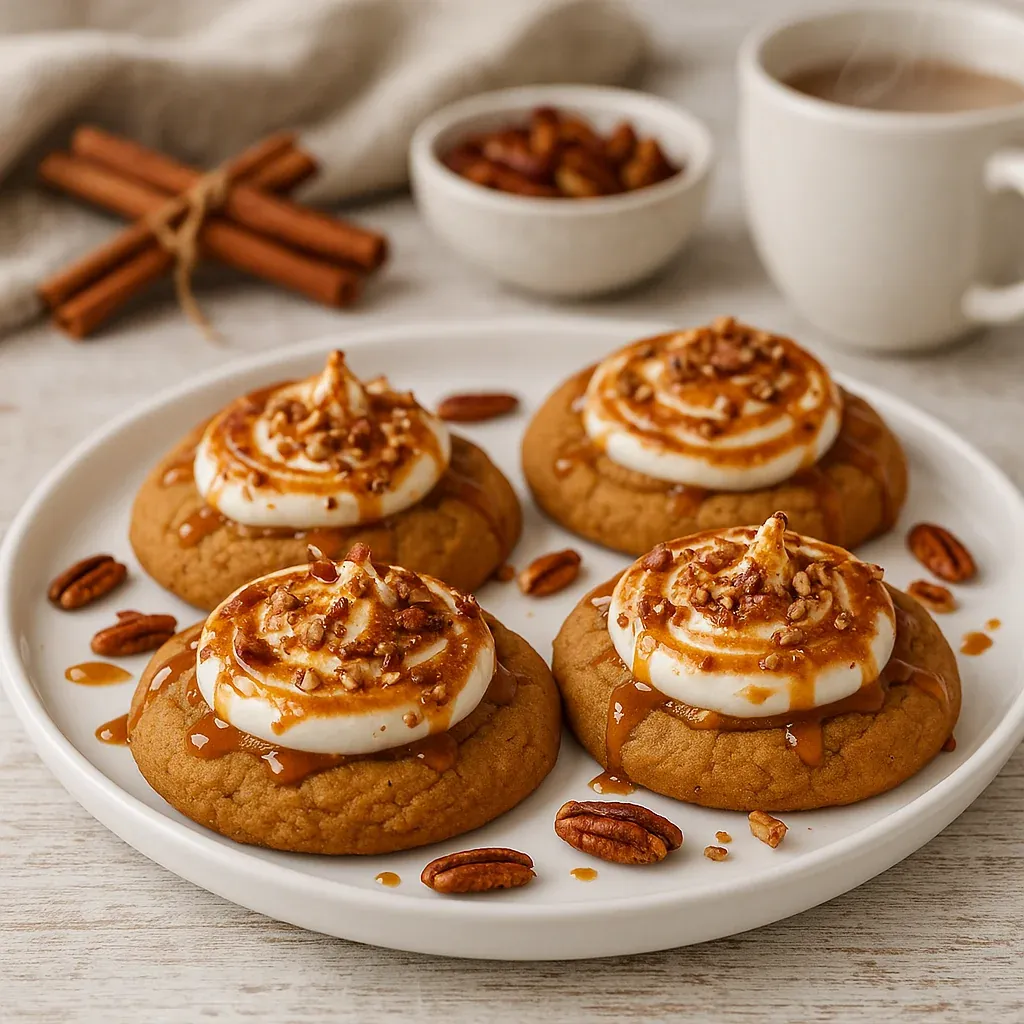
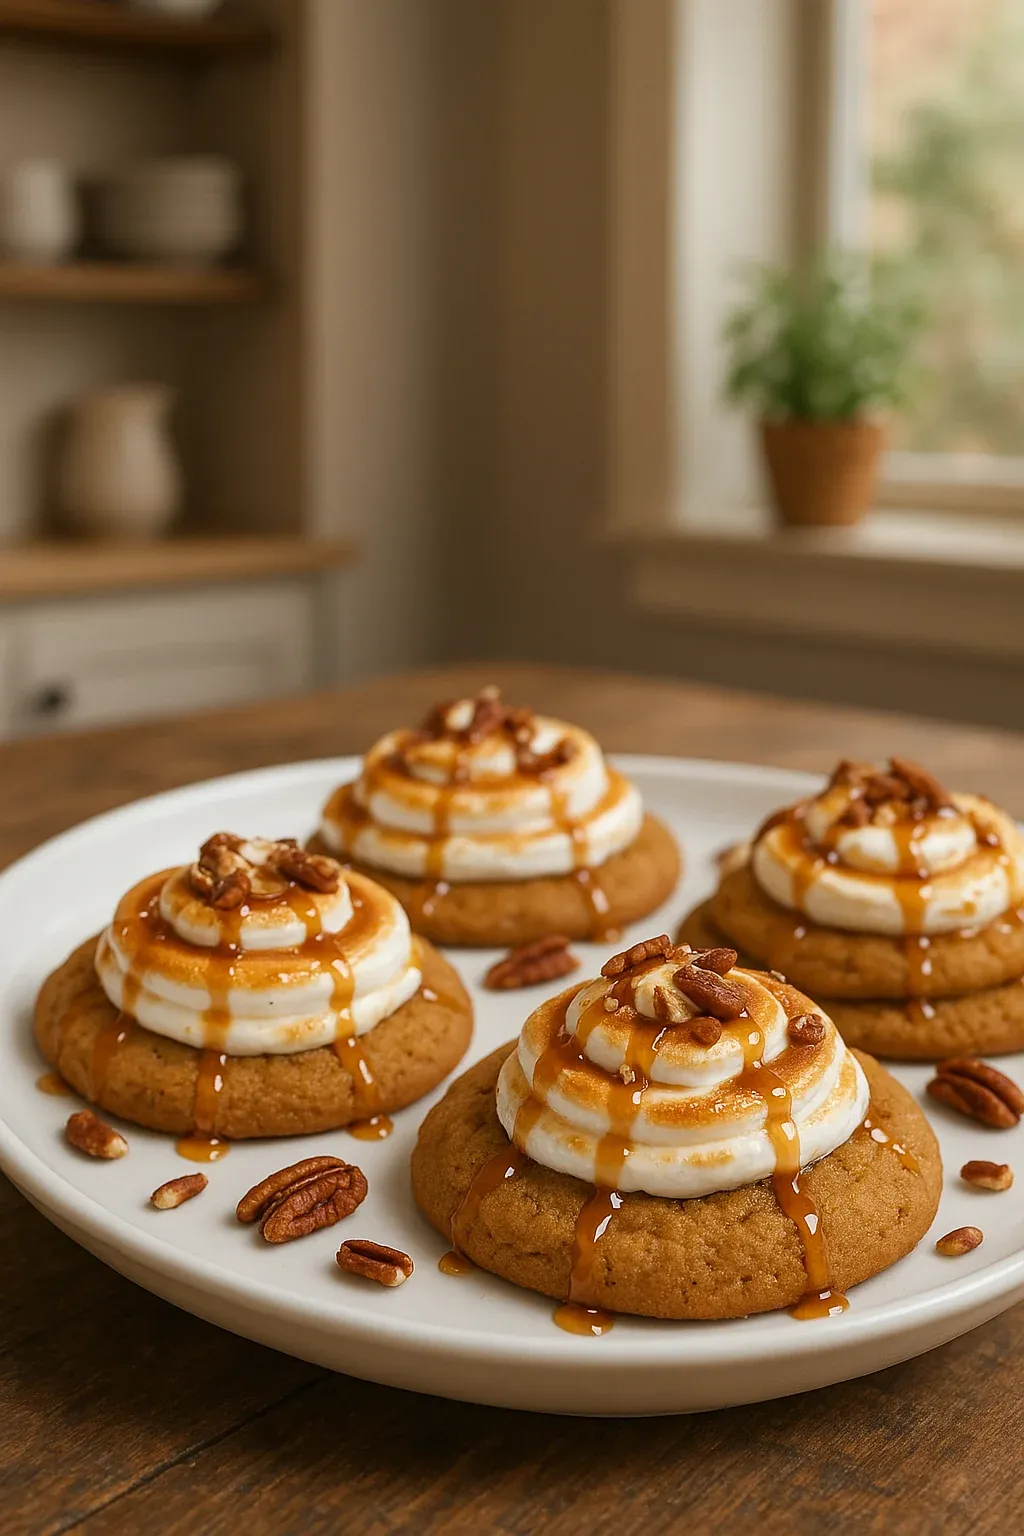
- After cookies cool completely, put the marshmallow mix in a piping bag with any tip you like. Squeeze a big swirl onto each cookie, making it tall for a nice look. Use a kitchen torch to brown the marshmallow until it's golden, watching carefully so it doesn't burn. If you want, add some caramel sauce and sprinkle chopped pecans on top.
 Pin it
The best thing about making these cookies is seeing everyone gather round as I toast the marshmallow tops. Watching them change from fluffy white to golden brown always gets excited reactions, even from my fussiest kids. My little girl once told me these cookies taste like fall wrapped in a hug, and I can't think of a better way to describe them.
Keeping Them Fresh
These cookies keep their softness best when stored at room temp in an airtight box with parchment between each layer. They'll stay good for about 5 days, though the marshmallow top looks best on the first day. To keep them longer, freeze the cookies without topping for up to 3 months, then let them warm up and add fresh marshmallow before you serve them. The cookies freeze really well but the meringue always turns out better when made fresh.
Smart Swaps
Don't have sweet potatoes? Just use the same amount of pumpkin puree or mashed butternut squash for similar moisture and taste. If you can't have dairy, swap the butter with coconut oil or a plant butter, but use a bit less since plant options have more water in them. You can use regular all-purpose flour instead of gluten free if you don't need to avoid gluten, keeping the same amount but using half as much cornstarch.
 Pin it
Tasty Pairings
Enjoy these cookies with a hot mug of spiced apple cider for the ultimate autumn treat. For a fancy dessert, serve them with a small scoop of cinnamon ice cream and extra caramel sauce on the plate. They also stand out on holiday cookie trays where their unique look catches everyone's eye among the usual offerings. Try serving them slightly warm if you've just added the marshmallow topping right before your guests show up.
Frequently Asked Questions
- → Can I swap regular flour for gluten-free?
You sure can! Regular all-purpose flour works great if gluten-free isn’t needed. The cookies will still turn out soft and chewy.
- → What’s a good substitute for sweet potato?
Swap it with mashed pumpkin or butternut squash—the texture and flavor will be pretty close. Just make sure they’re cooked and mashed well.
- → No kitchen torch? How should I toast the marshmallows?
If there’s no torch handy, pop the cookies under a broiler for a few moments until the marshmallows puff up and get nicely browned. Just watch so they don’t burn!
- → Can these cookies be made ahead?
Absolutely! Store the baked cookies in an airtight container, then add and toast the marshmallows just before serving for the freshest results.
- → Do I have to use caramel drizzle and pecans?
Not at all! They’re optional but add a great touch of sweetness and crunch. Customize with whatever you like or skip them altogether.
- → Can I freeze the dough?
Yes, the dough freezes well! Roll it into balls, freeze on a tray, then store in a freezer bag. Bake from frozen with an extra minute or two added to the bake time.
