
 Pin it
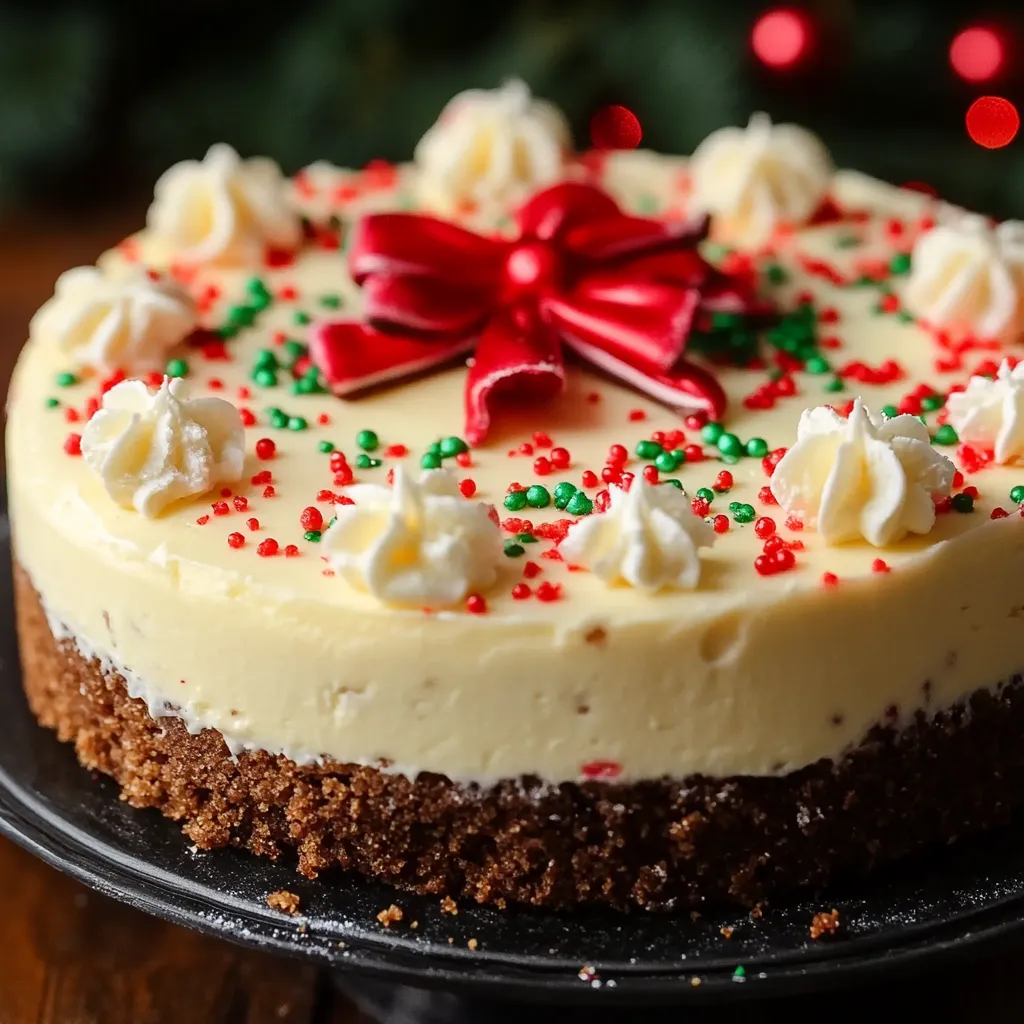
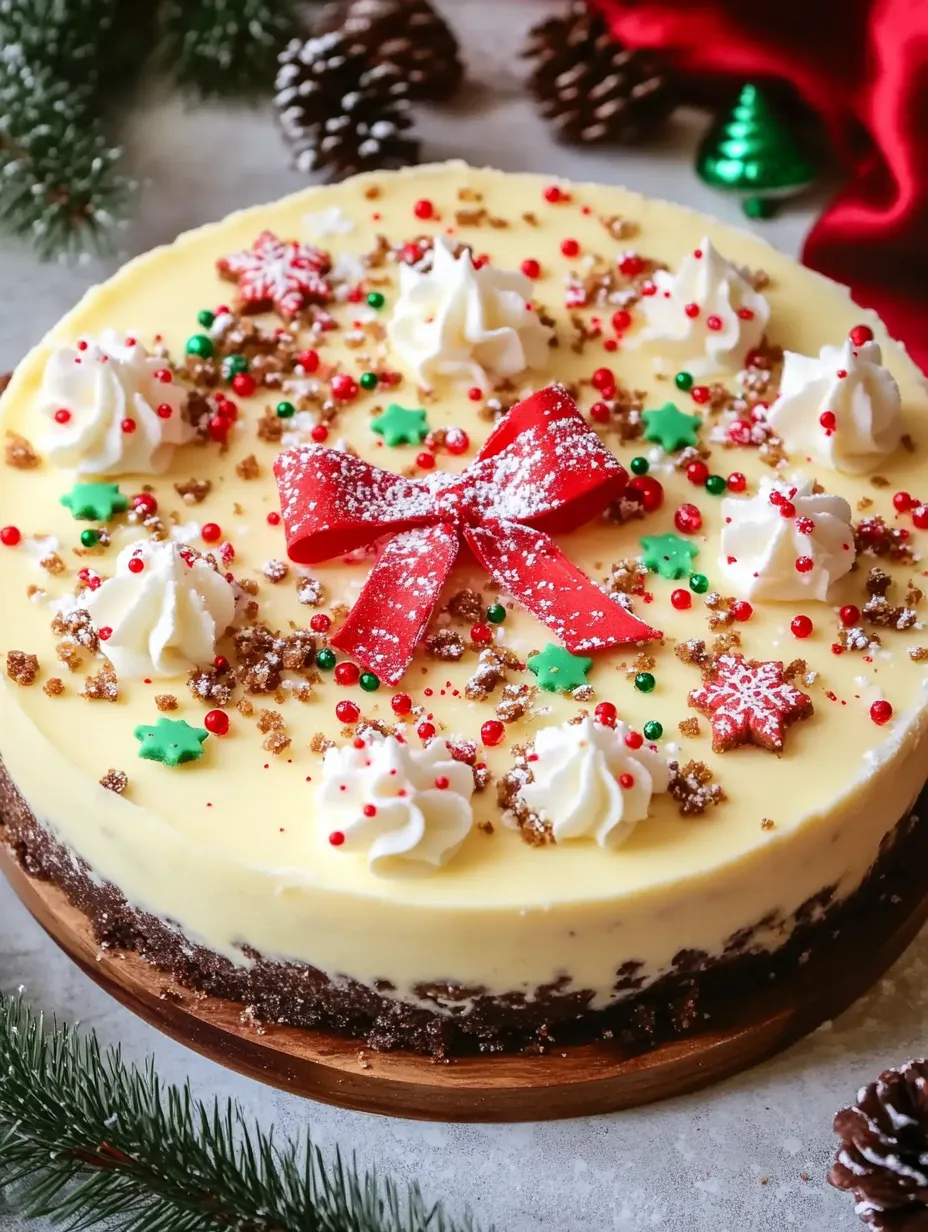
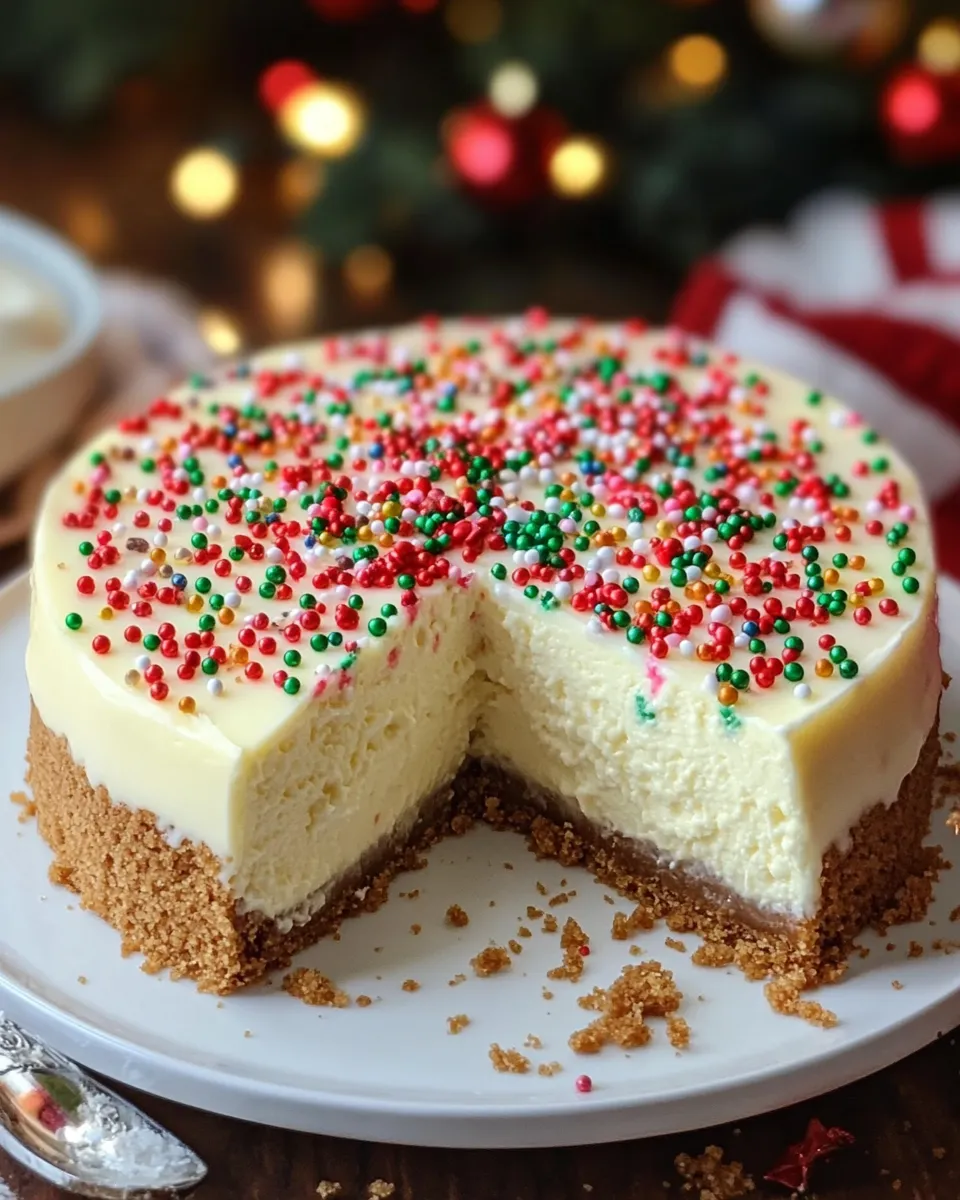
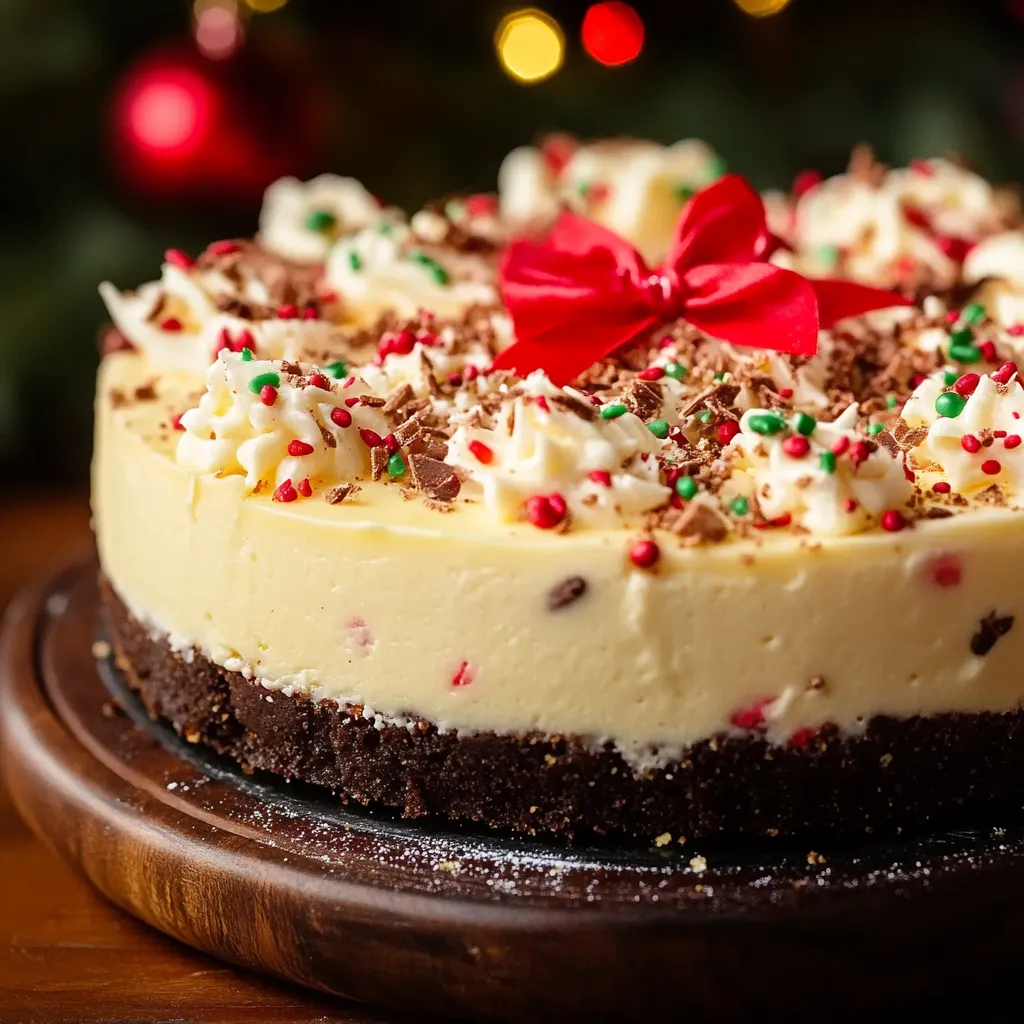
This Sugar Cookie Cheesecake brings holiday magic to life by turning familiar Christmas flavors into a rich treat that embodies seasonal cheer. Its cookie base, smooth cheesecake center, and colorful sprinkles come together as an eye-catching centerpiece that tastes even better than it looks.
I've spent many Christmas seasons tweaking this treat to get it just right. The secret's all about watching your temperatures and handling everything with care. The first time I brought it to our family gathering, everyone's eyes lit up at those sparkly sprinkles before they even took a bite!
Key Ingredients
- Cream cheese: Needs to sit out for 2 hours to get properly soft - don't rush this step
- Sugar cookies: Make the tastiest crust when they're fresh - old ones won't work well
- Sour cream: Go for the full-fat kind for the best richness - lighter versions fall flat
- Vanilla extract: Boosts all the flavors throughout
- Sprinkles: Stick with longer jimmies instead of tiny round ones to keep colors from running
 Pin it
Making Your Cheesecake
- Step 1:
- Get your springform pan ready by wrapping the outside with aluminum foil to keep water out during baking. Coat the inside with butter or cooking spray.
- Step 2:
- Turn your sugar cookies into fine sand-like crumbs in a food processor. Make sure there aren't any big chunks or your crust will fall apart when sliced.
- Step 3:
- Stir melted butter into the cookie crumbs until everything looks wet. Push the mixture firmly into the pan bottom using a measuring cup's flat end.
- Step 4:
- Mix your softened cream cheese until it's completely smooth. Don't skip scraping down the bowl often - any lumps now will show up later!
- Step 5:
- Slowly add sugar while continuing to beat everything together. You want it light and airy but don't go overboard with mixing.
- Step 6:
- Add eggs one by one, mixing just enough to blend each one in. Too much mixing now might make your cheesecake crack later.
- Step 7:
- Carefully fold in the sour cream and vanilla, then mix in the sprinkles with just a few gentle stirs.
- Step 8:
- Pour everything into your cookie crust and tap the pan lightly on the counter to pop any air bubbles hiding inside.
 Pin it
I came up with this idea because I wanted to mash up two holiday favorites into something that would wow everyone. The moment I saw those festive sprinkles mixed into the creamy batter, I knew we'd be making this every Christmas.
Getting That Dreamy Texture
Over many holiday seasons, I've learned that perfect cheesecake texture comes down to a few key things: Using ingredients at the right temperature. Mixing with the right touch. Watching your oven temp carefully. Cooling it down the right way.
Watch Those Temperatures
Getting this right really depends on temperature: Soft, room-temp ingredients before you start. Steady heat in your oven throughout. Letting it cool down slowly when done. Giving it enough chill time in the fridge.
Fixing Common Problems
Easy answers for typical issues: Cracks on top? Try the water bath method. Bumpy mixture? Double-check if your ingredients were warm enough. Sprinkles sinking? Mix them in at the very end. Uneven baking? Turn your pan halfway through.
Holiday Twists
Some fun seasonal changes to try: Mix in some crushed candy canes. Swirl some red and green color through the batter. Add white chocolate decorations shaped like snowflakes. Pour some cranberry sauce over each slice.
After making this cheesecake for years, I've noticed its real magic isn't just how good it tastes but how it brings everyone together. When you place it on the holiday table, you can see the joy spread across every face. Each piece carries a little bit of Christmas wonder.
Dressing Up Your Dessert
 Pin it
From all my holiday parties, I've found some great ways to make this cheesecake look amazing: Create a pattern with sprinkles around the edge. Top with sugar-coated cranberries. Stand up tiny chocolate Christmas trees around it. Sprinkle with edible shimmer. Add snowflake shapes made from whipped cream.
Fancy Finishing Touches
Go beyond just sprinkles with: Tiny bits of gold leaf. Curls of chocolate. Sweet orange peel. Delicate sugar decorations. Little meringue drops.
Plan-Ahead Tips
Make your holidays easier: Get the crust ready several days early. Bake the whole cheesecake 2-3 days before you need it. Freeze it plain for up to 2 months. Add the final decorations right before you serve it.
The Best Part of Sharing: This cheesecake has grown beyond just a dessert in my home - it's now a Christmas tradition that marks our special moments and builds memories. Whether it's at a fancy dinner or just a casual family night, it always brings smiles and people asking how to make it.
Frequently Asked Questions
- → Can I prepare this dessert early?
- Absolutely! It actually turns out best if you let it chill in the fridge overnight.
- → What’s the sign that my cheesecake is ready?
- The middle part will still jiggle just a little bit when you shake it softly.
- → Can I store it in the freezer?
- Totally! Wrap it tight and freeze for up to 3 months. Just let it thaw in the fridge before serving.
- → Should I use homemade or pre-made cookies?
- Either works great! Just make sure they’re crushed into fine crumbs.
- → How do I stop sprinkles from bleeding colors?
- Mix them extra gently into the batter and try not to overmix to avoid color running.