
 Pin it
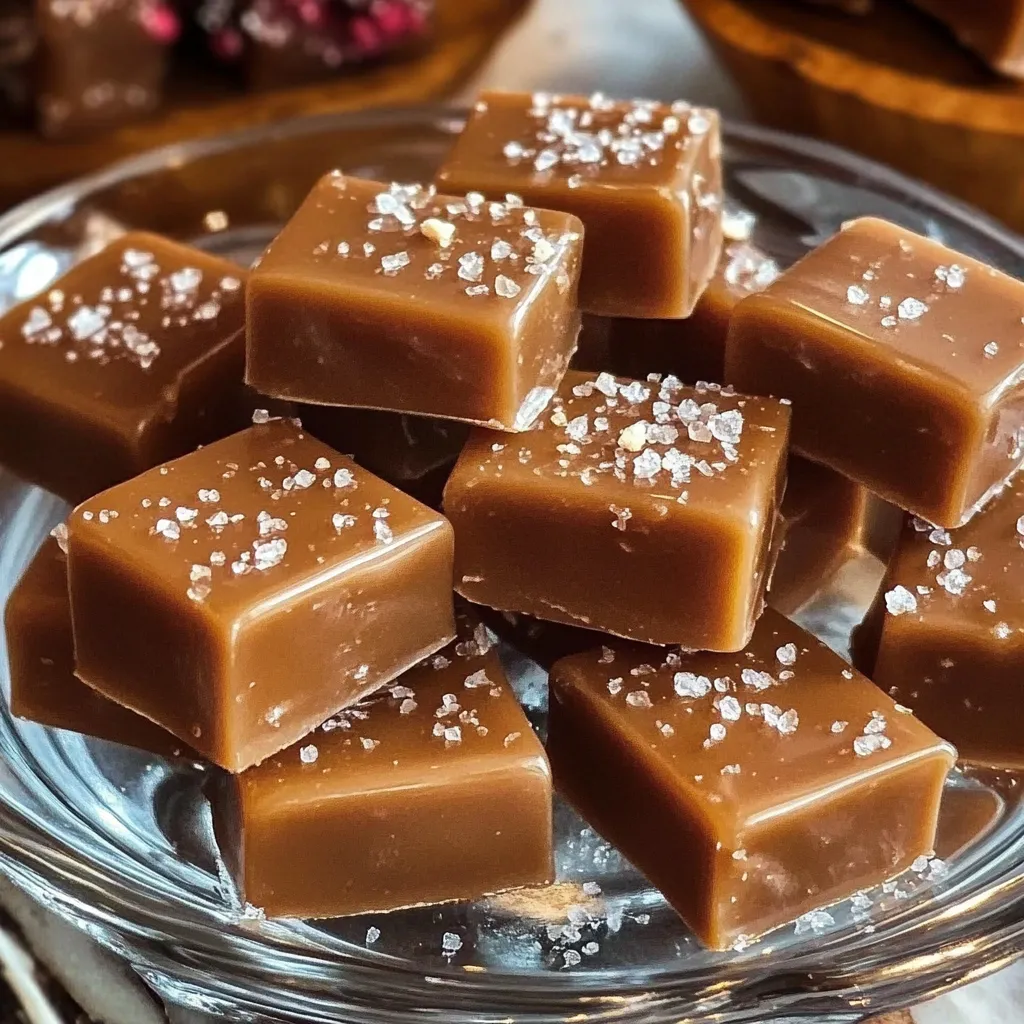
Turn basic ingredients into melt-in-your-mouth, rich caramels that'll stand up to fancy candy shops. This easy-to-follow method makes irresistibly chewy treats with the perfect sweet-salty combo, showing you don't need to be scared of making candy at home.
After making batch after batch, I've learned that getting the temperature right and watching your timing are the real secrets to success.
Key Ingredients
- Granulated Sugar: Stick with cane sugar for best results
- Light Corn Syrup: Keeps sugar from getting grainy
- Heavy Cream: Look for one with 36% fat or higher
- Unsalted Butter: Get the good stuff, let it sit out first
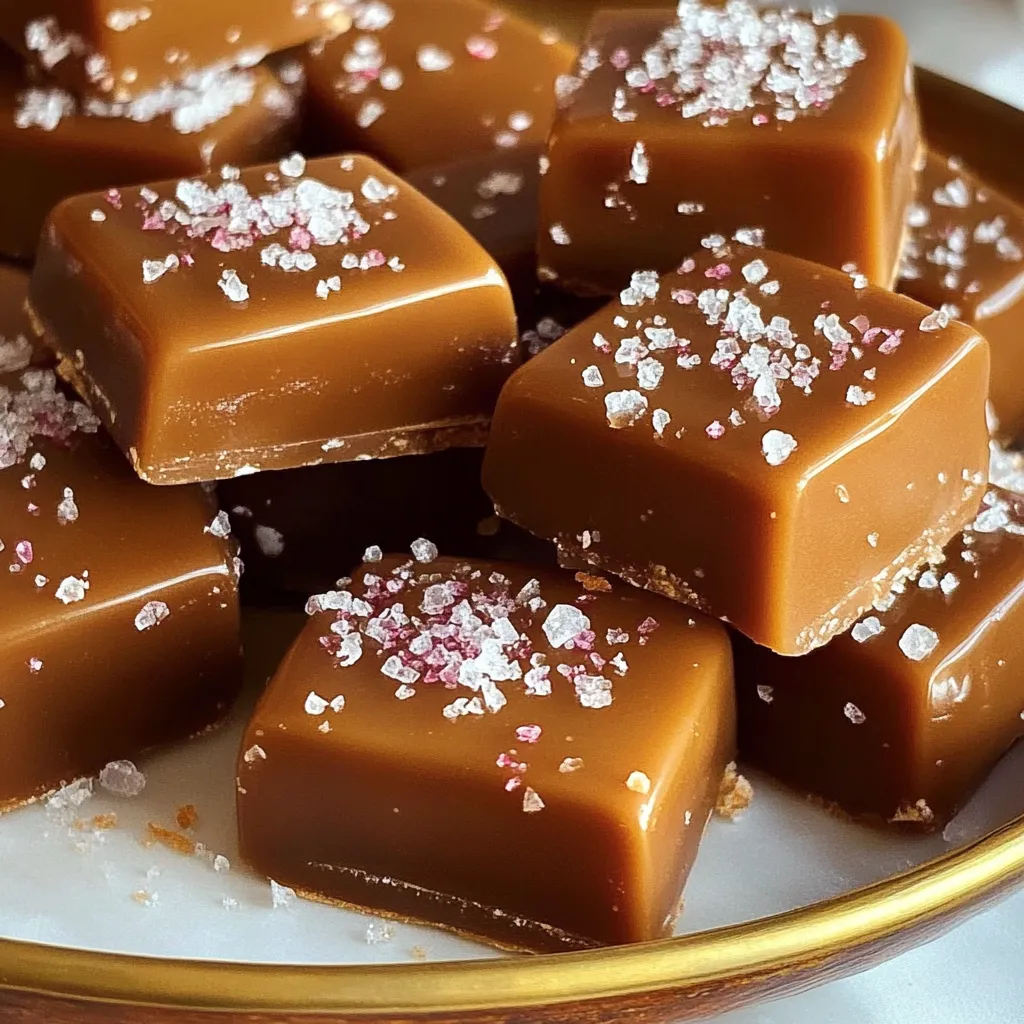
- Sea Salt: The flaky kind works great for topping
- Water: Just a splash to wet the sugar
- Vanilla Extract: Go for real vanilla, not the fake stuff
Step-By-Step Guide
- 1. Get Your Pan Ready:
- Put parchment in a loaf pan with extra hanging over the sides. Lightly grease the paper. Stick your candy thermometer to the side of your pot but don't let it touch the bottom.
- 2. Start Your Sugar Mix:
- Combine water, corn syrup, and sugar in a sturdy pot. Give it one quick stir. Heat till it bubbles. Put the lid on for a minute.
- 3. Watch For Color Change:
- Take the lid off and cook until you see golden amber around the edges. While that's happening, melt your cream and butter in the microwave. Keep it warm with a cover on top.
- 4. Mix In The Cream:
- Slowly pour in your warm cream mixture while stirring. It'll bubble up like crazy. Keep cooking until you hit exactly 240°F (115°C).
- 5. Finish It Off:
- Pour right away into your ready pan. Let it cool for twenty minutes, then sprinkle salt on top. Wait about four hours total until it's completely set.
 Pin it
Keeping And Serving
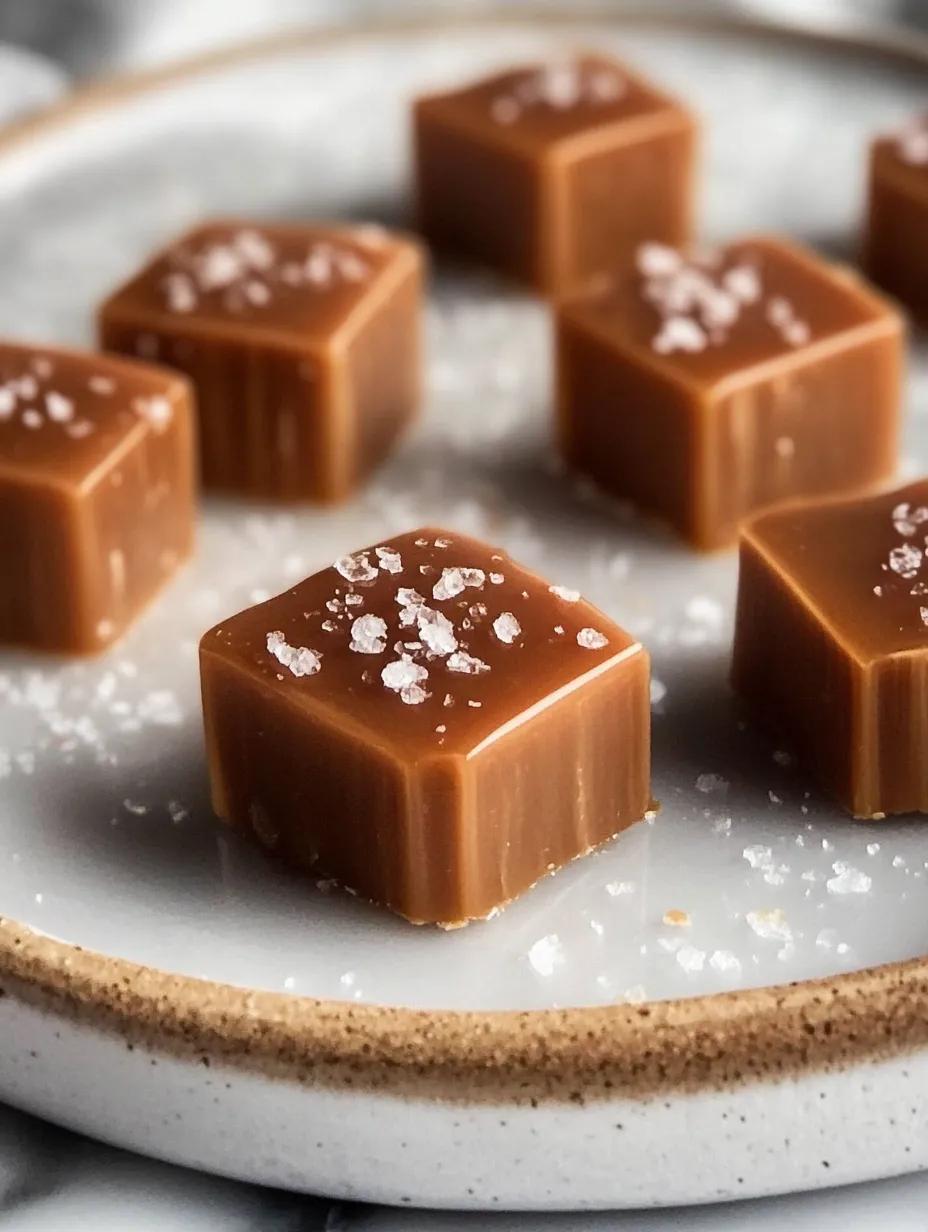
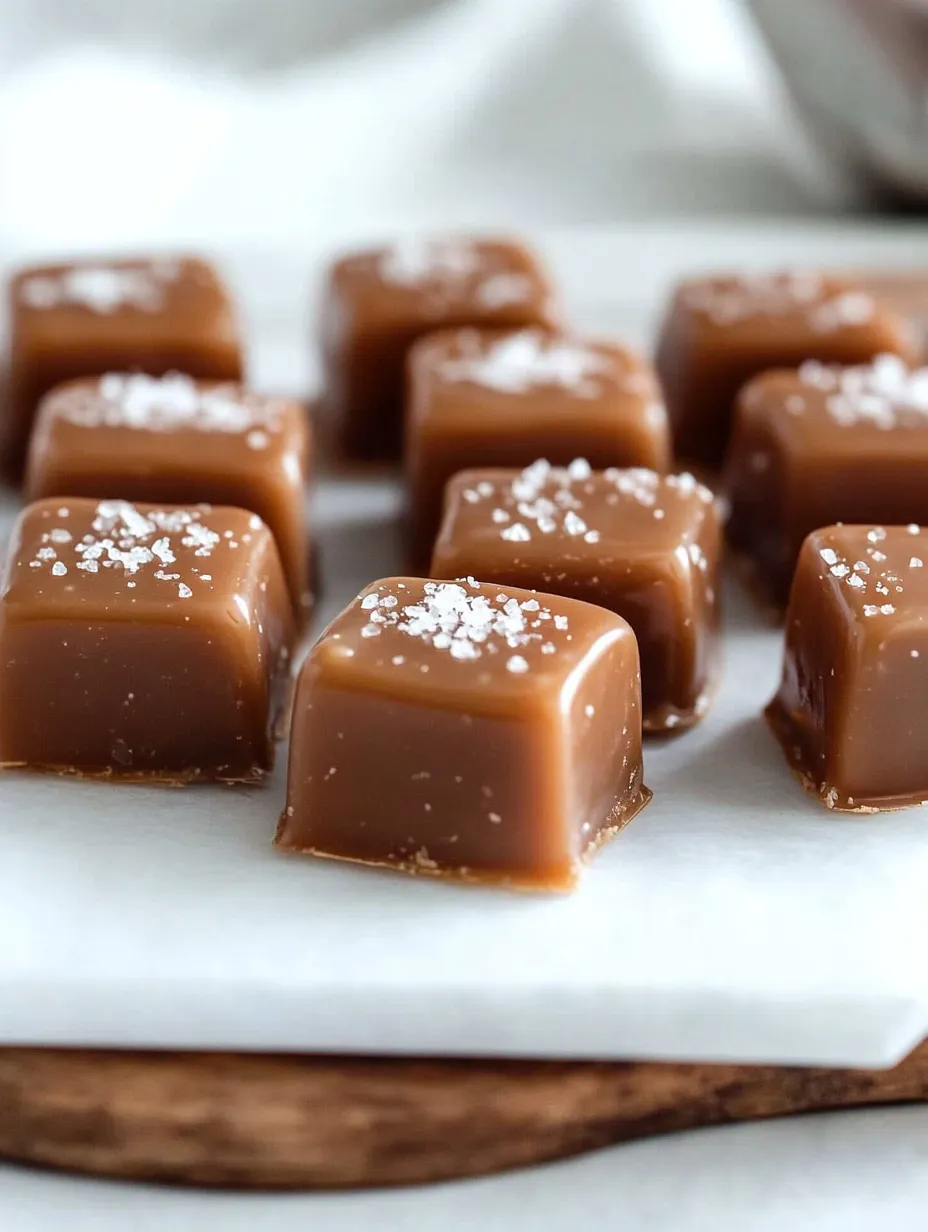
Lift the caramels out using the parchment edges. Cut them into one-inch squares with a knife you've dipped in hot water and wiped dry between cuts. For a nice touch, wrap each piece in small wax paper squares and twist the ends. Keep the wrapped caramels in a single layer until you're ready to serve them.
Great Combos
Put these buttery treats in pretty boxes or small jars for heartfelt homemade gifts. They taste amazing with strong coffee, hot cocoa, or afternoon tea. When making dessert platters, put them next to chocolate truffles and shortbread. They're also a hit in holiday treat boxes or Valentine's Day packages.
 Pin it
How To Store Them
Keep your wrapped caramels in a sealed container at room temp for up to two weeks, with parchment between layers so they don't stick together. If you want them to last longer, stick them in the fridge for up to a month. Just make sure to let chilled caramels warm up before eating so they've got the right chewiness and flavor.
 Pin it
These homemade caramels show that anyone can make amazing candy. Your success comes down to watching temperatures carefully and not rushing. Whether you're giving them away or keeping them all for yourself, they'll turn out just as good as anything from a fancy shop. They're perfect for celebrations or anytime you need something sweet.
Frequently Asked Questions
- → Why's a thermometer necessary?
- Getting the right texture needs precise temperature control, as even small changes can affect the outcome.
- → Can I make a double batch?
- Not really a good idea since managing the temperature becomes tricky. Stick to smaller batches for best results.
- → How do I store them?
- Wrap each one up and keep in the fridge for two weeks or freeze for a month.
- → Why add cream bit by bit?
- Pouring slowly helps stop bubbling over and mixes everything smoothly together.
- → What if I skip the corn syrup?
- You can swap it with honey or golden syrup, though corn syrup gives the steadiest, most reliable results.