
 Pin it
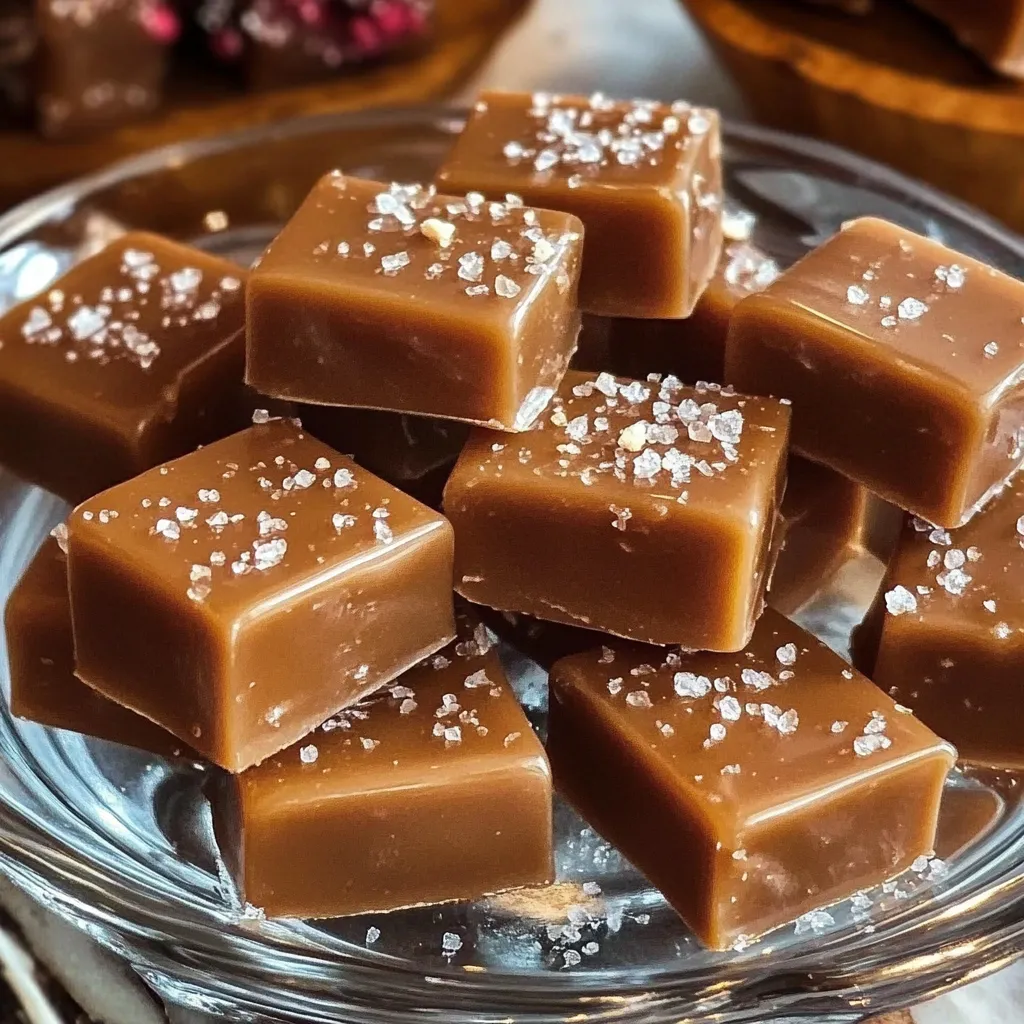
Turn basic items into fancy, velvety caramels that stack up against any boutique sweet shop. This easy-to-follow method makes perfectly soft caramels with just the right mix of sweetness and salt, showing that making candy at home isn't scary at all.
After making batch after batch, I've learned that getting it right comes down to watching temperatures and timing things well.
Key Components
- White Sugar: Try to use cane sugar for best results
- Corn Syrup (Clear): Helps stop sugar crystals forming
- Thick Cream: Should be minimum 36% fat
- Plain Butter: Good quality, left out till soft
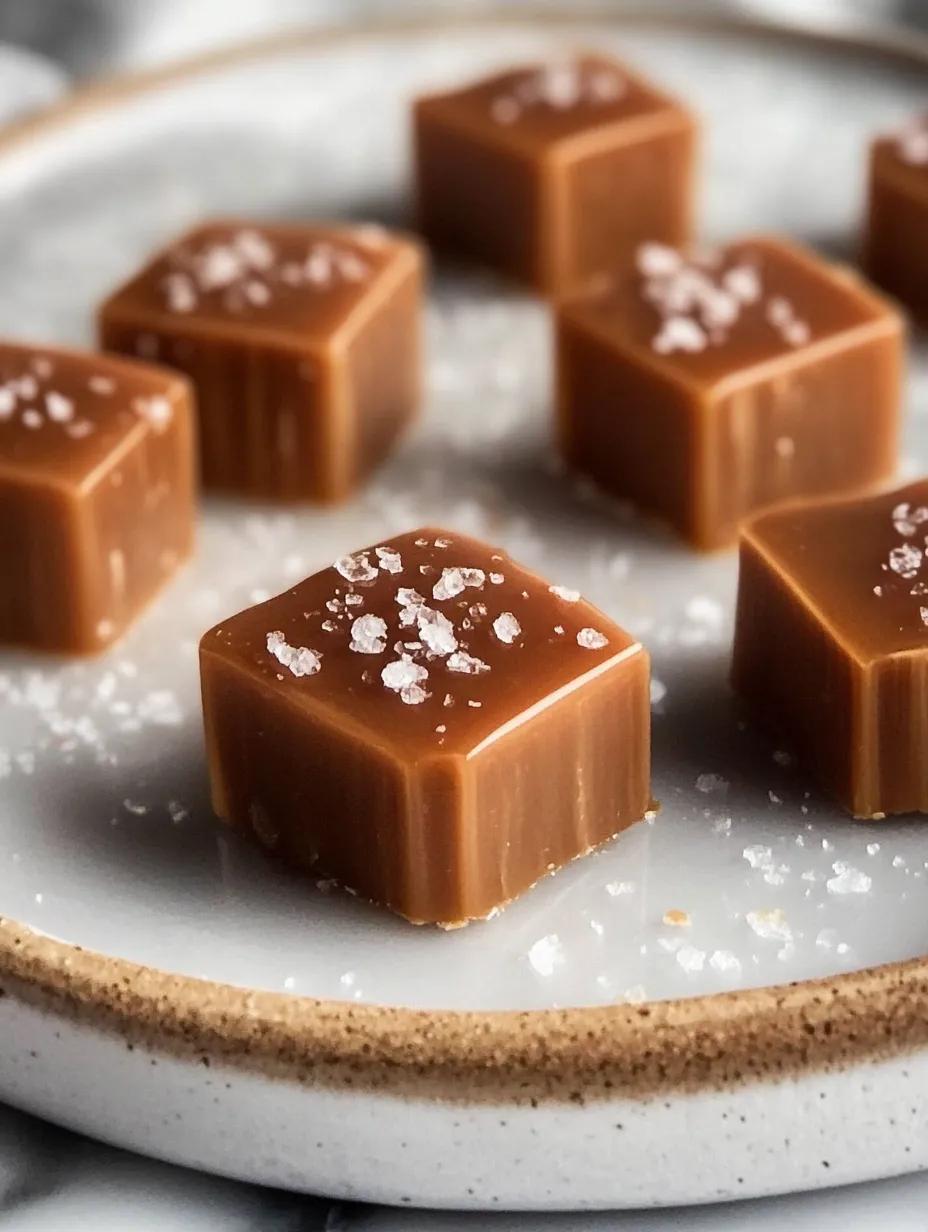
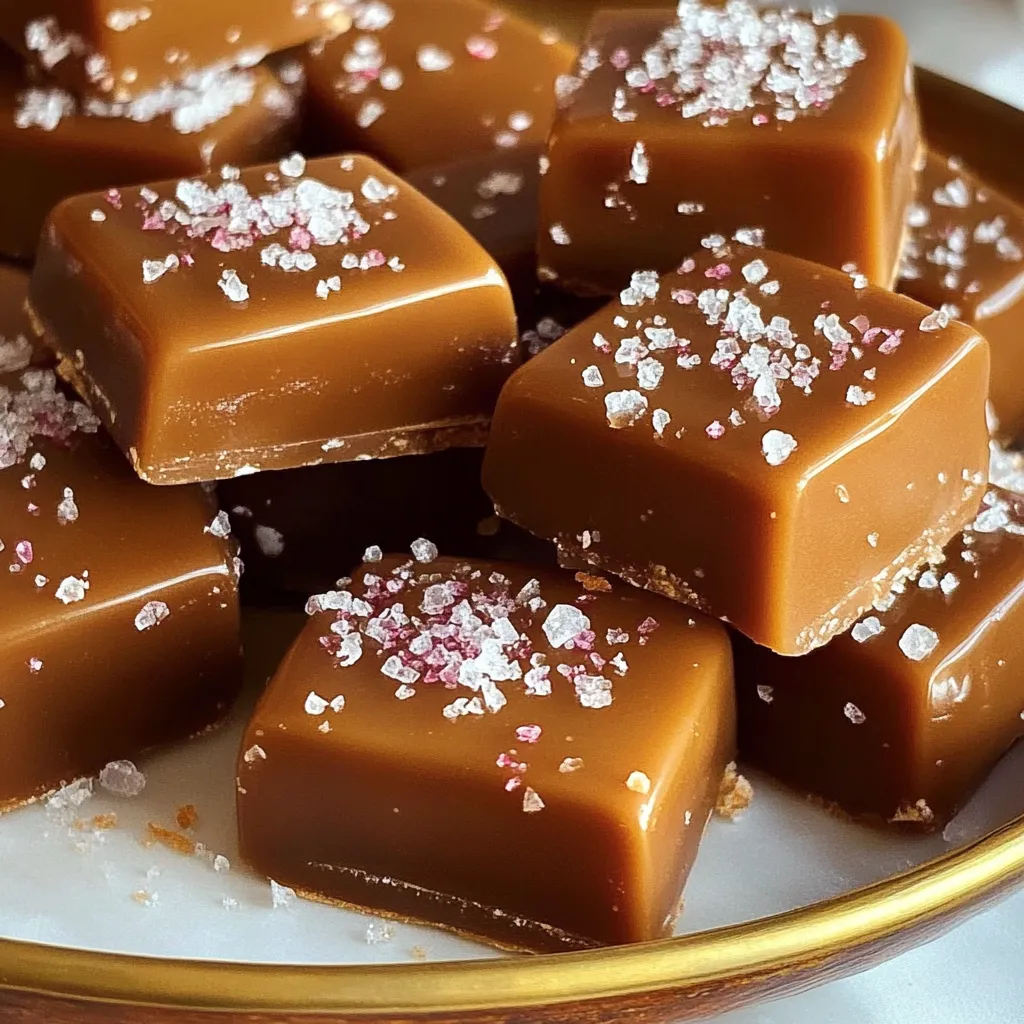
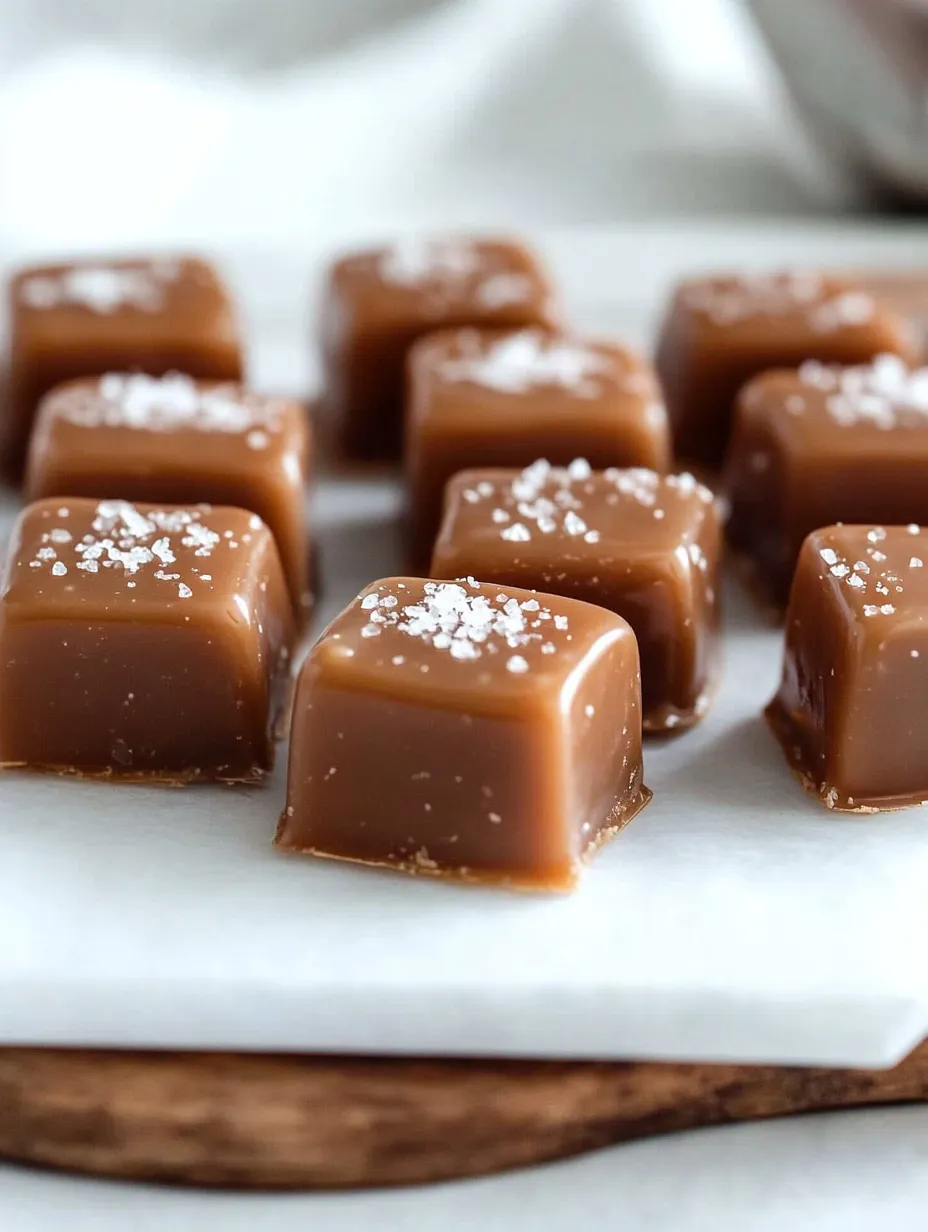
- Ocean Salt: The flaky kind for topping
- Water: Just a bit to wet the sugar
- Real Vanilla: Skip the fake stuff
Step-by-Step Guide
- 1. Get Your Pan Ready:
- Put parchment in a loaf pan with extra hanging over sides. Brush paper lightly with oil. Stick candy thermometer on pan edge away from bottom.
- 2. Start The Sugar Mix:
- Combine sugar with corn syrup and water in heavy pot. Stir just once to dampen everything. Heat till it bubbles. Put lid on for a minute.
- 3. Watch For Color Change:
- Let it cook uncovered until you see golden brown at the edges. While waiting, warm up cream and butter in microwave until melted. Keep it warm with cover on.
- 4. Add The Cream Mix:
- Pour in warm cream stuff slowly while stirring. It'll bubble up like crazy. Keep cooking till it hits exactly 240°F (115°C).
- 5. Wrap It Up:
- Dump into your ready pan right away. Let cool for 20 minutes, then sprinkle salt on top. Wait about four hours total until completely firm.
 Pin it
Keeping And Serving
Lift caramels out using the parchment edges. Cut into one-inch chunks with a knife you've run under hot water and dried between slices. For a nice touch, wrap each piece in wax paper, twisting the ends closed. Keep wrapped pieces in a single row until you're ready to eat them.
Great Combinations
Pack these buttery treats in pretty boxes or small jars for thoughtful DIY gifts. They go really well with strong coffee, hot cocoa, or afternoon tea. When making dessert platters, put them next to chocolate truffles and shortbread. They're great additions to holiday treat boxes or Valentine's Day packages.
 Pin it
How To Store Them
Keep your wrapped caramels in a sealed container at room temp for up to two weeks, with parchment sheets between layers so they don't stick together. If you want them to last longer, stick them in the fridge for up to a month. Just let cold caramels warm up before eating for the best feel and taste.
 Pin it
These homemade sweets show that anyone can make candy without going crazy. You'll do fine if you watch temperatures and don't rush. Whether you give them away or munch on them yourself, they turn out looking and tasting like you bought them from a fancy shop. They're perfect for birthdays or just when you want something sweet.
Frequently Asked Questions
- → Why's a candy thermometer important?
- Keeping the right temperature is key for the best texture—it’s a small change that makes a big difference.
- → Can I make a bigger batch?
- Doubling isn’t the best idea since temperature control gets tricky. Smaller batches work better.
- → What’s the best way to store them?
- Wrap each piece and pop them in the fridge for up to two weeks or freeze for a month.
- → Why add cream in small amounts?
- Adding it bit by bit keeps things smooth and stops the mixture from bubbling over.
- → Can I skip the corn syrup?
- You can swap it for honey or golden syrup, but corn syrup gives the best, most reliable results.