
 Pin it
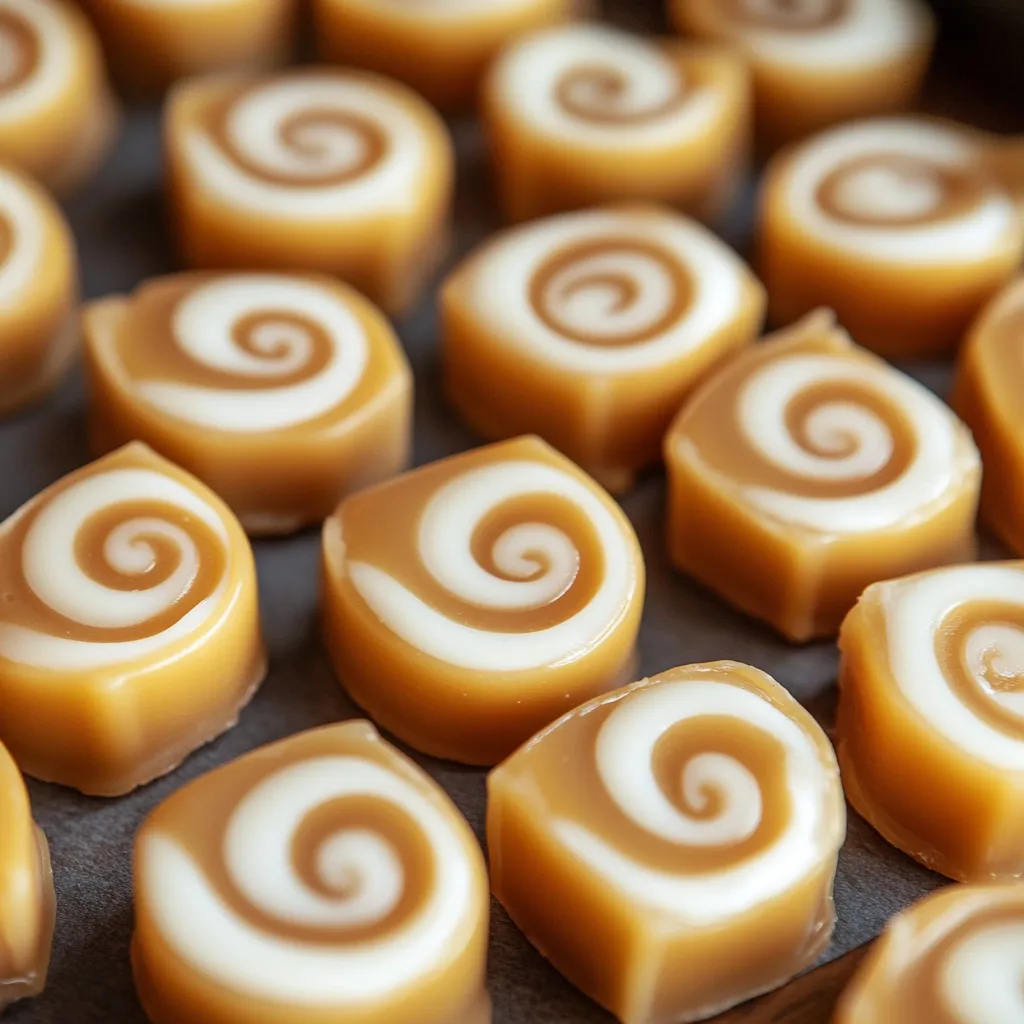
Turn basic ingredients into fancy cream-filled caramels that'll beat anything from a candy shop. These DIY sweets have a buttery caramel exterior with a creamy vanilla filling inside, giving you that perfect mix of chewy and smooth in every bite.
After making batch after batch, I've learned that watching your temps and getting the timing right is what makes these caramels turn out amazing.
Key Ingredients
- For Caramel:
- European-Style Unsalted Butter: Contains more fat
- Light Brown Sugar: Make sure it's soft
- Full-Fat Evaporated Milk: Don't swap this out
- Light Corn Syrup: Keeps sugar from getting grainy
- Vanilla Extract: Use the real stuff
- For Filling:
- Powdered Sugar: Sift it first
- Vegetable Shortening: Not cold from fridge
- Vanilla Bean Paste: For stronger taste
- Pinch of Salt: Makes vanilla pop
Step-By-Step Guide
- 1. Caramel Preparation:
- Mix butter, brown sugar, evaporated milk, and corn syrup in a large heavy pot. Cook on medium heat, always stirring with a silicone tool until it hits 241°F. Take off heat, add vanilla, then pour into a parchment-covered 9x13 pan. Smooth it out with a flat spatula.
- 2. Vanilla Cream:
- Whip together sifted powdered sugar, shortening, vanilla bean paste, and salt until it's fluffy. You want it firm enough to hold shape but soft enough to spread. Wait for caramel to cool down before adding cream.
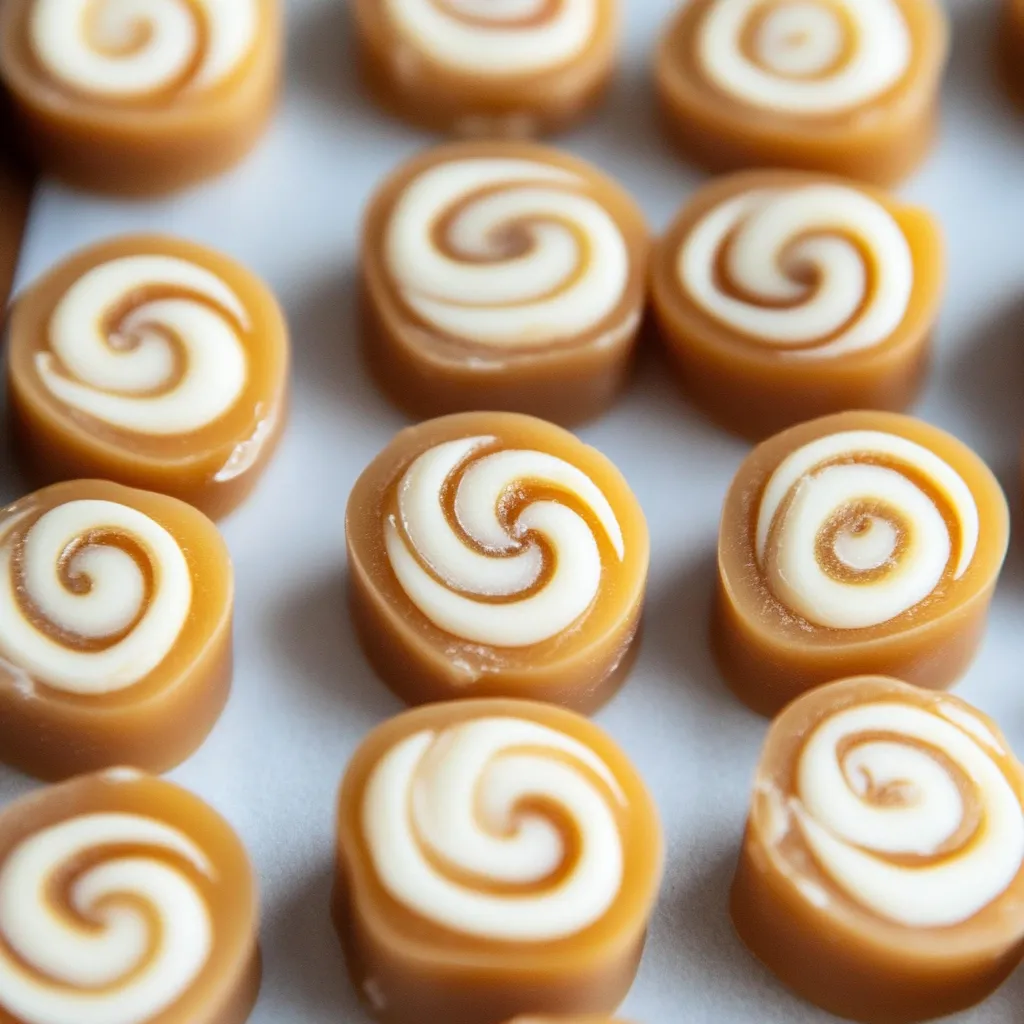
- 3. Assembly Process:
- Put vanilla cream on top of caramel, leaving space around the edges. Roll it up from the long side, using parchment paper to help. Roll once more to pack the filling tight. Wrap in plastic and cool for 2 hours.
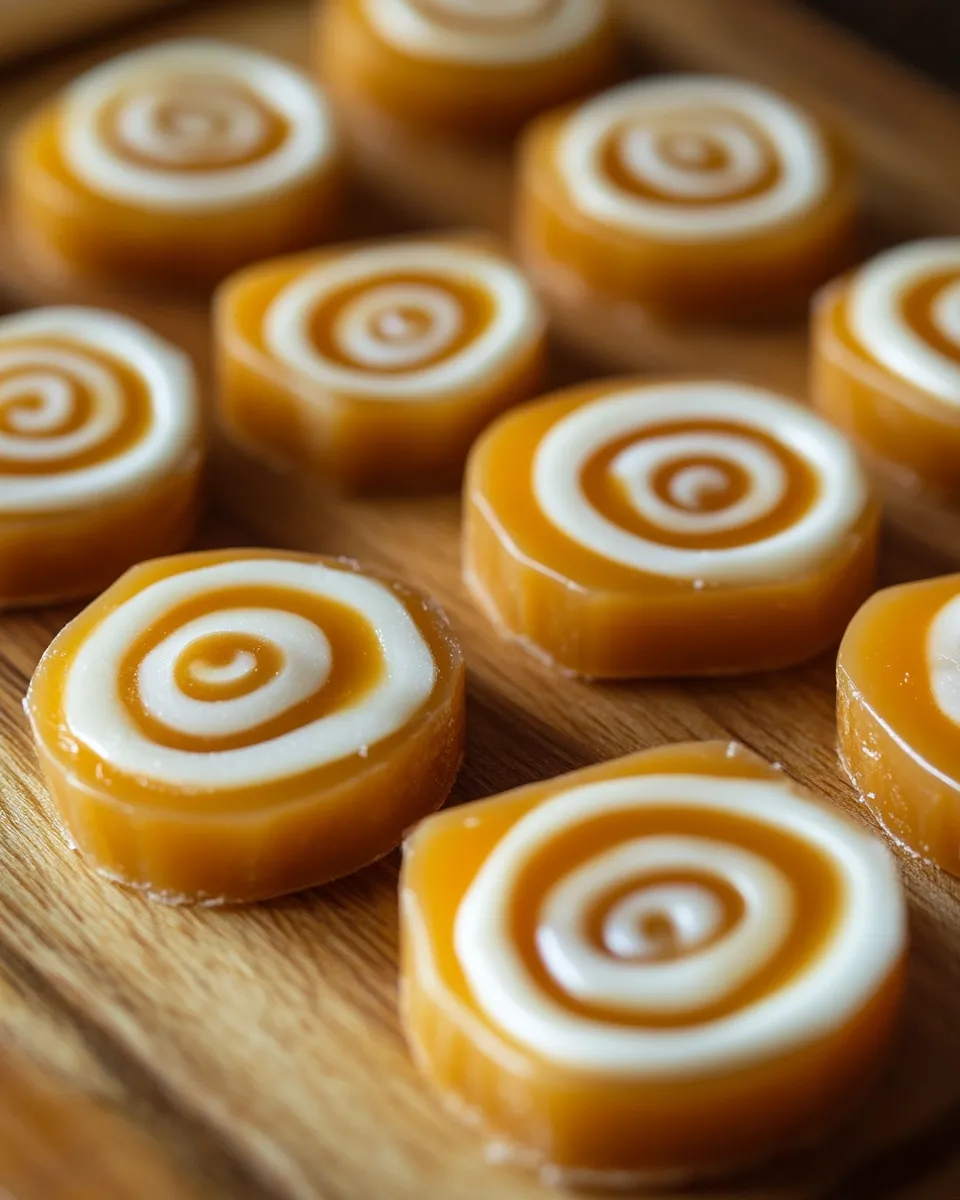
- 4. Cutting Method:
- Use a sharp knife with a bit of oil on it to cut 1-inch pieces. Wipe the knife clean between cuts for the best look.
- 5. Wrapping Process:
- Wrap each piece in cellophane and twist the ends to seal. Let them sit at room temp for a full day to get the perfect texture.
 Pin it
Smart Storage Tips
Keep your wrapped caramels in a sealed container at room temp for up to 3 weeks. If you need them to last longer, stick them in the fridge for up to 2 months. Just let them warm up before you eat them so they're nice and chewy.
Great Combinations
- Chocolate truffles
- Candied nuts
- Shortbread cookies
- Hot cocoa mix
- Coffee beans
- Gift boxes or tins
Tasty Twists
Make them your own with:
- Coffee extract in filling
- Chocolate ganache center
- Sea salt topping
- Maple flavoring
- Orange extract
- Crushed peppermint
 Pin it
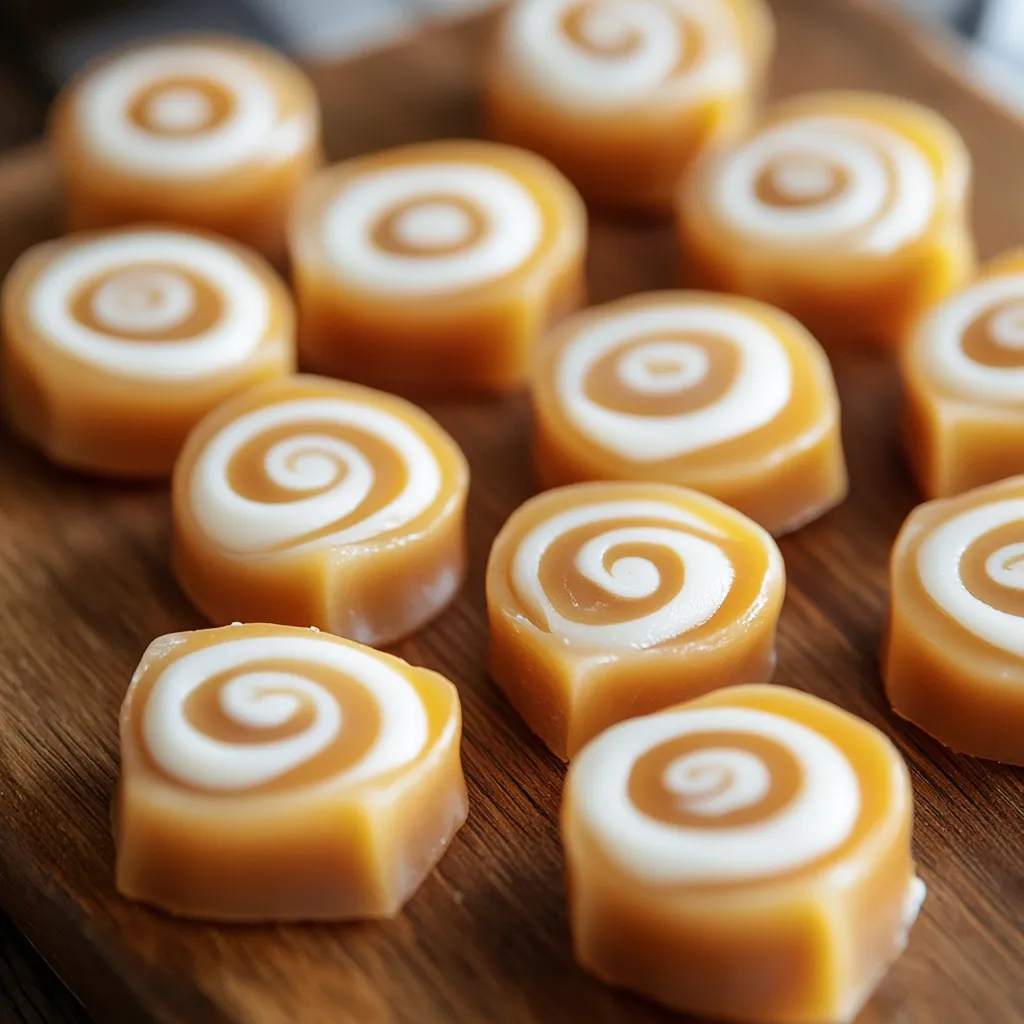
Making these caramels shows that anyone can create amazing candy at home. Success comes down to patience, watching your temperatures, and wrapping them right. They're fantastic as gifts or just for treating yourself to something special that looks and tastes professional.
 Pin it
Last Thoughts
Candy making mixes science with art. Take your time with each part of the process and pay close attention to temps and how things feel. You'll end up with caramels that'll make everyone smile when they take a bite.
Frequently Asked Questions
- → Why’s a thermometer needed?
- You’ve got to nail the right temperature for the caramel's texture.
- → Can I skip a stand mixer?
- Not really. The vanilla needs serious mixing power, so use one if you can.
- → How do I store them?
- Wrap each in wax paper and keep them at room temp—they’ll stay good for 2 weeks.
- → What’s the point of rolling it?
- Rolling seals the edge and makes sure the slices are nice and even.
- → Can I switch the flavors?
- Totally. Try swapping the vanilla for almond or maple extracts.