Reese's Peanut Butter Pie

Featured in Indulgent Dessert Recipes to Satisfy Any Sweet Tooth.

A larger-than-life Reese's peanut butter tart with crispy peanut butter filling and rich chocolate layers, made in a tart pan for that classic edge look.

A man wearing a white shirt and suspenders holding a piece of paper.
Updated on Tue, 18 Mar 2025 20:53:15 GMT
A generous slice of chocolate peanut butter tart on a white plate, garnished with candies, accompanied by the full tart in the backdrop. Pin it
A generous slice of chocolate peanut butter tart on a white plate, garnished with candies, accompanied by the full tart in the backdrop. | chefmelt.com

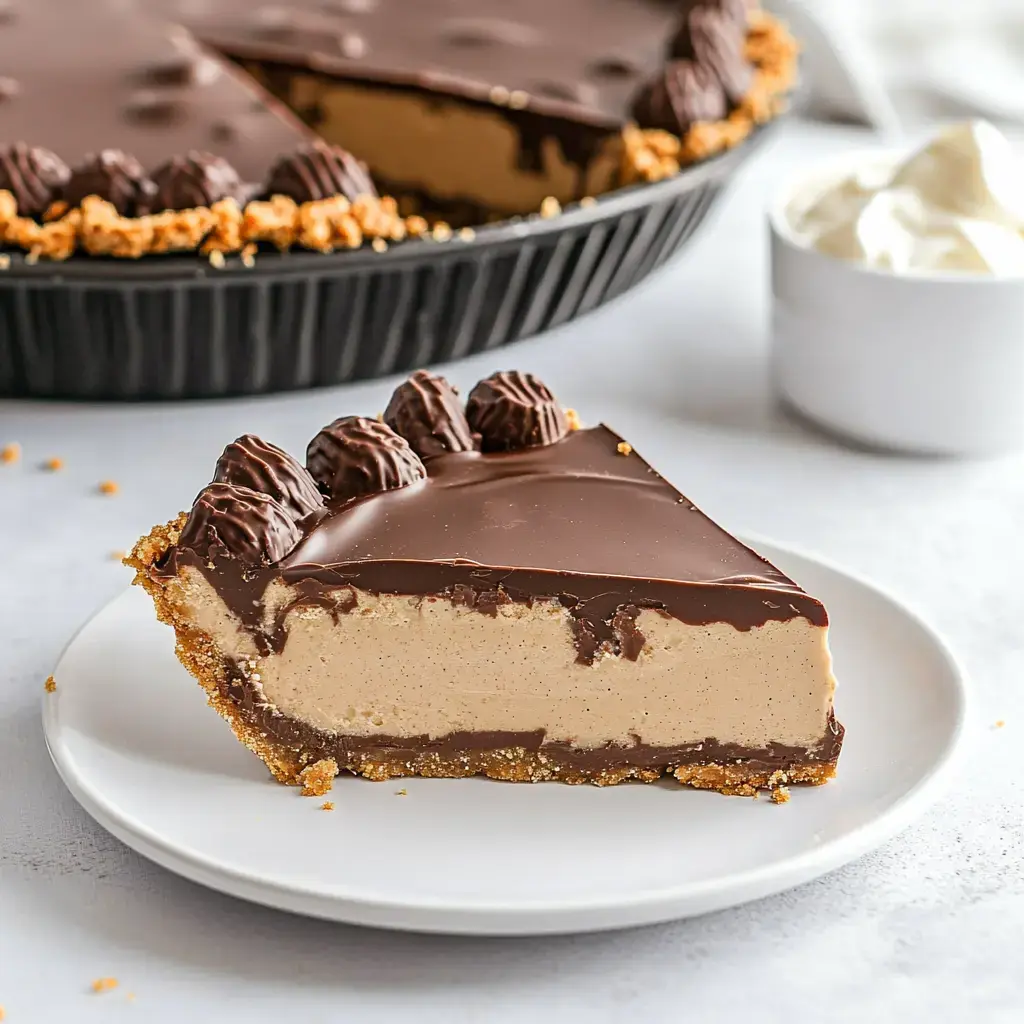
Simple Giant Peanut Butter Chocolate Pie

I've got to tell you about this amazing giant candy-inspired dessert that's now my go-to treat. It combines thick layers of chocolate with smooth peanut butter middle in a no-bake treat that tastes exactly like the famous orange-wrapped cups but in a bigger, tastier form. You should see people's faces light up when they find out it's a jumbo version of their favorite candy!

What Makes This Treat So Good

This no-bake dessert is a chocolate-peanut butter dream come true:

  • An easy crowd-pleaser that works for any occasion
  • Make it your own way with simple add-ins
  • Gets that perfect candy texture with basic ingredients
  • Even beginners can make it no baking needed

Basic Items You'll Need

  • Milk Chocolate Chips: They melt smoothly to form our chocolate layers.
  • Vegetable Oil: A small amount helps you cut clean slices.
  • Crunchy Peanut Butter: Gives that signature texture, but smooth works too.
  • Powdered Sugar: Firms up and sweetens the middle layer perfectly.
  • Graham Cracker Crumbs: Adds that authentic candy feel to the filling.
  • Salted Butter: Brings everything together with rich flavor.

Quick How-To Guide

Create Your Base
First, melt chocolate chips with oil until completely smooth. Pour half into your paper-lined dish, spread it around, and stick it in the fridge. This forms your bottom layer.
Whip Up the Middle
Combine graham crumbs with sugar, then mix in melted peanut butter and butter. You want it thick but easy to spread for the perfect middle.
Put It Together
Take out your cold chocolate base and spread the peanut butter mixture evenly on top. Then pour the remaining chocolate over everything and tap the pan gently to flatten the surface.
Finishing Up
Let it cool in the fridge for at least 4 hours, but leaving it overnight works even better. Before serving, let it sit out briefly and cut with a heated knife for beautiful slices.

Smart Shortcuts for Perfect Results

  • Quality Matters: Better brands of chocolate and peanut butter really make this treat stand out.
  • Add Your Touch: Try mixing in candy pieces or crushed nuts for extra texture.
  • Working With Chocolate: If it starts hardening too soon, just warm it up slightly.
  • Cutting Tricks: Run your knife under hot water for those Instagram-worthy slices.

Keeping It Fresh

You can keep this treat in the fridge for about a week if you cover it well. Want to plan ahead? It freezes great for up to 3 months - just wrap it tightly and let it thaw in the fridge the night before you need it.

Personalizing Your Dessert

The fun part is making this treat your own - try adding crushed pretzels, mini marshmallows, or your favorite candy bits. Whether it's for a birthday, holiday gathering, or just because you're craving that chocolate-peanut butter combo, this jumbo candy-inspired creation always hits the spot!

Frequently Asked Questions

→ What's the point of oil in the chocolate topping?

It keeps the chocolate smooth and stops it from cracking when you cut into it.

→ Why put down parchment paper?

It helps you lift the tart out of the pan without any trouble after it's chilled.

→ Will smooth peanut butter work too?

Of course, but crunchy peanut butter gives the same texture as the original candy.

→ Why chill the tart shell first?

It makes sure the layers stay separate and don't blend together.

→ How should I store the tart?

Keep it cold in a sealed container for up to five days.

Reese's Peanut Butter Pie

A jumbo take on Reese's peanut butter cup, made into an easy-to-cut tart with layers of smooth chocolate and crunchy peanut butter filling.

Prep Time
30 Minutes
Cook Time
240 Minutes
Total Time
270 Minutes

Category: Dessert Recipes

Difficulty: Intermediate

Cuisine: American

Yield: 8 Servings (1)

Dietary: Vegetarian

Ingredients

01 1/2 cup salted butter.
02 1 1/4 cups chunky peanut butter.
03 1 cup crushed biscuits (like Petit Beurre).
04 1 1/3 cups icing sugar.
05 1 1/2 tablespoons sunflower oil.
06 2 1/2 cups milk chocolate chips.

Instructions

Step 01

Place a parchment paper round at the base of a 9-inch tart pan with ridges, and lightly spritz it with some nonstick spray.

Step 02

In a microwave-friendly bowl, combine the chocolate chips with sunflower oil and heat for 45–55 seconds until melted.

Step 03

Using a small spatula, spread half of the melted chocolate mix across the base and up the inner edges of the pan evenly.

Step 04

Pop the chocolate-coated tart pan into the fridge while you prep the filling.

Step 05

In a large mixing bowl, combine biscuit crumbs and icing sugar thoroughly with a whisk.

Step 06

Place both the peanut butter and butter in the microwave for about 45 seconds to let them soften.

Step 07

Blend the warmed peanut butter and butter mixture into the previously mixed dry ingredients until fully blended.

Step 08

Retrieve the tart pan from the fridge and evenly spread the peanut butter mixture across the chocolate-coated layer.

Step 09

Drizzle the remaining melted chocolate over the peanut butter layer and gently spread to cover it fully.

Step 10

Lightly tap the pan against your countertop to even out the chocolate and get rid of any trapped air.

Step 11

Refrigerate the tart for at least 4 hours (or leave it overnight) until it’s fully firm.

Step 12

Set the tart pan over a small bowl and press gently to release the sides of the tart.

Step 13

Carefully flip the tart upside down to peel off the tart base and parchment paper.

Step 14

Flip the tart right-side up onto a serving plate by placing the plate over the tart base and turning it over.

Step 15

Slice the tart into portions and serve while chilled.

Notes

  1. No need for baking.
  2. A giant treat, like candy but massive.
  3. You can prep it in advance.
  4. Looks super fancy when served.

Tools You'll Need

  • 9-inch ridged tart pan.
  • Parchment paper.
  • Small spatula.
  • Large bowls.

Allergy Information

Please check ingredients for potential allergens and consult a health professional if in doubt.
  • Contains nuts (peanuts).
  • Has dairy (from butter and chocolate).
  • Made with biscuits containing wheat.

Nutrition Facts (Per Serving)

It is important to consider this information as approximate and not to use it as definitive health advice.
  • Calories: 747
  • Total Fat: 52 g
  • Total Carbohydrate: 65 g
  • Protein: 15 g