
 Pin it
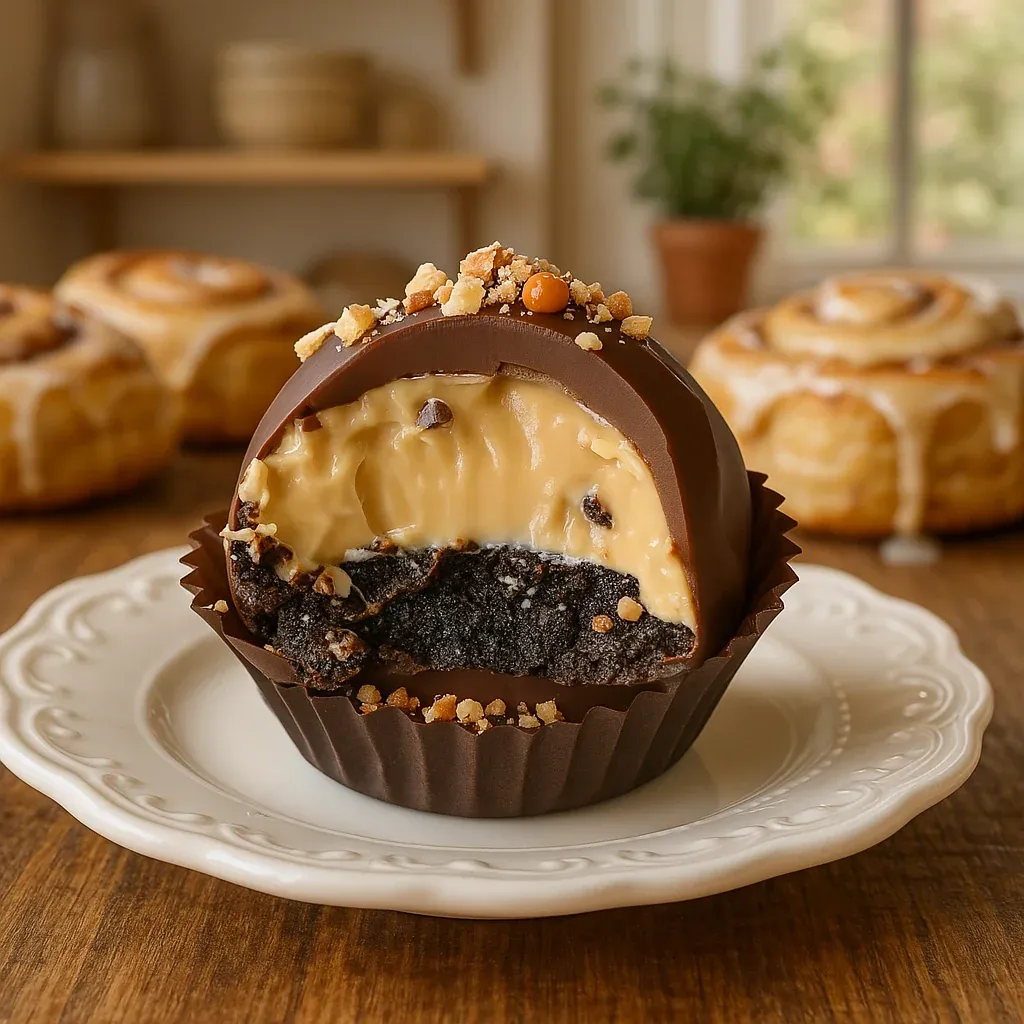
These mouthwatering peanut butter Oreo truffles combine the unforgettable mix of creamy chocolate, rich peanut butter, and crunchy cookies in each bite-sized delight. They've become my family's favorite no-bake treat - I make them for everything from holiday parties to casual Sunday afternoon snacks when we're craving something sweet.
I created these treats during a winter storm when my children wanted sweets but we couldn't leave the house. They were such a massive hit that my kids now ask for these homemade balls instead of store candy. Even my spouse, who always claims to dislike sweets, can't help grabbing a few whenever they walk through the kitchen.
- 36 Oreo cookies: One whole pack gives the perfect chocolatey foundation and great consistency when broken down
- 8 oz cream cheese softened: Brings smoothness and holds everything together - don't go for low-fat if you want the best taste
- 1/2 cup creamy peanut butter: Delivers that classic candy shop flavor - spending more on a good brand really pays off
- 12 oz milk chocolate chips: For the outer layer - go for something that melts without lumps
- Optional toppings: Chopped peanuts cookie bits or colorful sprinkles add extra crunch and eye appeal
Detailed Making Method
- Break down the cookies:
- Dump all Oreos with their cream centers into a food processor and blend until you get fine powder without chunks. The smoother your crumbs, the silkier your finished truffles. No processor? Put cookies in a ziplock bag and smash with a rolling pin, though this needs more muscle for good results.
- Combine the base:
- Put the soft cream cheese and peanut butter into the cookie crumbs in a big bowl. With an electric mixer, blend at medium until everything's fully mixed. The mix should stay in shape when rolled but remain workable. Clean the sides of the bowl as you go for even mixing.
- Form your truffles:
- With a tablespoon or cookie scoop, grab some mixture and roll between your hands to make 1inch balls. Wash your hands when they get sticky for easier handling. Put the balls on a baking sheet covered with parchment, leaving gaps between them.
- Cool them down:
- Put the tray in the fridge for at least 60 minutes. This key step makes the balls firm so they won't fall apart during dipping. Well-chilled balls keep their shape and don't crumble in chocolate.
- Prepare the coating:
- Put chocolate chips in a bowl safe for microwave and heat for 30 seconds at a time, stirring after each round until completely smooth. Don't rush - overheated chocolate can clump up. You can also use a double boiler for better control.
- Cover in chocolate:
- Working with a few balls at a time while keeping the rest cold, drop each into the melted chocolate. Use a fork to coat completely, then lift and tap gently to shake off extra chocolate. Put the covered ball back on the parchment and quickly add toppings before hardening.
- Top them off:
- Sprinkle your chosen extras onto the balls while chocolate is still wet. You'll need to move fast since the cold balls make the chocolate start to harden quickly. For a neat look, use the same amount of topping on each ball.
- Let them harden:
- Put the coated balls back in the fridge for at least half an hour until the chocolate fully sets. Properly hardened chocolate will look slightly shiny and won't feel sticky when touched.
 Pin it
The key to these amazing treats is definitely using good quality peanut butter. I tried using a natural, non-stabilized version once and ended up with a mixture that fell apart. Now I always use regular creamy peanut butter brands that give that authentic candy bar taste everyone loves. The first time I brought these to a family dinner, my grandma who usually passes on desserts asked me for the instructions before leaving. That's when I knew these had earned a permanent spot in our family favorites.
Keeping Them Fresh
One great thing about these peanut butter Oreo balls is how well they keep. Store them in the fridge in a sealed container with parchment paper for up to a week. Want to save them longer? Put them in the freezer for up to two months. When freezing, make sure to put parchment between layers so they don't stick together. Let frozen balls thaw in the fridge for a few hours before eating them. Don't leave these out at room temperature for more than two hours since the cream cheese can go bad.
Smart Swaps
You can easily change things up if you need to. For folks who can't have dairy, swap the cream cheese with a plant-based alternative. The feel might be a bit different, but they'll still taste great. If peanuts are a problem, try using almond butter, sunflower seed spread, or cookie butter instead - each gives its own special flavor. You can use white chocolate or dark chocolate for dipping if you prefer, creating a different but still delicious combo. Need to avoid gluten? Just use gluten-free sandwich cookies instead of regular Oreos.
 Pin it
Fixing Common Problems
- If your mixture feels too wet to shape properly, add more crushed Oreos a spoonful at a time until it firms up.
- On the flip side, if it's breaking apart, mix in a spoonful of cream cheese or peanut butter.
- When your melted chocolate gets too thick to dip easily, stir in a tiny bit of vegetable shortening or coconut oil to thin it without changing the taste.
- If you notice cracks in your chocolate after it sets, you probably put very cold balls into warm chocolate. Let them warm up slightly before dipping.
Frequently Asked Questions
- → What can I use to crush Oreos without a processor?
Just pop the Oreos in a sealed bag and roll them with a pin to crush them finely.
- → Can I switch up the Oreo flavors?
Yep! Try fun flavors like Mint, Golden, or even Peanut Butter to mix things up.
- → Which chocolate is best for dipping?
Milk chocolate or semi-sweet works perfectly, but dark chocolate or white chocolate are also great options.
- → How long do these treats last?
Keep them in the fridge for up to a week or freeze them for a month if you want to save them longer.
- → Can I prep these bites early?
Absolutely. Make them ahead, chill them, and dip in chocolate later when you’re ready.
- → What toppings work best for decorating these?
Use crushed Oreos, chopped nuts, sprinkles, sea salt, or whatever you like to make them extra special.