
 Pin it
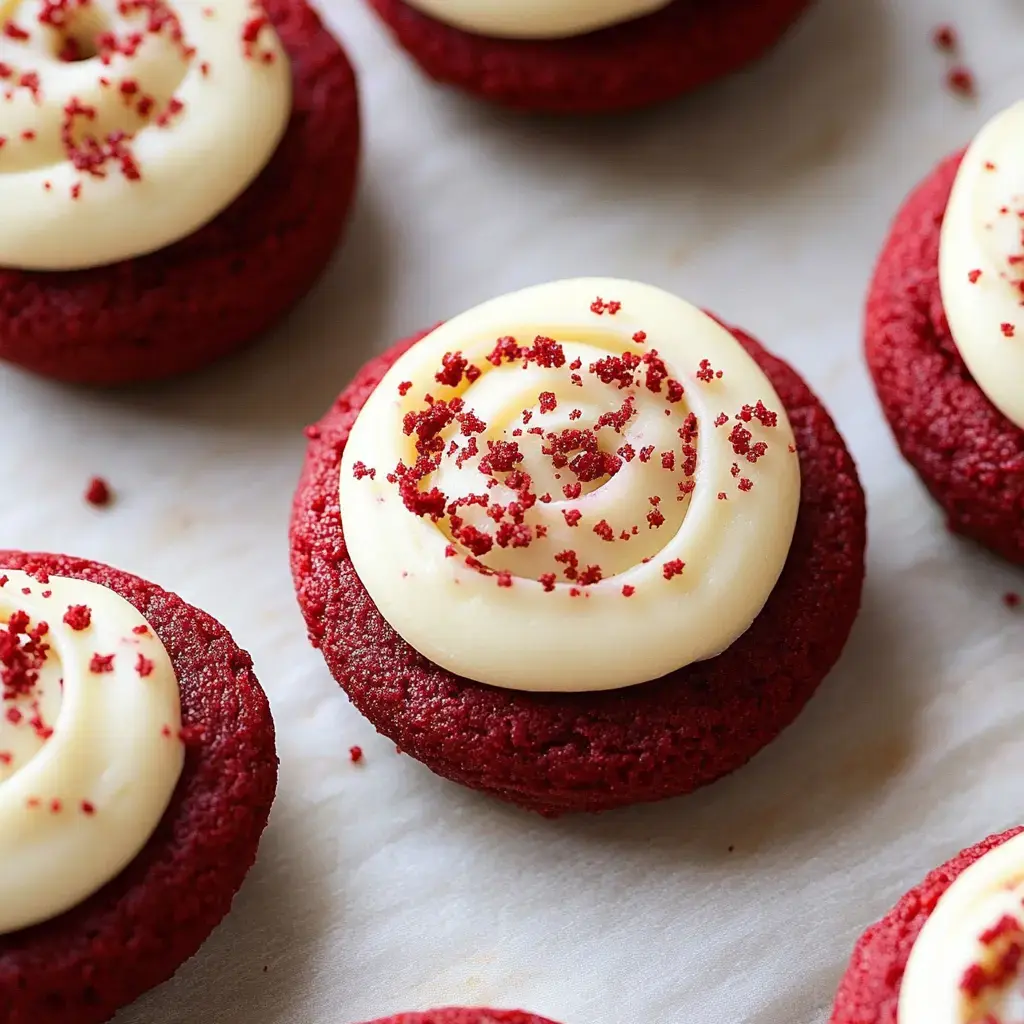
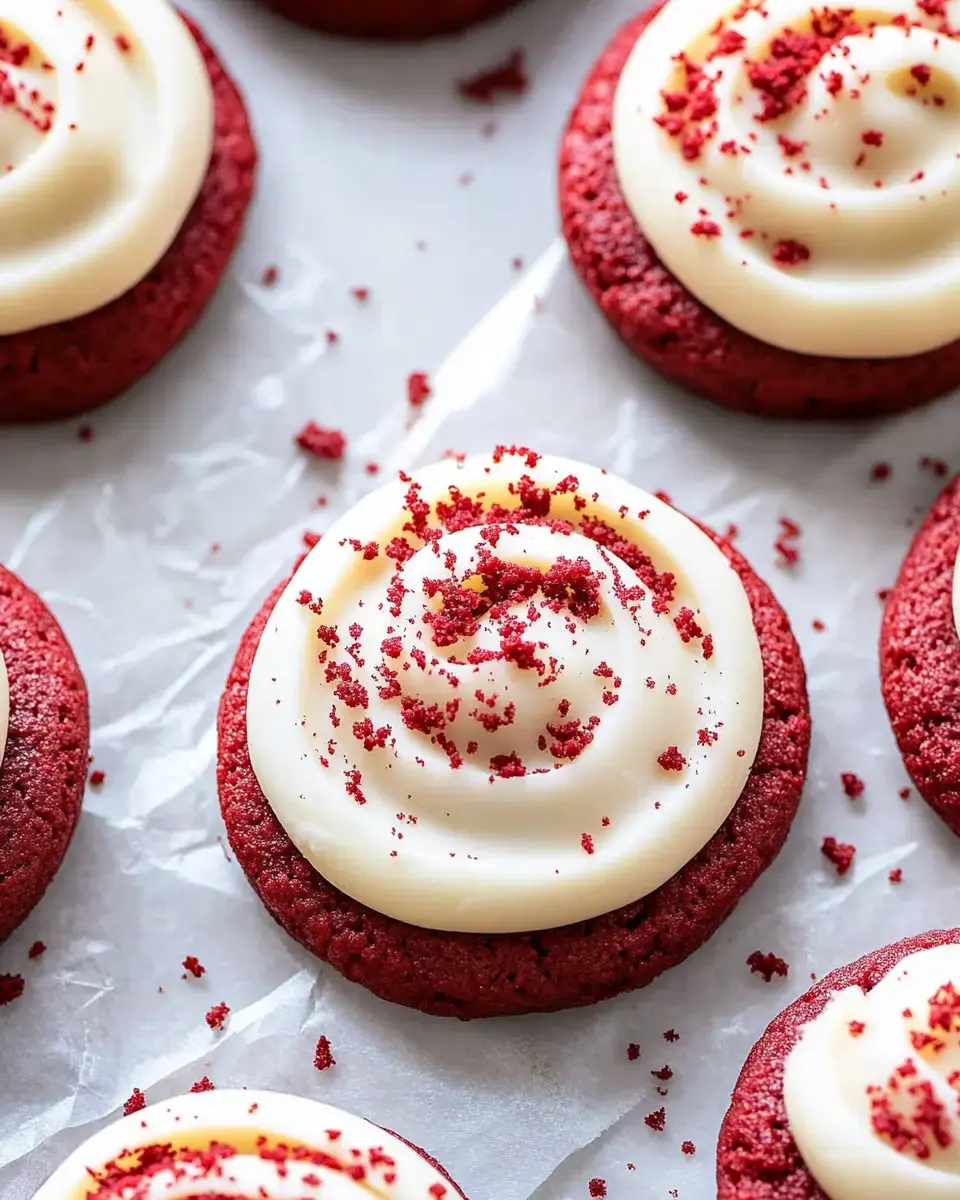
I happened on these Cookie-Cupcake Red Velvet treats by chance when I couldn't pick between baking cookies or cupcakes - talk about a lucky discovery! They've got this incredible mix of chewy yet airy texture underneath the smoothest cream cheese topping you'll ever try. The vibrant color makes them eye-catching too - they'll brighten up any ordinary day.
What Makes These Irresistible
These tasty treats combine what's great about cookies and cupcakes in one bite. You'll enjoy that cookie chewiness alongside a soft cake-like middle. They're a breeze to make but look totally professional. And that cream cheese topping? It's the perfect finishing touch that makes them extra special.
Key Ingredients You'll Need
- Flour: Plain all-purpose works best for the right balance of structure and softness.
- Sugar: A mix of white and brown gives you ideal sweetness and texture.
- Butter and Oil: The butter adds flavor while oil keeps everything moist.
- Milk Powder: This hidden helper creates that wonderful cakey richness.
- Baking Powder + Baking Soda: This pair helps create those beautiful rounded tops.
- Red Food Coloring: Creates that signature look everyone expects.
- Cream Cheese: The foundation for that unbelievably good topping.
- Egg and Vinegar: They bring all the elements together just right.
- Vanilla Extract: Adds wonderful depth to both parts of the treat.
How To Make Them
- Create Your Dough
- Combine the dry stuff in one container. In another one, whip the butter, oil and sugars until light. Mix in the egg, vanilla, red coloring and vinegar until smooth, then slowly add the dry mix until you end up with a nice sticky dough.
- Baking Step
- Drop spoonfuls onto your parchment-lined tray with space between each. Bake at 350°F around 10-12 minutes, then let them sit on the pan another 5 minutes before cooling completely.
- Create The Topping
- Mix butter and cream cheese until completely smooth, then add powdered sugar and vanilla, beating until it's fluffy and light.
- Final Touches
- When your treats are totally cooled, add generous dollops of topping. Finish with some crumbled bits on top for extra flair.
Secrets For Amazing Results
Don't overdo the flour or they'll come out too firm. Start with all ingredients at room temp for best mixing. Keep an eye on them while baking - we want them soft in the middle. And don't rush the cooling before adding topping, you'll be glad you waited.
 Pin it
Keeping Them Fresh
Store them in the fridge if they've got topping and they'll stay good for about 4 days. Without topping? Just keep them on the counter. When I'm planning ahead, I'll make the cookie part early and add the topping just before serving - they always taste better this way.
Perfect For Every Moment
I bring these treats to everything from fancy get-togethers to random Tuesday snacks. They look impressive enough for celebrations but they're simple enough for everyday cravings. Nothing beats having one with afternoon tea or watching friends' faces light up when they take their first bite.
Frequently Asked Questions
- → Which type of food coloring works best?
Go for gel-based or liquid-gel colors. Avoid using basic liquid ones.
- → Why use the milk powder?
It gives these cookies a soft, fluffy, cake-like feel.
- → What’s the vinegar’s role?
It reacts with cocoa, creating the signature red hue.
- → Can I prepare frosting in advance?
Absolutely. Just store it in the fridge until you need it.
- → How do I fix frosting that’s too soft?
Pop it in the fridge for 30 to 60 minutes to stiffen it up.