
 Pin it
Want a pumpkin pie that never fails to impress? This homemade version draws inspiration from the traditional Libby's approach but incorporates my family's unique tweaks. For newcomers and expert bakers alike, these instructions ensure a mouthwatering holiday treat that'll have family members coming back for more.
What Makes This Pumpkin Pie Stand Out
I've sampled countless pumpkin pie variations, and this one truly shines. While the Libby's version remains a staple, I've picked up several techniques through trial and error that elevate this recipe. My straightforward method works wonderfully for first-timers yet delivers a taste suggesting years of expertise. I'll also show you how to create a plant-based version with alternative ingredients that don't compromise on flavor.
Essential Ingredients For Standout Pumpkin Pie
- Pumpkin Puree: Libby's works great, though any quality brand will do
- Pie Crust: Ready-made is quick, but I've got a simple from-scratch option too
- Evaporated Milk: Adds richness (check below for dairy-free alternatives)
- Eggs: For proper setting
- Brown Sugar: Offers richer notes than granulated
- Spices: Cinnamon, ginger, nutmeg, cloves
- Salt: A tiny amount
- Vanilla: My personal enhancement for improved flavor
Simple Pumpkin Pie Creation Guide
- Begin With The Foundation:
- Every top-notch pie needs proper support. Push dough into dish, shape edges decoratively.
- Combine Filling Components:
- This straightforward approach needs just a single container - stir until completely blended.
- Monitor Heating:
- Success depends on proper warming - preheat to 425°F.
- Initial Cooking Phase:
- Add mixture to shell, cook 15 minutes at higher temperature.
- Reduce And Complete:
- Turn down to 350°F, continue 40-50 minutes until middle slightly wobbles.
- Proper Cooling:
- Allow 2 hours rest - this minimizes splitting.
Keeping Your Pie Fresh
Should you keep pumpkin pie cold? Absolutely! After cooling down, cover it and store in your refrigerator. And if you're thinking "can I freeze this dessert?" - you sure can! Wrap carefully and freeze for up to eight weeks. Just let it thaw in your fridge overnight before you serve it.
Customize To Your Taste
Interested in a dairy-free version? Swap eggs for silken tofu and use coconut milk instead of evaporated milk. My uncomplicated approach works wonderfully with traditional or plant-based components. You can even tweak the seasoning blend to match the classic Libby's flavor profile or craft your own unique mix.
Secrets For Outstanding Results
Getting amazing results comes down to small but important details. Let ingredients sit at room temperature first. Don't cook too long - the middle should move slightly, similar to gelatin. For a pie that stays crack-free, try setting a water-filled dish on the lowest oven rack during baking time.
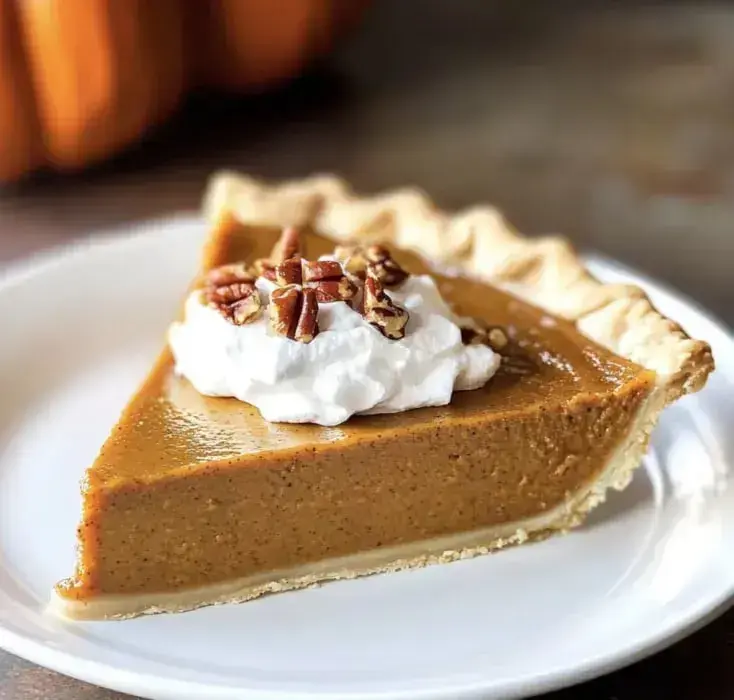
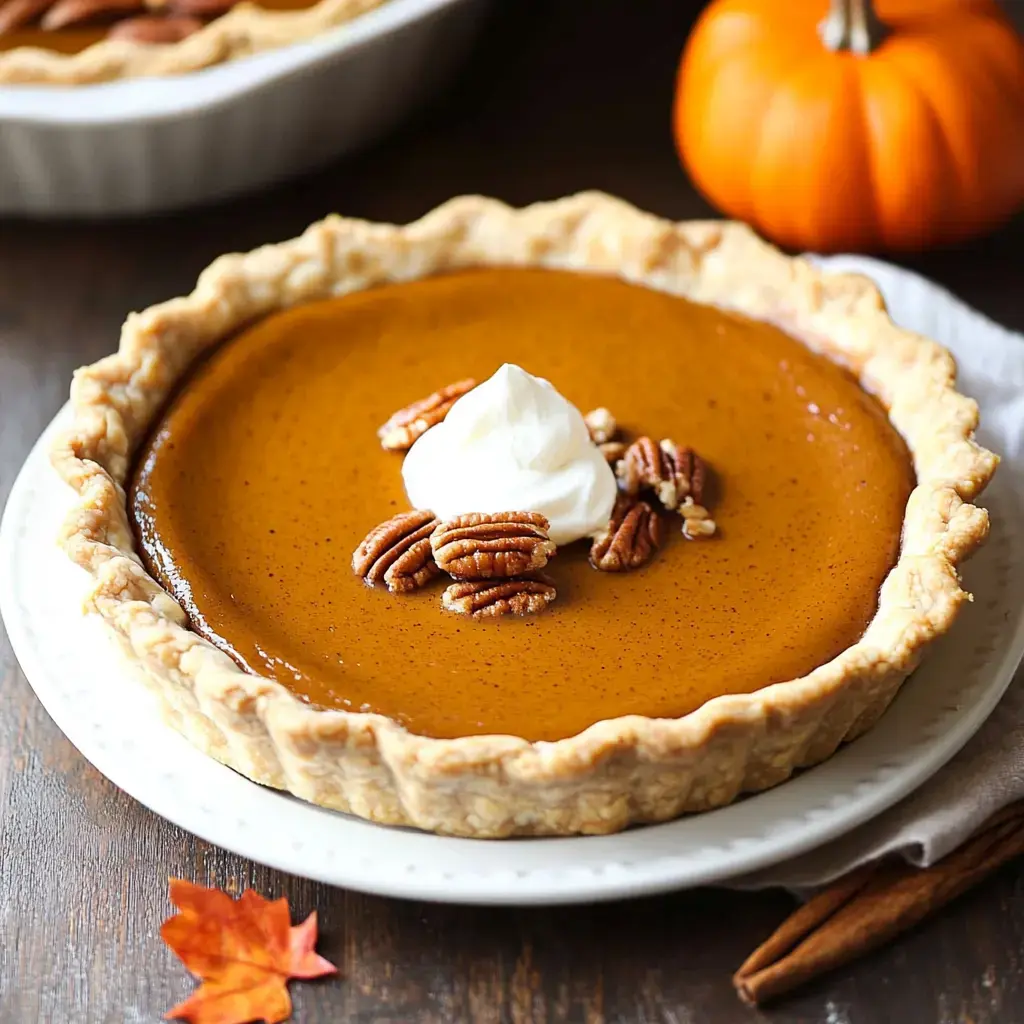
Presenting Your Creation
Whether you stuck with the traditional approach or added your own twist, presentation adds that final touch. Top with whipped cream, dust with cinnamon, or try my special maple-vanilla topping. Made your pie ahead? Just pop slices in the microwave for 10 seconds before adding your favorite garnish.
 Pin it
Frequently Asked Questions
Apart from storage questions about refrigeration and freezing, many folks worry about their crust getting too dark. Just wrap the edges in foil if needed. For best outcomes, don't use fresh pumpkin unless you've thoroughly drained it. And guess what? Your pie will actually taste even better if you wait until the next day to enjoy it!
Frequently Asked Questions
- → Want to use fresh pumpkins?
Cook the pumpkin until it’s extra soft. Drain it thoroughly. Mash or blend it so it’s smooth, not stringy. You might need to adjust liquids for a good balance.
- → How do I store it?
Wrap it tightly and keep it in the fridge. It’ll stay good for about four days. Bring it to room temperature a bit before serving. If parts are cut, cover those well. For whipped toppings, store them separately.
- → Can I prep the crust early?
A day in advance is fine! Keep it wrapped in the fridge. Let it soften slightly before rolling. Work quickly when rolling, then chill again before filling.
- → Skip the nut topping?
A plain pie’s still delicious. Add whipped cream, cinnamon-dusted nuts, or a sprinkle of powdered sugar. Lots of great options here!
- → Need it gluten-free?
Use a gluten-free pie crust mix. Double-check all ingredients for gluten. Rice flour-based recipes work well. You may need to tweak the baking time a little.
- → Edges browning too much?
Shield the edges with foil or pie shields. Drop the oven temperature if needed. Place the pie lower in the oven. Check earlier to catch signs of overbaking.
- → Traveling with it?
Transport it cool and in a box. Keep the topping packed on the side. Bring extra cream in case. Slice it at your destination if possible. Handle gently; avoid bumps!
- → Want deeper flavors and color?
Add more brown sugar or a touch of molasses. Cooking the pumpkin slightly beforehand can intensify flavor. Mix in just a little extra spice too. Careful not to overdo it as the tart might burn!
- → Center isn’t setting?
Bake it longer, checking frequently. The middle should wobble just slightly when done. Tap the dish gently to check. It needs to cool completely—don’t slice when hot!
- → Making several pies?
Doubling the recipe works fine, but you’ll need more pie dishes and oven space. Rotate halfway through baking for even cooking. Cooking times should stay pretty consistent.
- → Want bolder spice flavors?
Increase the spices a pinch at a time. Freshly grated nutmeg and more ginger can add punch. Blend your favorite spice mix yourself. Adjust and taste until it feels just right.
- → Crust edges collapsing?
Make the crust edges thicker or crimp them tighter. Chill well before baking. Don’t pull or stretch the dough in the pie tin. If needed, fold it over itself along the edges for strength.
Conclusion
Can’t get enough? Look into making a rolled pumpkin cake next time or try a lovely pecan pastry. These treats are perfect for autumn days!