
 Pin it
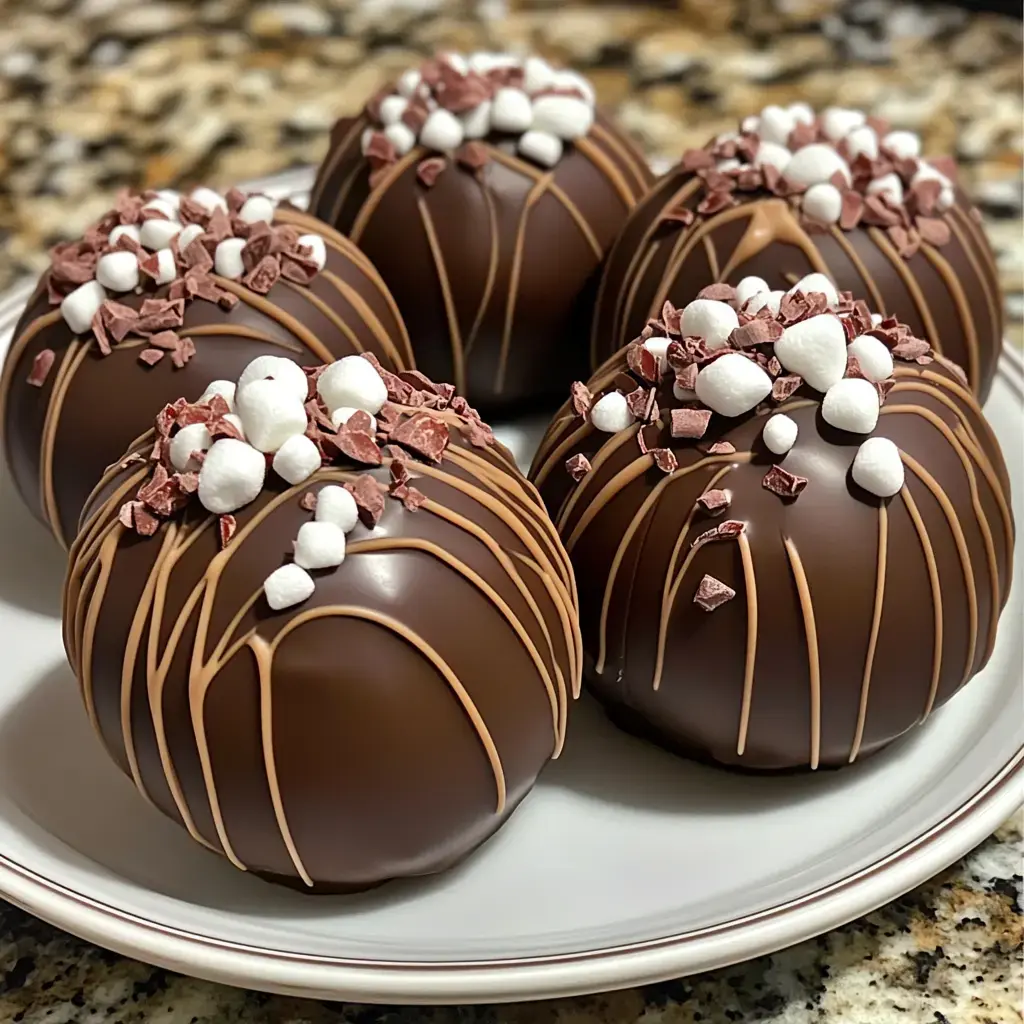
I crafted these DIY hot chocolate bombs after my children spotted fancy ones downtown and begged me to make them. It took several messy attempts (with my family happily testing each version!) before I got it right. Now they've turned into my go-to holiday present, and my friends start dropping hints as soon as fall arrives.
Essential Elements for Amazing Hot Chocolate Bombs
- Picking Your Chocolate
- My biggest tip? Don't skimp on chocolate quality. I once tried regular chocolate chips and ended up with a total mess! Go for chocolate containing at least 31% cocoa butter - I'm partial to Callebaut, though Ghirardelli does the job nicely too.
- What Goes Inside
- For the filling, Dutch-process cocoa makes your bombs stand out. Combine it with quality powdered sugar and don't forget a tiny bit of salt - it really makes a difference!
- Extra Additions
- You'll want fresh, fluffy mini marshmallows. The stale ones from your pantry won't give you the same delightful result.
Preparing Your Work Area
- Space Organization
- Empty your counter completely - this can get pretty untidy for beginners. Arrange everything like you're doing surgery: thermometer, sphere molds (silicone works best), brushes. I actually found a clean makeup brush works better than kitchen brushes for coating molds!
- Managing Heat
- Something I wish I knew from the start: your kitchen should be cool, around 70°F. I learned this the hard way when summer attempts turned into melted disappointments.
Creating The Wonder
- Tempering Technique
- Cut your chocolate into tiny bits - think confetti-sized pieces. Warm about two-thirds gradually in the microwave, 30 seconds at a time. Mix between each heating, even when it doesn't seem melted. When smooth, add the remaining chocolate gradually. This trick gets you that beautiful shine!
- Forming Your Spheres
- Coat your molds with a thin chocolate layer. Chill them for just 5 minutes - any longer causes moisture problems. Apply a second layer, making the rims slightly thicker. I figured out the importance of stronger edges after several sad collapses!
Troubleshooting Common Issues
- Solving Problems
- Seeing streaks in your chocolate? Your temperature probably went off course. Dark chocolate needs 88-91°F, milk works best at 86-88°F, and white chocolate wants 84-86°F. I keep these numbers on my microwave for quick reference!
- Easy Solutions
- Can't remove shells from molds? Stick them in the freezer for 3 minutes. Got fingerprints on your finished bombs? A gentle touch with a warm brush takes care of that.
 Pin it
Inventive Approaches
- Cool Twists
- After mastering the basics, experiment! My kids go crazy for galaxy bombs - try brushing molds with colored cocoa butter before adding chocolate. During Christmas, I mix peppermint oil into the shells and add crushed candy canes inside.
- Decoration Ideas
- A bit of shimmer dust or edible gold paint transforms these into something special. Just make sure they're fully hardened before you start decorating.
Keeping and Sharing
- Maintaining Quality
- Never store these in the fridge - I found out when my glossy bombs turned dull! Keep them in a cool area (around 65-70°F) in something airtight. I add a silica packet to keep dampness away.
- Sharing Advice
- These need careful handling! I wrap each bomb in cellophane and place them in boxes with tissue paper. I also add a small card saying: 'Drop into hot milk (180°F), watch it open up, stir and enjoy!'
Frequently Asked Questions
- → What chocolate should I pick?
Choose couverture or high-quality bars. Skip chips or candy melts—they don’t temper properly and taste off.
- → Should I use silicone or acrylic molds?
Silicone’s simpler but slow. Acrylic’s faster if you’ve got the hang of it. Both options work great when tempered chocolate’s done right.
- → Why’s my chocolate sticking?
In acrylic molds, chocolate needs to temper properly so it shrinks and releases easily. Freeze it briefly for better results.
- → What’s the deal with monitoring temperature?
Don’t let it go past 90°F or it’ll mess up the temper and lose its shine and snap.
- → How do I make them shiny?
Glossy finishes come from perfect tempering. Follow instructions and take your time to achieve a beautiful shine.
Conclusion
Making incredible hot chocolate bombs is all about the right tempering process. Handle your chocolate carefully, use molds, and pack them full of cocoa and marshmallows for an amazing treat.