
 Pin it
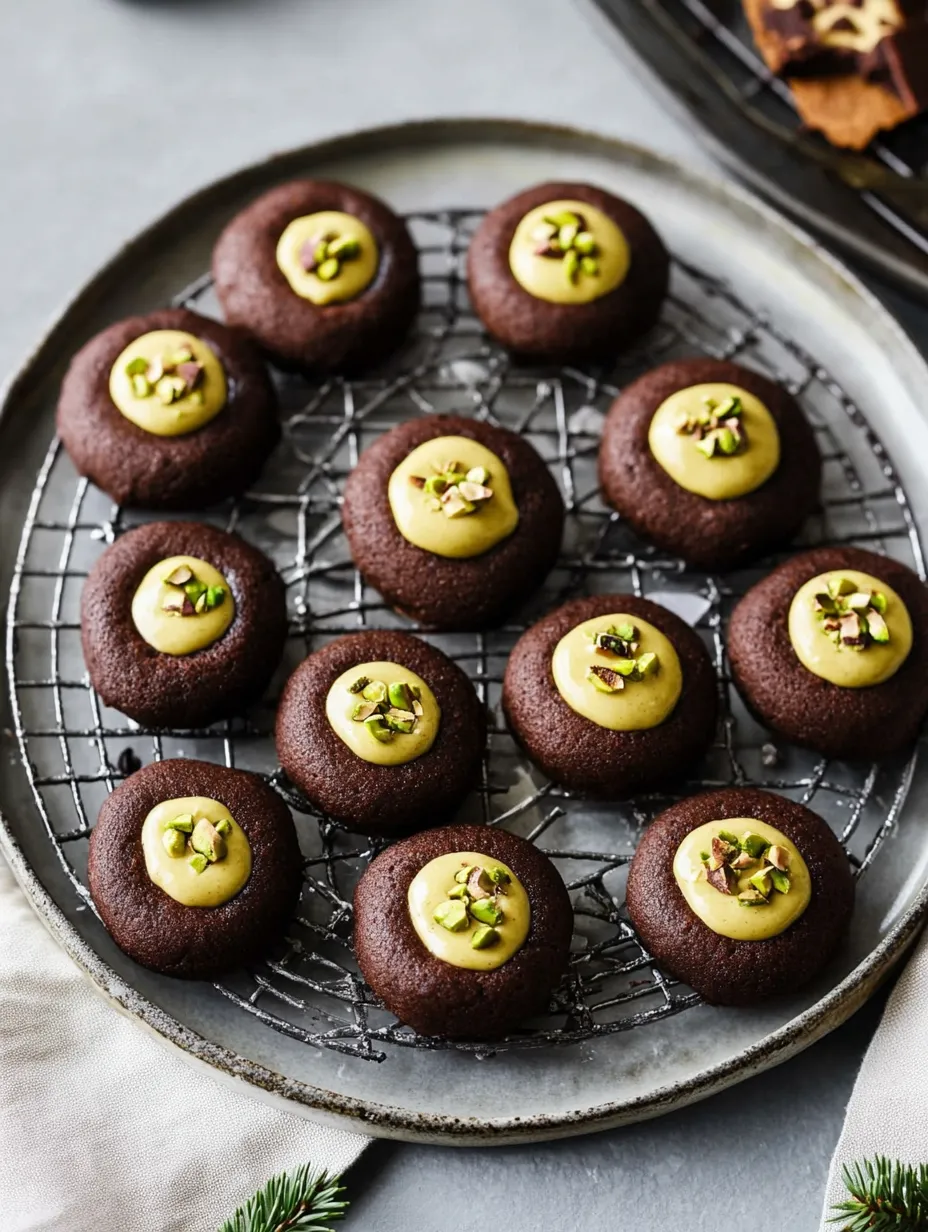
These tempting thumbprint treats blend chocolatey shortbread with creamy pistachio centers for a fresh take on an old favorite. They bring back memories of the amazing pistachio gelato I tasted in Venice, packing those wonderful flavors into a handy snack. The mix of buttery chocolate base and smooth pistachio filling creates a fancy dessert that's actually pretty easy to whip up.
When I made these for a dinner at my place last month, my dessert-avoiding buddy asked me to share how I made them before leaving. There's something about chocolate mixed with pistachio that pulls in even people who don't usually go for sweet stuff.
Key Ingredients and Smart Shopping Advice
- Pistachio Butter - Go for bright-colored options like ones from The Pistachio Factory
- White Chocolate - Pick high-quality chips or bars that melt nicely
- Pistachios - For topping, clean and remove skins from raw nuts for bright green color
- Pistachio Extract - Not required but makes the gelato taste more authentic
- Cocoa Powder - Dutch-processed gives you darker chocolate flavor
The real wonder happens when white chocolate mixes with pistachio butter, making a filling that gets firm enough to stack the cookies but stays soft when you bite into them.
Step-by-Step Baking Guide
- Step 1: Create the Chocolate Base
- Beat butter and sugar till fluffy. Mix in egg yolk and vanilla, then add dry stuff until just mixed. You want soft dough that won't stick to your hands.
- Step 2: Form Your Cookies
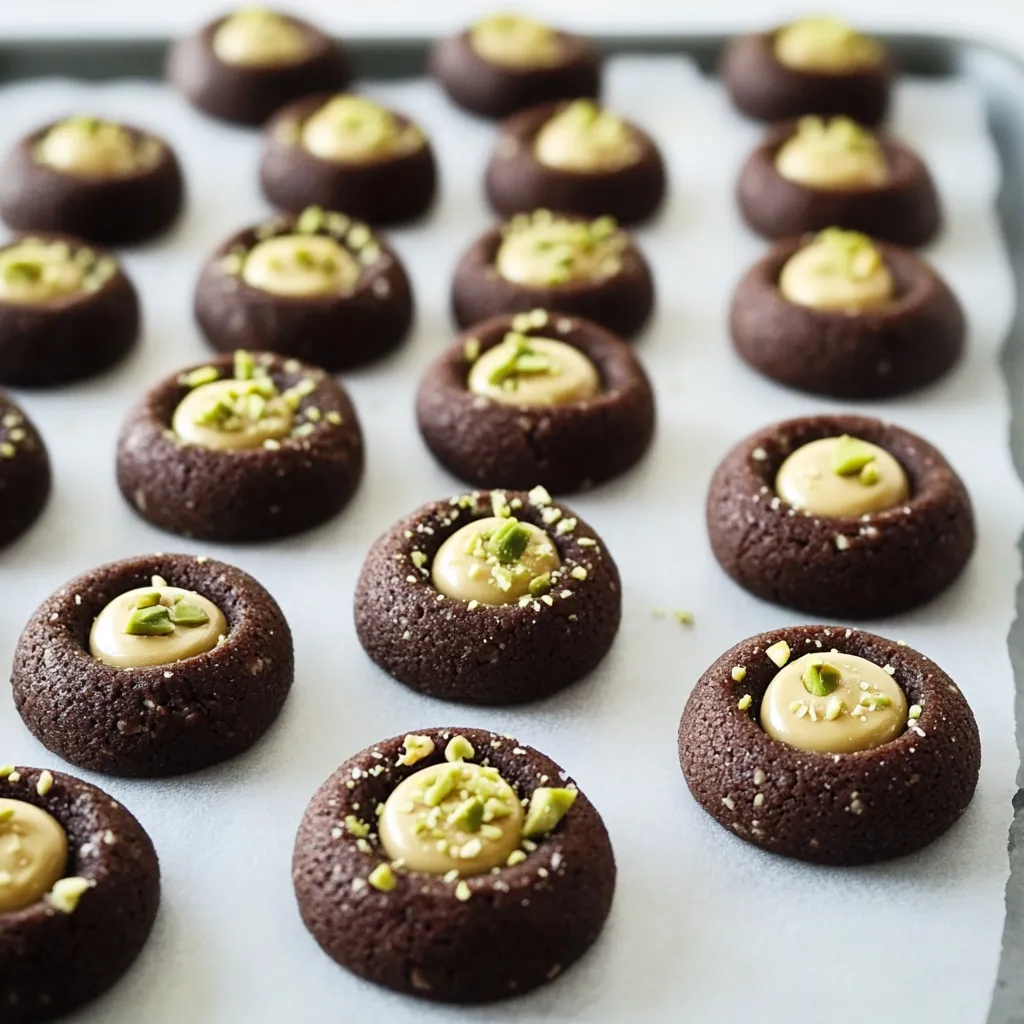
- Make 1-inch balls from the dough. For extra crunch, roll some in chopped pistachios. Push down the middle with your thumb or a spoon to make little wells.
- Step 3: Bake Them Right
- A lighter colored baking sheet works better. Cook until edges firm up but centers stay soft, around 10-12 minutes. If the dents puff up, push them down again while still hot.
- Step 4: Mix the Filling
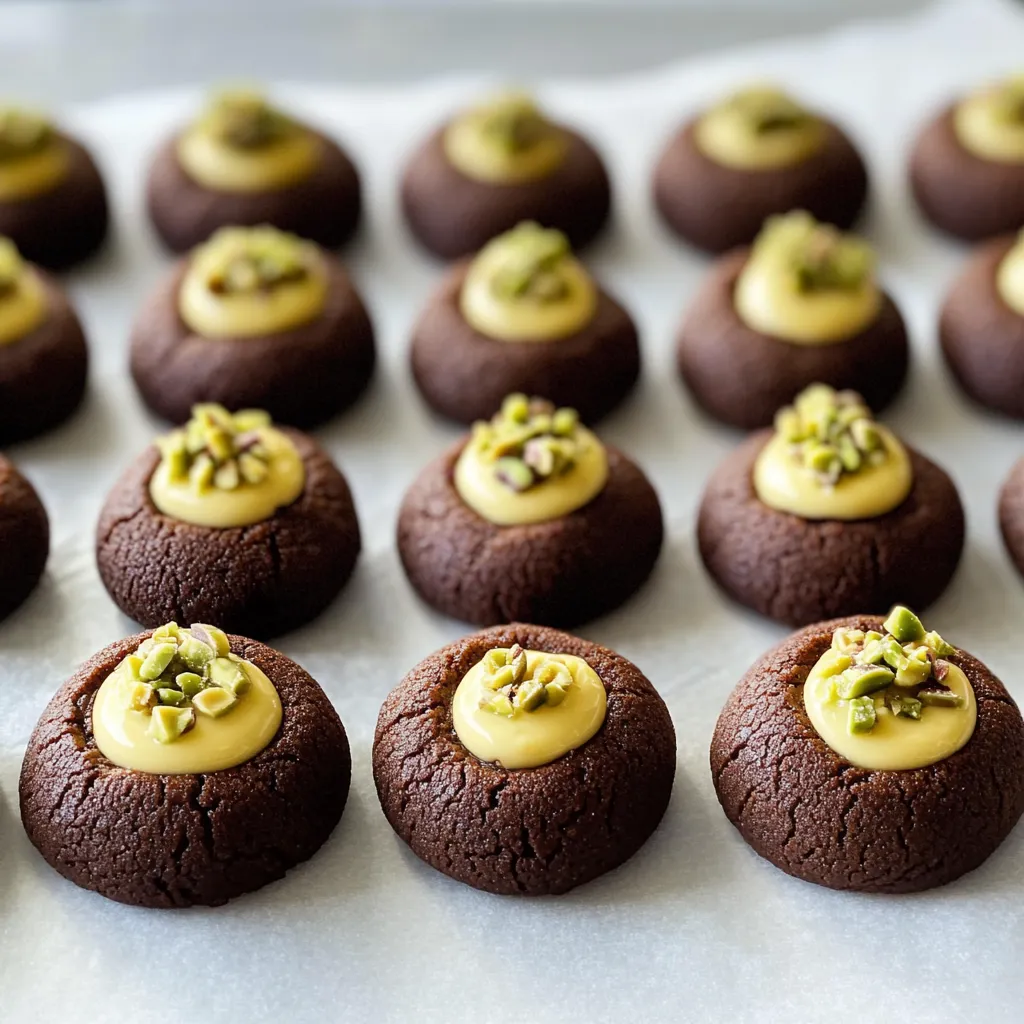
- Carefully melt white chocolate, then mix in pistachio butter, sugar, salt, and pistachio extract if you're using it. Stir until it looks shiny. The filling will harden as it cools, like truffle centers do.
- Step 5: Fill and Let Set
- After cookies cool completely, add pistachio filling to each dent. Let them sit at room temp until the tops don't feel sticky when touched lightly.
- Step 6: Add Toppings
- For a fancy look, sprinkle more finely chopped pistachios on top before the filling gets hard.
- Step 7: Keep Them Fresh
- Put wax paper between layers in an airtight box. They'll stay good for several days on the counter or up to a week in the fridge.
 Pin it
Enjoying the Slow Process
Taking time to clean and peel pistachios might seem boring, but I find it calming. There's something really nice about seeing each nut's bright green inside shine through, knowing this extra work will make the cookies look and taste better. I usually do this on weekends while listening to podcasts, enjoying the steady rhythm of peeling. The color difference between peeled and unpeeled pistachios makes it worth the effort - that bright green center just pops in a way regular cookies can't match.
Don't Save Special Treats Forever
Making these cookies taught me something about using fancy ingredients instead of saving them too long. I had a special jar of pistachio cream from Venice that almost went bad because I was waiting for the right time to use it. Many of us keep special ingredients for perfect moments that never come. These cookies celebrate using those good things now, making happy moments instead of missed chances. Seeing friends' happy faces when tasting these treats has shown me it's always better to use special ingredients than keep them stored away forever.
 Pin it
Tasty Time Travel
What really sets these cookies apart is how they take you places. One bite and I'm back in Venice - walking narrow streets, watching gondolas float by, and tasting that amazing pistachio gelato again. Food can capture memories sometimes better than photos do. When I share these cookies, I'm not just giving someone a snack but a little taste of Italian craftsmanship and tradition. They're more than desserts - they're edible souvenirs that connect everyday snacking to amazing experiences and faraway places.
I learned how much baking sheet color matters when my first batch spread too much and got too crispy on the bottom. Just switching to a light aluminum pan fixed the problem right away.
Pro Cooking Tricks
- If pistachio filling gets too thick to pour, warm it up a bit
- Make thumb marks while cookies are warm for smoother dents
- Use a small ice cream scoop for same-sized cookies
- Put nuts on edges before making dents to avoid mess
- Let cookies cool all the way before adding filling so it doesn't melt
 Pin it
These chocolate pistachio thumbprints have become my go-to cookie for special events. The mix of rich chocolate cookie with smooth, slightly salty pistachio center makes a grown-up treat that feels both comforting and exotic at the same time.
Last-Minute Advice
- For stronger pistachio taste, add a tiny bit of pistachio extract to both dough and filling
- Try dark chocolate with pistachio for a different flavor combo
- Make twice as many as you think you need - they go fast at parties
- They travel well for holiday presents once fully set
- Try adding a tiny bit of cardamom to the dough for a subtle spicy hint
Frequently Asked Questions
- → What’s special about Dutch cocoa?
- It gives a deeper color and smoother taste.
- → Can I skip using pistachio extract?
- Sure, but it adds stronger nuttiness.
- → Why re-indent the cookies post-baking?
- They puff up in the oven, reshaping makes more space for filling.
- → What’s the best way to store them?
- Keep in a sealed container, room temperature or fridge, for up to five days.
- → Can I freeze them?
- It’s better fresh, as the filling doesn’t freeze well.