
 Pin it
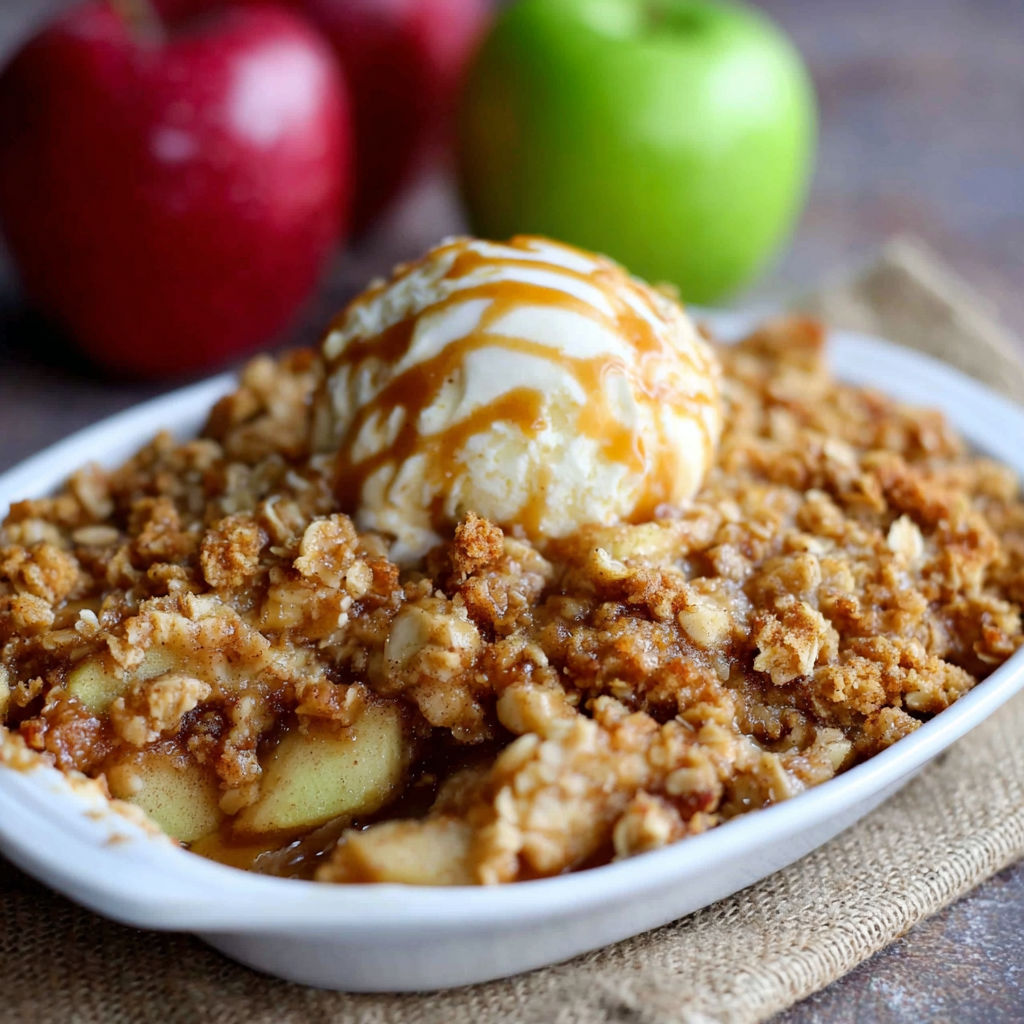
This baked apple treat turns simple Granny Smith apples into a mouthwatering dessert that fills your home with wonderful smells and delights everyone who tries it. The mix of tangy apples topped with sweet, buttery oats creates something that's both homey and totally impressive.
I first made this treat after a family apple picking trip about five years back, and now it's what we always have for our weekend family meals. My kids even ask for it instead of cake when their birthdays come around.
What You'll Need
- Granny Smith apples give that perfect sour kick and don't turn mushy in the oven
- Light brown sugar brings a deep sweetness that you just can't get from regular sugar
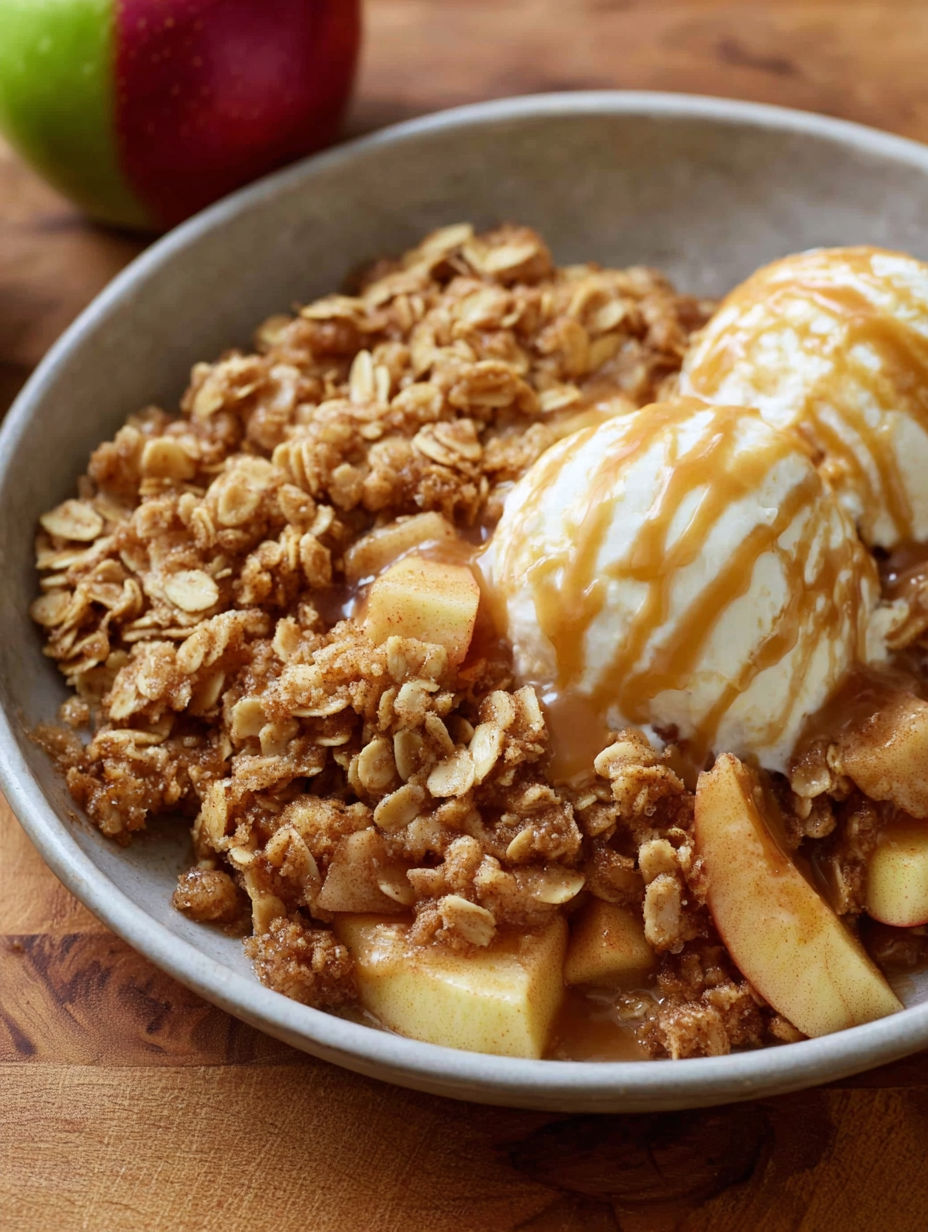
- Quick oats make that amazing crunchy layer while adding some heartiness
- Cold butter is absolutely needed to get those wonderful crumbly bits on top
- Ground cinnamon adds that cozy flavor that makes everything taste like home
Putting It All Together
- Get your apples ready
- Take off the skin, cut out the middle and slice your Granny Smiths into even pieces about ¼ inch thick. This way they'll all cook the same. Mix them up with brown sugar, flour and cinnamon until they're all coated. The sugar pulls out juice while the flour helps thicken everything up.
- Mix up your topping
- Throw the oats, flour, brown sugar and cinnamon in a bowl. Cut up cold butter into cubes and work it in with your fingers. Stop when it looks like rough sand with some small butter chunks still visible. Those butter pieces will melt as it bakes and make the topping super crispy.
- Build your layers
- Push some of the crumb mix firmly into the bottom of your dish to make a good base. This bottom part gets all caramelized when baked, making a nice contrast to the soft apple filling. Add your apple mix on top, pressing down a bit to get rid of gaps. Scatter the rest of the crumbs evenly over the apples.
- Cook it right
- Put it in a 375°F oven with no cover. You'll know it's done when you see bubbling juice and a golden top. The apples should be soft when you poke them but not mushy. Let it sit a bit before serving so the juices can set up.
The cinnamon in this dish turns basic stuff into something special. My grandma always said that cinnamon baking in the oven makes any place feel like home. She'd whip up this apple treat whenever someone in our family was feeling down, and I've kept up that tradition.
Fix It Early
You can put this whole thing together up to a day before you want to bake it. Just follow all the steps, wrap it tight with plastic, and stick it in the fridge. When you're ready, take it out while your oven warms up. It might need about 5-10 extra minutes in the oven since it'll be cold. You can also make just the topping ahead and freeze it for up to three months, which makes throwing this together super fast when you're craving something sweet.
Choosing The Right Apples
While I usually grab Granny Smiths for this dish, mixing different kinds of apples creates an amazing flavor. Try putting Granny Smiths together with Honeycrisp, Braeburn, or Jonagold. Stay away from using only sweet types like Red Delicious or Gala since they get too soft and don't have enough tang to balance the sweet topping. Whatever apples you pick, make sure they're crisp and fresh to get the best texture in your finished dish.
 Pin it
Ways To Enjoy It
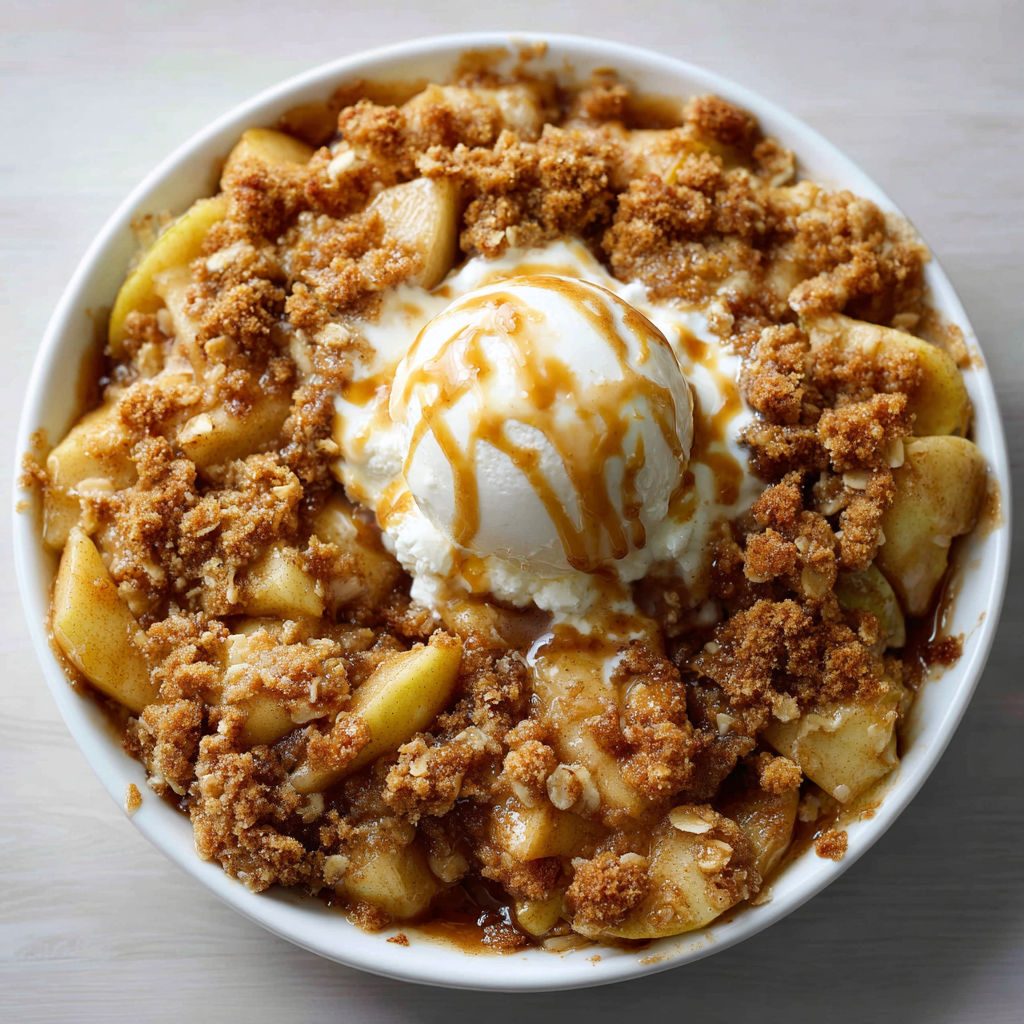
This apple treat tastes even better when it's warm with some vanilla ice cream slowly melting into all the little spaces. For something extra fancy, try adding a drizzle of caramel on top just before you dig in. If you're having it for a late morning meal, try it with a spoonful of Greek yogurt and some granola sprinkled on top for different textures. This works for both casual family dinners and fancy get-togethers when you serve it in small individual dishes with a little mint leaf on top.
 Pin it
Frequently Asked Questions
- → Can I use different apples?
Of course! While Granny Smith apples work great because they’re tart and hold their shape, you can use baking varieties like Jonagold, Braeburn, or Honeycrisp. If you prefer sweeter apples, try Gala or Golden Delicious, but you might want to cut back on the sugar a bit.
- → How do I keep leftovers fresh?
Let it cool all the way before covering tightly with plastic wrap or putting it in an airtight container. Keep it in the fridge for 4-5 days. Warm it up in the microwave or at 350°F in the oven until it’s hot through.
- → Can I prep this in advance?
Yep! You can make the apple filling and topping separately, then refrigerate for up to 24 hours before you bake. Or bake it ahead, chill, then warm it at 350°F for 15-20 minutes when you’re ready to eat.
- → What’s the difference from a crumble?
The topping! Crisps include oats, giving them that signature crunch. Crumbles skip the oats for a flour, butter, and sugar mix that’s softer and more crumbly.
- → What goes best with this?
This dessert is amazing with vanilla ice cream, whipped cream, or caramel drizzle. For a healthier twist, try plain Greek yogurt and honey. The mix of warm crisp and a cold topping is irresistible.
- → Can I freeze it?
You bet. Prep and freeze it unbaked in a freezer-safe dish, tightly wrapped, for up to 3 months. Bake frozen and just add 15-20 extra minutes. Already-baked crisp can cool, get tightly wrapped, and freeze for 3 months too. Thaw and warm before digging in!