
 Pin it
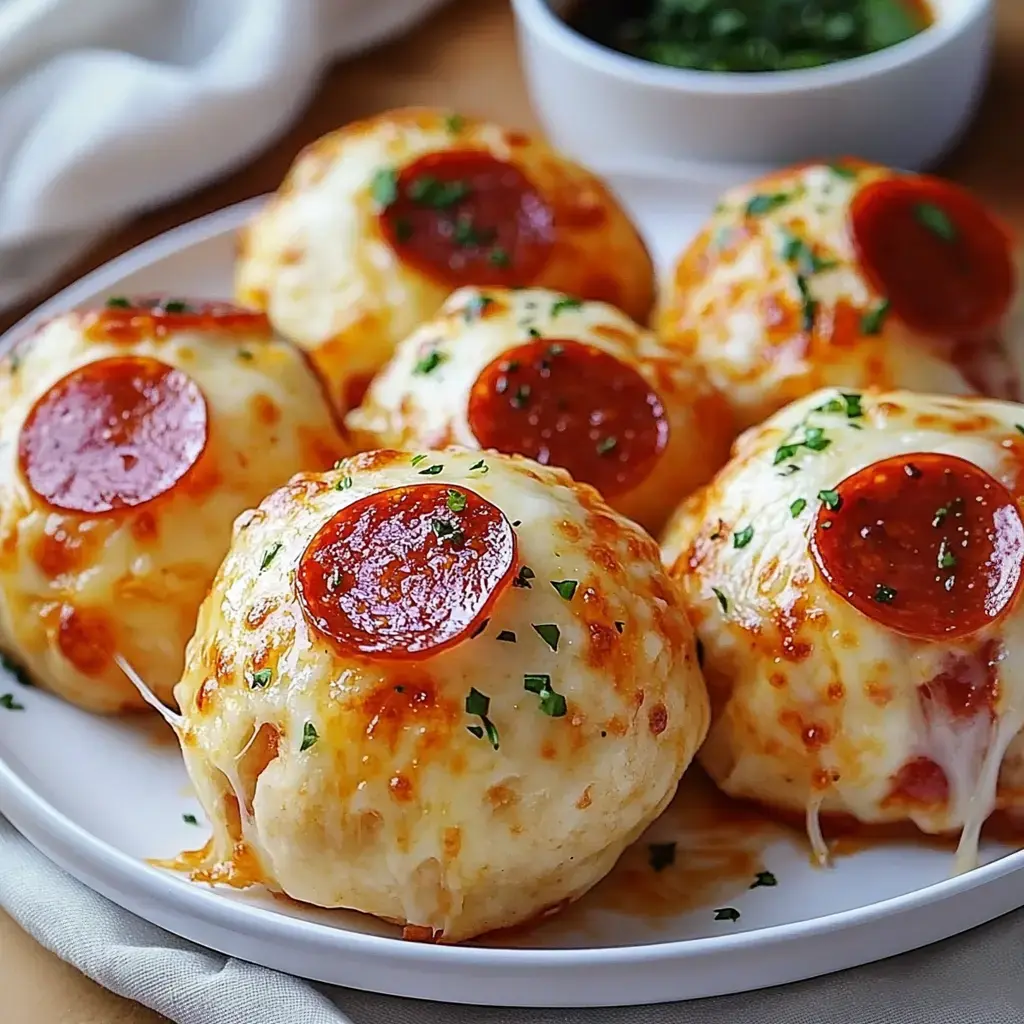
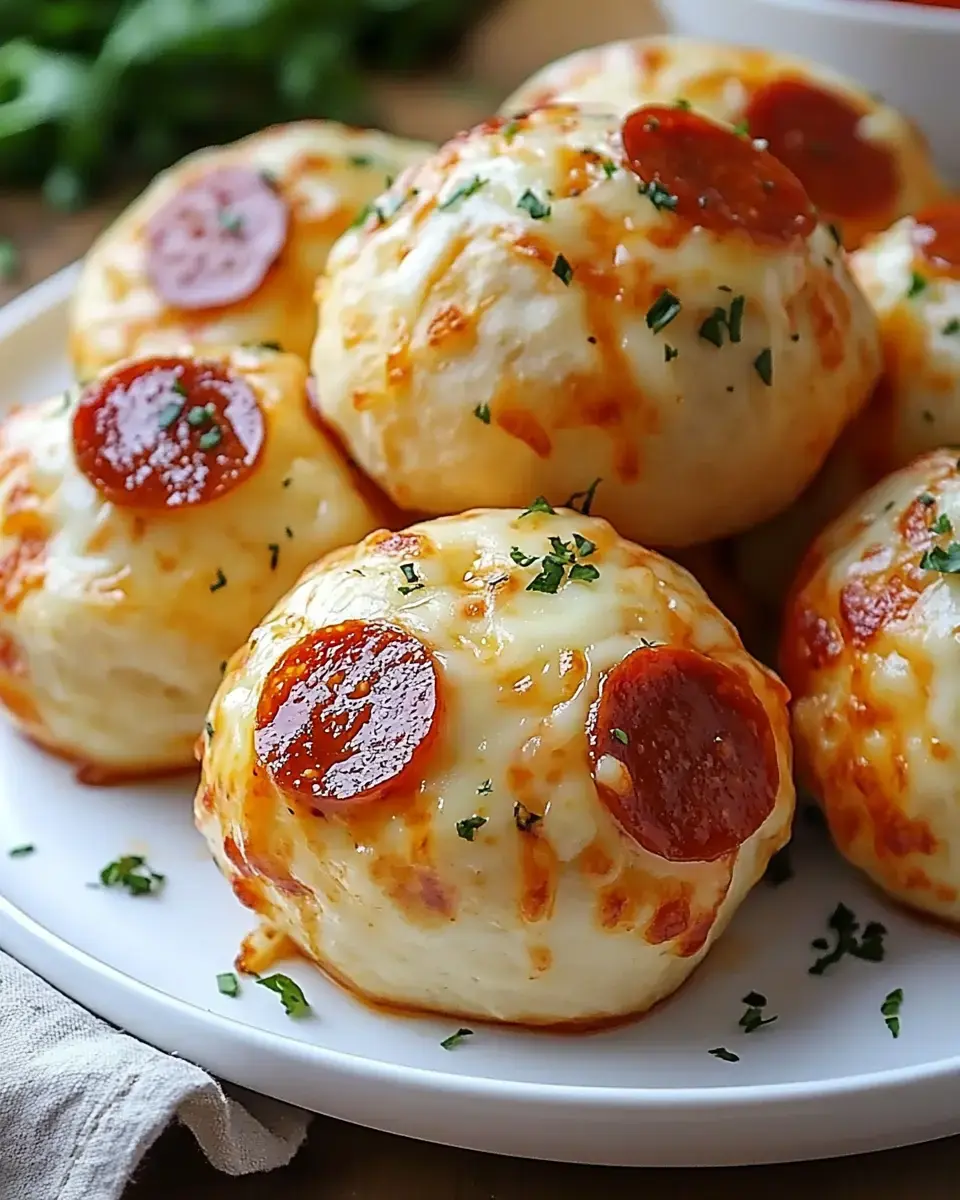
I whipped up these Cheesy Pepperoni Pizza Bombs during a midnight cooking session and now my family begs for them constantly. There's something truly special about the combo of gooey mozzarella, zesty pepperoni and fluffy biscuit dough that makes these handheld snacks disappear from my counter within minutes.
Benefits of Homemade Pizza Bombs
When I make these pizza bombs at home, I get to pick exactly what goes in them and they're way cheaper than ordering out. My little ones love to join me, helping roll dough and pick their own stuffings. What I really love? I can cook extra and stick some in the freezer for those crazy busy nights when cooking feels impossible.
Understanding Your Main Components
- Refrigerated Biscuit Dough: This is your quick path to delicious results. I always have a couple tubes handy in my fridge because it's perfectly tender and turns golden brown every time.
- Mozzarella Cheese: Do yourself a favor and buy a block to grate yourself. The bagged stuff doesn't give you that amazing stretchy melt we're after.
- Mini Pepperoni Slices: These little circles pack tons of flavor. Sometimes I just dice up regular pepperoni when the mini kind isn't available.
- Melted Butter: A quick swipe of butter makes everything tastier and helps all those yummy seasonings stick properly.
- Garlic Powder & Italian Seasoning: These two are my go-to flavor boosters for that authentic pizza shop taste in my own kitchen.
- Marinara Sauce: Heat some up for dipping and you won't regret it.
Easy Preparation Steps
- Ready Your Oven
- Heat your oven to 375°F. I always cover my baking tray with parchment for super easy cleanup afterward.
- Form Your Dough
- Carefully stretch each biscuit into a flat circle roughly palm-sized. They don't need to look perfect.
- Insert Fillings
- Place cheese and pepperoni in the center. Go easy here or they'll break open while cooking.
- Close Your Bombs
- Gather the edges and pinch them tightly together. Then roll them gently between your hands to smooth them out.
- Add Flavor Coating
- Combine your melted butter with spices and brush all over. This creates that mouthwatering golden exterior.
- Cook Until Done
- Place them in the oven with seams facing down and let them cook for about 12 to 15 minutes until they turn beautifully golden.
Ways To Serve
We gobble these up hot from the oven with warm marinara for dipping. I'll sometimes top them with fresh basil or a bit of grated parmesan. The kids enjoy theirs with some crunchy carrot sticks while my hubby likes his with a cold one.
Creative Twists and Helpful Hints
When my veggie-loving sister stops by, I swap pepperoni for cooked mushrooms instead. My heat-seeking son gets his topped with crushed red pepper. The number one trick to perfect bombs? Don't overfill them – I found out the hard way after a messy cheese explosion in my oven.
How To Keep and Warm Up Later
These tasty bites stay fresh in the fridge for around 3 days but honestly, they never stick around that long at my place. You can freeze them too, which is super handy. Just toss them in the oven frozen and add a few more minutes to your cooking time.
Common Questions
My friends often ask and yes, you can totally use your own pizza dough instead of biscuits. For those who love veggies, I suggest trying bell peppers and onions that you've cooked first. They turn out amazing in the air fryer too – even crispier and faster, just keep an eye on them.
 Pin it
Frequently Asked Questions
- → Can I prep these pizza bombs in advance?
Absolutely! You can assemble and freeze them unbaked for up to 2 months. When you're ready, bake them straight from the freezer until crispy and golden.
- → How do I stop the cheese or filling from leaking out?
Don’t overstuff the dough! Seal the edges well by pinching. Tucking the seams underneath and tightly rolling helps prevent anything from spilling out.
- → Would other fillings work besides pepperoni?
Sure thing! You can swap in cooked chicken, veggies, or other meats. Just make sure everything’s pre-cooked and not too watery.
- → Why did my pizza bombs pop open while baking?
The edges probably weren’t sealed snug enough, or there was simply too much filling. Keep the seams tight and always place the seam-side down when baking.
- → What dipping sauces go well with these pizza bombs?
Marinara is classic! But feel free to try garlic butter, ranch, or even spicy mayo for a change. Heating up the marinara makes it even better for dipping.