
 Pin it
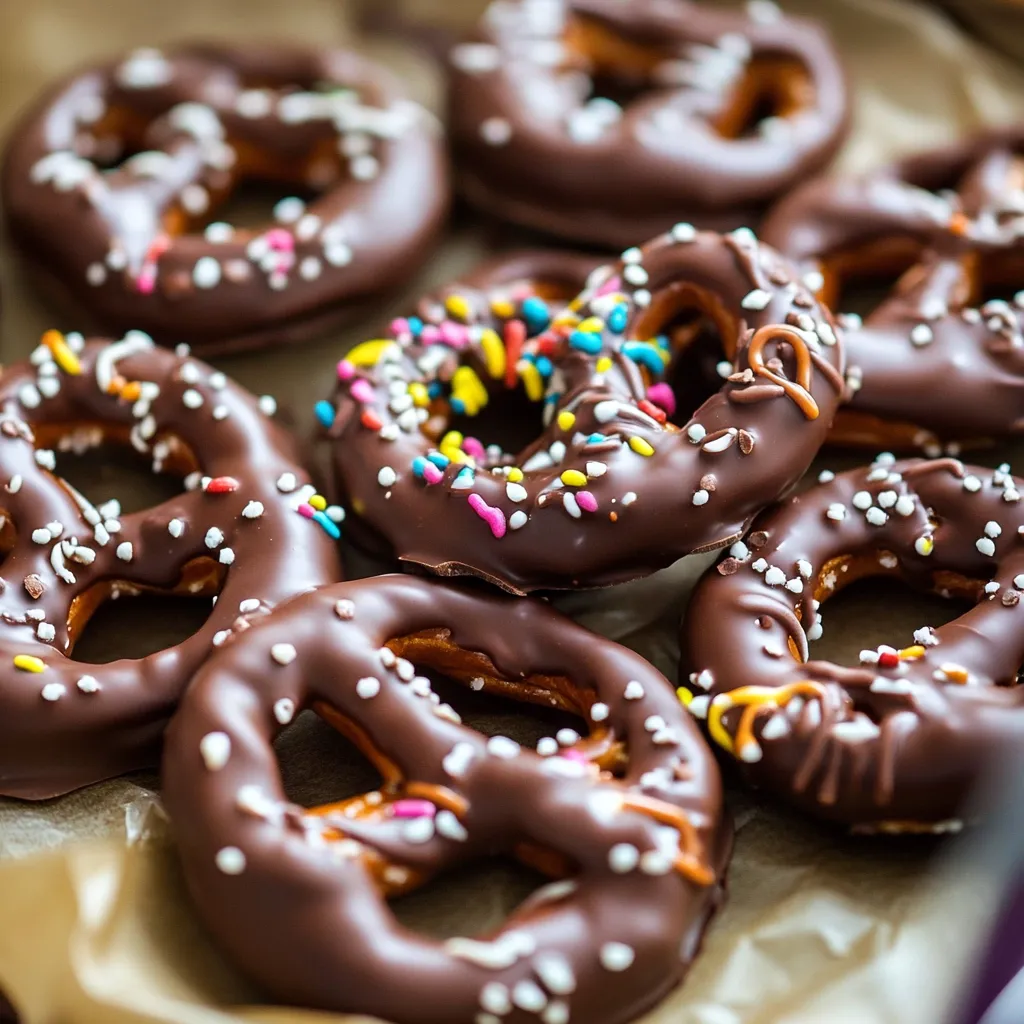
Sweet meets salty in these dreamy chocolate-coated pretzels, making a snack that's both fancy and down-to-earth. I've spent years testing batches in my own kitchen, and I've come up with a way to get that perfect shine without the hassle you'd normally face with traditional chocolate methods.
I found out that taking your time when melting chocolate really makes all the difference in how they turn out. My family now bugs me to bring these to every party we go to.
Key Components
- Good chocolate bars: Go for actual chocolate bars or couverture chocolate, not chips (they've got extras that mess with melting)
- Mini pretzels: Pick ones that aren't broken for the best look
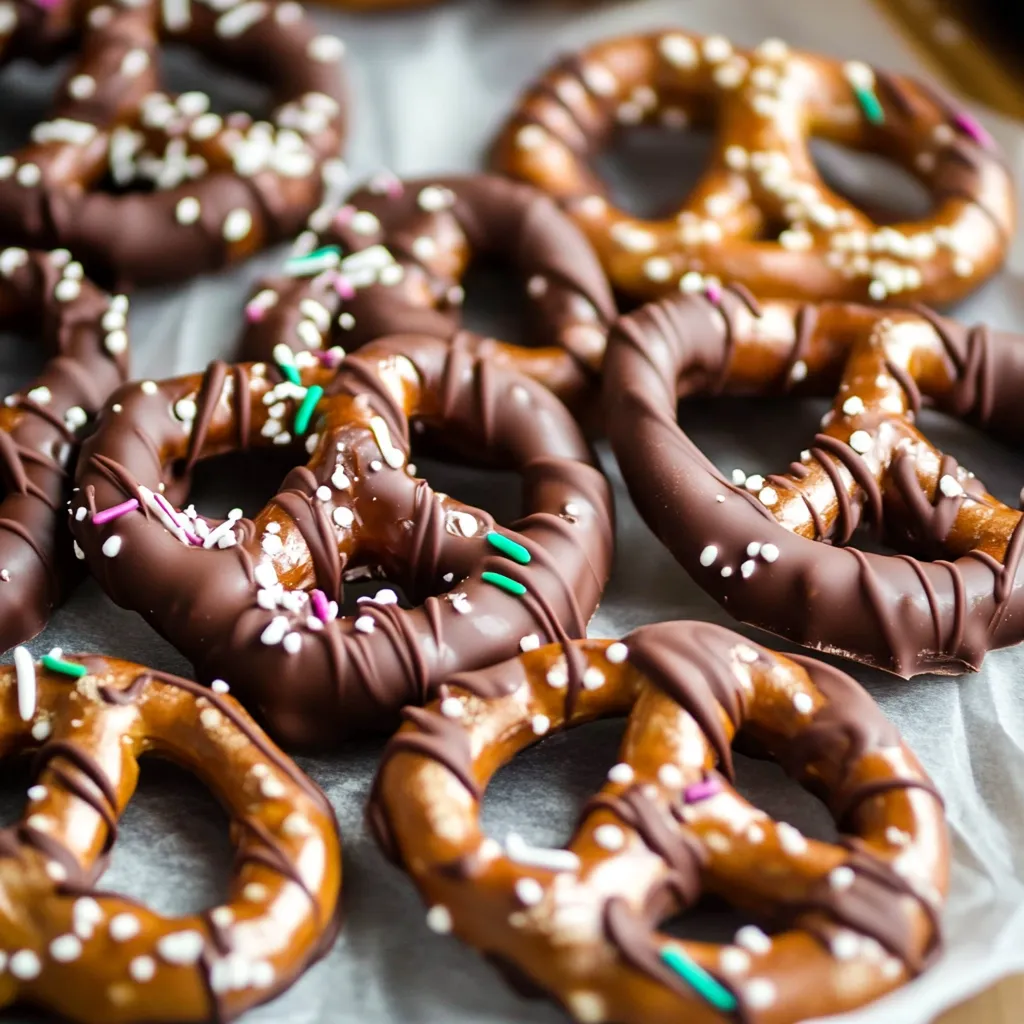
- Toppings (if you want): Stuff like sprinkles, crushed nuts, or candy bits add crunch and make them pretty
- Wax paper: Keeps them from sticking while they harden
Step-by-Step Guide
- Getting Your Chocolate Ready:
- Cut your chocolate into small, same-sized pieces so it'll melt evenly. Put about 2 tablespoons aside for later. Pour 1-2 inches of water in your double boiler and bring it to a light simmer. Put chocolate in the top bowl, making sure it doesn't touch the water. Keep stirring with a dry spatula – remember, water will ruin your chocolate completely.
- Melting Your Chocolate:
- Keep an eye on it while maintaining that gentle simmer underneath. You'll see it start to get smooth and shiny – this takes about 5-7 minutes usually. Take it off the heat when there are still tiny bits not quite melted. Then add your saved chocolate and stir till it's completely smooth. This trick helps your chocolate set up with that nice shine.
- How to Dip:
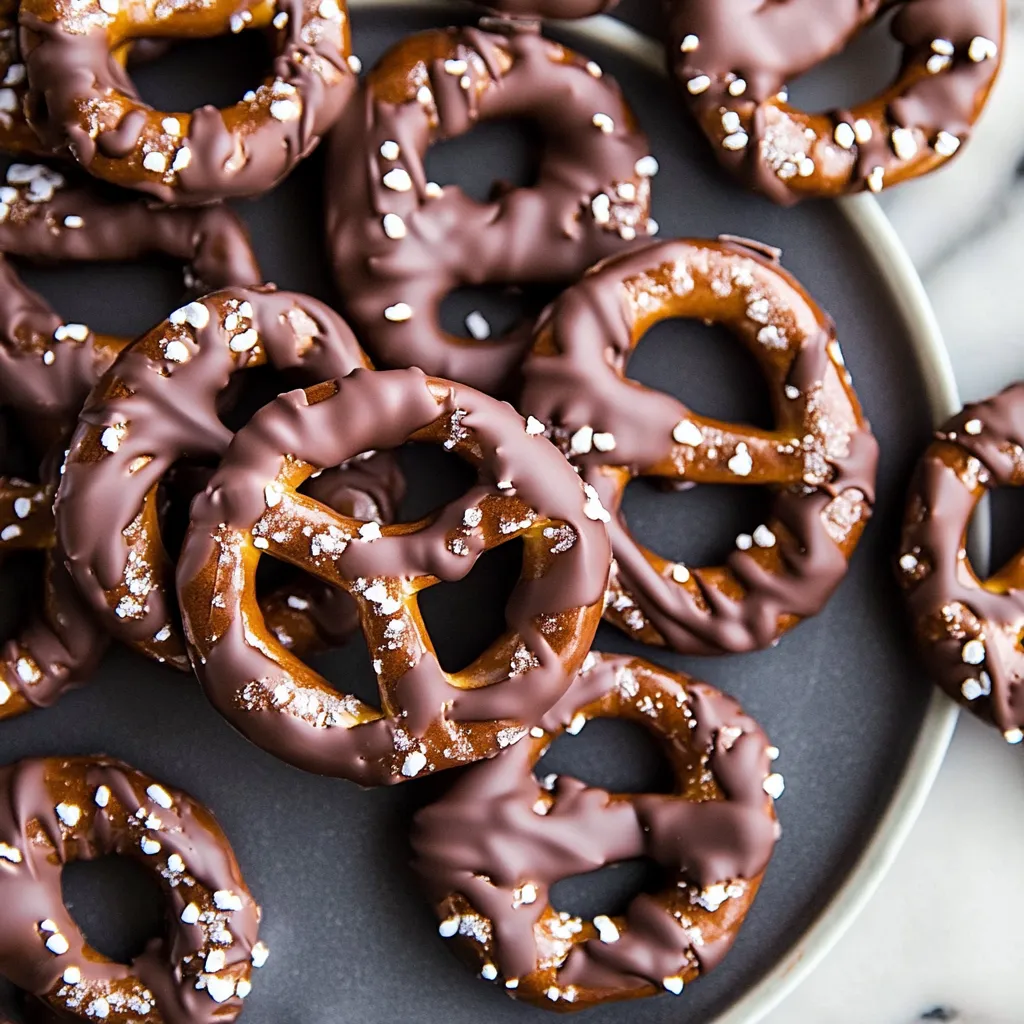
- Grab each pretzel at one end, then dip about three-quarters into your melted chocolate. Let extra chocolate drip off, then tap it gently on the side of the bowl. Put it on your wax paper-lined tray. If you're adding toppings, sprinkle them on right away while the chocolate's still wet. Work with small batches so your chocolate stays the right temperature.
- Letting Them Set:
- Leave your pretzels out at room temp for 1-2 hours, depending on how humid it is. Don't put them in the fridge – that can make moisture form and ruin the finish. Once they're completely hard, you can eat them or pack them up as gifts.
Working with chocolate taught me to slow down. My first tries looked streaky until a chef friend showed me how gentle heat and proper cooling makes all the difference.
 Pin it
Keeping Them Fresh
To keep that beautiful shine, store them between layers of wax paper in sealed containers, away from damp areas. They'll stay good at room temperature for 2 weeks, or up to 3 months in the fridge.
Gift Wrapping Ideas
Clear plastic bags with pretty ribbons make these look super gift-worthy. During Christmas, I put them in decorative tins with parchment paper between layers so they don't get scratched up.
Managing Heat
Getting the right working temp matters a lot. I keep a heating pad set on low nearby – if my chocolate starts getting too thick, I set the bowl on it for a few seconds to keep it dippable.
Tasty Twists
Try these different combos:
- Sea salt sprinkled on dark chocolate
- Crushed candy canes on white chocolate
- Toasted coconut on milk chocolate
 Pin it
Fixing Common Problems
Everyone runs into issues sometimes. Those white streaks? That's just chocolate bloom from temp changes. They're totally safe to eat, but you can avoid them by keeping temps steady while they set. If your chocolate gets grainy and thick, sometimes adding a tiny bit of neutral oil can save it.
Display Suggestions
Turn simple treats into showstoppers:
- Make bark by setting dipped pretzels side by side before they harden
- Fill clear glass jars for a pretty display
- Use multi-level serving plates with matching candies
- Pack gift boxes with different flavors and toppings
Seasonal Variations
Each holiday offers chances for themed treats:
- Valentine's Day: Pink white chocolate with heart-shaped sprinkles
- Easter: Light colored chocolates with springtime decorations
- Halloween: Dark and orange chocolate with creepy toppings
- Christmas: Green and red drizzles with shiny silver balls
Budget-Friendly Approaches
You can still make great treats without breaking the bank:
- Stock up on chocolate when it's on sale
- Make colored chocolate yourself with oil-based food dyes
- Mix your own sprinkle blends from basic colors
- Use leftover melted chocolate for decorative drizzles
Party Serving Ideas
These treats are perfect for gatherings:
- Create a dipping station where guests make their own
- Design color-matched platters for special events
- Wrap singles as take-home treats
- Add them to sweet and savory snack boards
More Dipping Options
This method works great with:
- Long pretzel sticks for a fancy look
- Square pretzels for even coating
- Pretzels sandwiched with fillings
- Bunches of pretzels with nuts mixed in
Understanding The Chemistry
Knowing how chocolate works helps you get better results:
- The fats in chocolate need to form the right crystal patterns for shine
- Heat changes how these crystals form
- Dampness affects drying time
- Good storage prevents discoloration
Making Them For Everyone
Adjust these treats for different diets:
- Pick dairy-free chocolate for vegan friends
- Try sugar-free options for low-carb needs
- Go with dark chocolate for extra antioxidants
- Look for organic ingredients when you can
These chocolate-dipped pretzels are way more than just a simple snack - they show how a bit of care and know-how can transform something basic into something amazing. Whether you're sharing them at parties, giving them as presents, or just enjoying them yourself, they bring happiness through that perfect mix of sweet and salty. Each time I make them, I'm reminded that often the simplest treats, when made with love, become the ones people remember most.
Pro Kitchen Secrets
- Keep everything completely dry - even tiny water drops will ruin chocolate
- Check if chocolate is ready by feeling it on your inner wrist - it should be just slightly warm
- Dip your pretzels holding them at a slant for the best coverage
Wrapping Up
Making chocolate-dipped pretzels mixes technical skill with artistic flair. What began as something I made just for holidays has become a treat I make all year round. Seeing people's faces light up when they bite into that perfect combo of crunchy, sweet and salty makes all the careful work worthwhile.
Frequently Asked Questions
- → What’s the best white chocolate to use?
Go for one with cocoa butter listed in its ingredients.
- → Why should I shake off extra chocolate?
It makes the coating look nice and tidy, and you won’t end up with messy chocolate puddles.
- → When’s the perfect time to decorate?
As soon as the chocolate is still soft and wet.
- → How long will these last?
Keep them in the fridge, and they’ll stay good for about a week to ten days.
- → Can I use a different type of chocolate?
For sure! Use whatever chocolate you love best.