
 Pin it
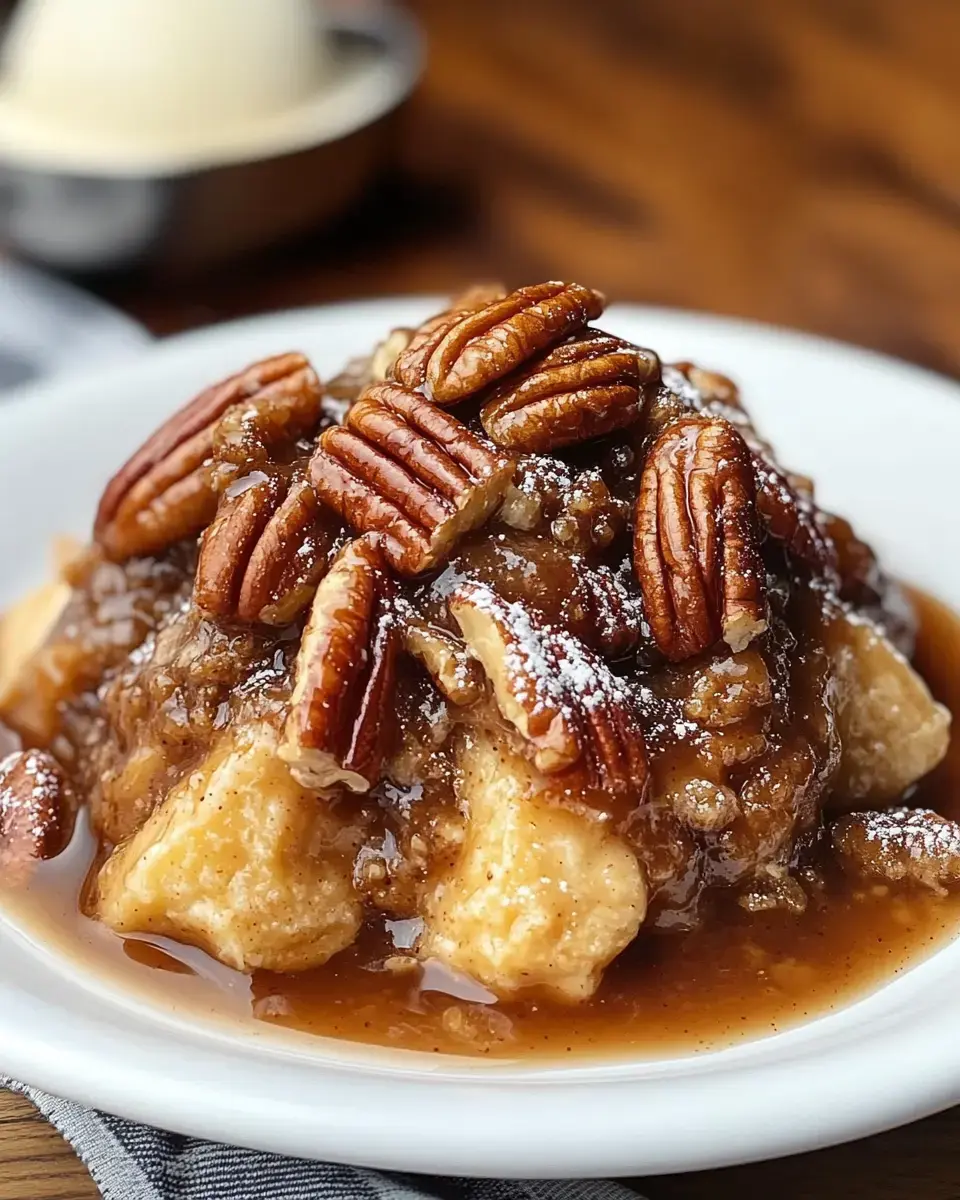
Can't choose between pecan pie and cobbler? No need to pick just one! This pecan pie cobbler brings together the sticky sweetness of traditional pecan pie with the homey warmth of a classic cobbler. It's like your family's two favorite treats merged into one amazing dessert, and you'll definitely be coming back for more!
What Makes This Sweet Treat Irresistible
Need a dessert that'll get everyone asking for your secret? This simple pecan pie cobbler combines the nutty, sweet filling and buttery crust you adore from pecan pie but transforms it into a bigger, easier-to-make cobbler format. And guess what? It's actually less fussy to put together than a regular pie!
Your Shopping List
- Pie Crusts: 2 from the refrigerated section (room temperature works better)
- Butter: 1/2 cup melted - go with unsalted
- Vanilla: 2 teaspoons of the real stuff for authentic flavor
- Sugar: 1 1/2 cups white granulated
- Dark Corn Syrup: 1 1/2 cups - the key to that pecan pie flavor
- Eggs: 4 large, slightly beaten
- Pecans: 2 1/2 cups - use halves or pieces, whatever you prefer
- Cooking Spray: Just a bit to coat your baking dish
Simple Step-by-Step Process
- Prep Work
- Heat your oven to 350°F and give your baking dish a quick spray. Take pie crusts out so they can warm up.
- Build Your Foundation
- Spread one pie crust across the bottom of your pan. Don't sweat if it's not perfectly shaped - the taste is what matters!
- Create Your Filling
- In a large mixing bowl, combine your melted butter, corn syrup, vanilla, sugar, and eggs until smooth. Stir in the pecans making sure they're evenly spread throughout.
- Stack it Together
- Pour half the nutty mixture onto your bottom crust. Add the second crust on top, then pour the remaining filling over everything.
- Into the Oven
- Bake for around 45 minutes until the center just barely wobbles but is mostly firm, similar to a traditional pecan pie.
Smart Preparation Tips
The secret to this amazing cobbler? Getting your ingredients ready. Make sure everything sits at room temperature before you begin, especially the eggs and pie crusts. When ingredients aren't cold, they mix better and cook more evenly, giving you that perfect balance between gooey and firm.
Making The Mixture Magical
Your filling really makes this dessert shine! Mix everything carefully and don't rush the process. Want a little extra flavor kick? Try lightly toasting your pecans in a dry pan before adding them to the mix. It only takes a few minutes and really brings out their nutty flavor!
Don't Fuss With The Dough
There's no need to make your crusts look perfect. Cobblers are meant to look homemade! If your dough tears a bit, just press it back together with your fingers. Once it's baked and swimming in that sweet pecan mixture, nobody will spot those little fixes. They'll be too busy enjoying every bite!
Nailing The Bake Time
How can you tell when it's ready? Give your baking dish a little nudge - the filling should be mostly set but with a tiny jiggle in the middle, similar to Jell-O. You'll see a nice golden brown top, and your house will smell amazing. Just wait a bit before digging in so it can set properly!
 Pin it
Enjoying Your Creation
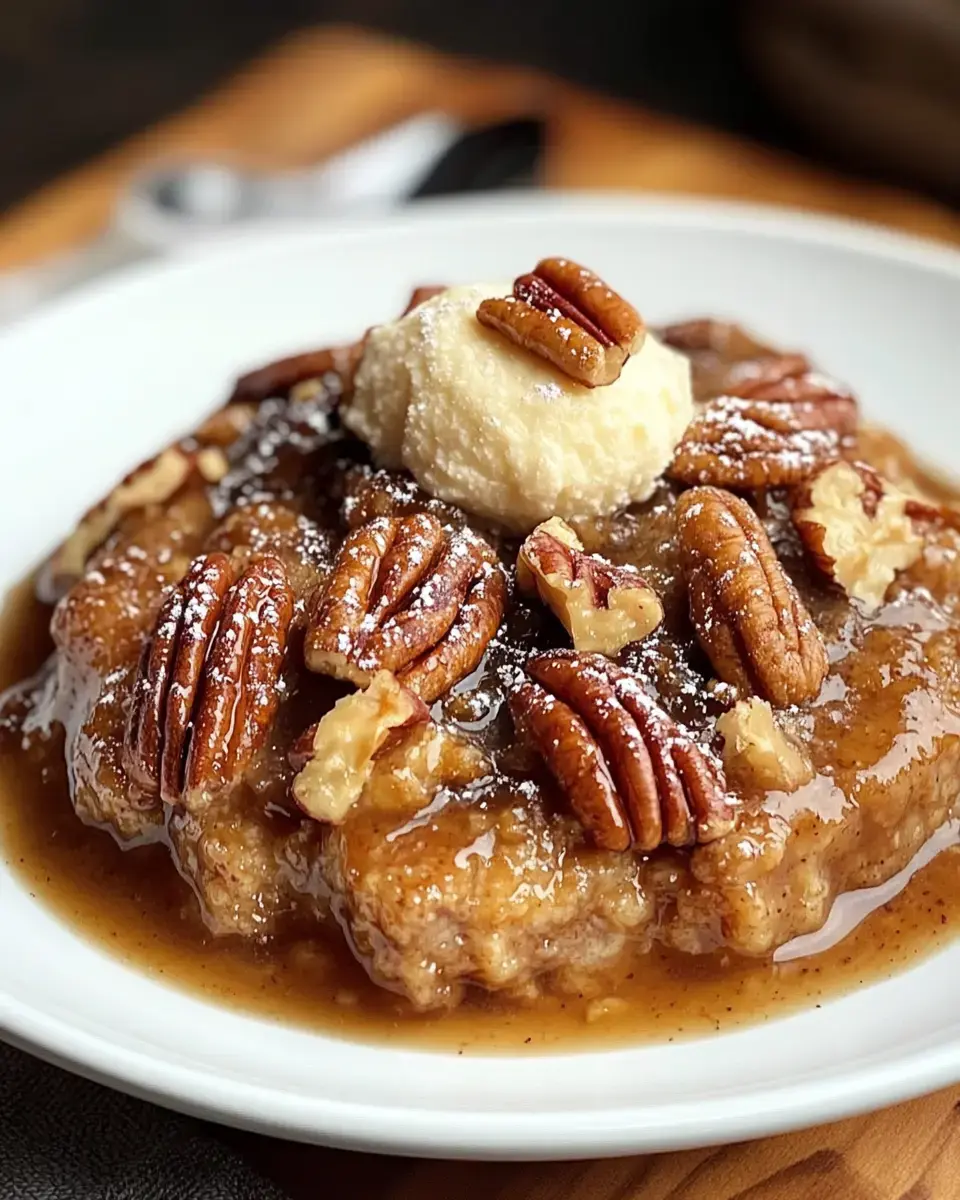
Let the cobbler cool about 30 minutes before you serve it - tough, I know! It tastes great warm, at room temperature, or even straight from the fridge. Any leftover portions will stay good in the fridge for around 4 days. Just pop individual servings in the microwave for a few seconds to bring back that just-baked goodness.
Frequently Asked Questions
- → Need another crust type?
Pretty much any kind will do. A homemade one can be great, too. Store-bought makes things quicker, but keep in mind the baking time might shift a bit—it’ll still come out tasty.
- → How to store extras?
Pop leftovers in an airtight box. Keep them in the fridge for up to three days. Warm them up gently when you’re ready to eat, and they’ll still be yummy... if there’s any left!
- → Can I prepare it in advance?
Sure, making it the day before works. Just reheat it slowly when serving. It stays good when wrapped up, but fresh out of the oven is always best. A little waiting is worth it!
- → Is light syrup fine here?
You can use it, but the flavor will be milder. Dark syrup gives a richer taste. You could even mix the two. It’ll still turn out good, just not as deep in flavor.
- → How about something without nuts?
Try swapping them with different nuts or leaving them out altogether. But without nuts, it’s a completely different dessert. You might want to experiment with fruit instead.
- → What if it’s getting too brown?
Cover it with foil to keep the top from burning. Turn down the oven temperature a bit, or move it lower in the oven. Check on it earlier, and watch it closely.
- → How to take it on the go?
Wrap it while it’s still warm and keep it flat during transport. Use a container with high sides to prevent spills. Don’t forget to bring ice cream along—it’s so worth it!
- → Can I speed things up?
Using ready-made crust saves time. Mixing everything in one bowl cuts prep time, too. It still needs to bake properly, but the time you save on prep makes it totally worth it.
- → How to make a bigger batch?
You can double the recipe easily. Just get a bigger dish and extend the bake time a little. Make sure the center is done before taking it out. If you’re baking multiple pans, leave some space between them in the oven.
- → How to make it richer?
Throw in more butter, use dark syrup, or toast the pecans first. A splash of bourbon adds an extra kick, but don’t cover up the wonderful nutty flavor too much!
- → What to do if the top won’t set?
Bake it for a few more minutes and double-check the oven temperature. The middle should firm up as it cools, too. Patience is key here.
- → How to fix a soggy crust?
Bake the bottom layer on its own for a few minutes before adding the filling. Make sure your nuts are drained well, and avoid adding too much liquid. Keep the filling thick to prevent soaking the crust.
Conclusion
Fan of this? Try baking pecan tarts or bars! Both are easy and use the same nutty goodness.