
 Pin it
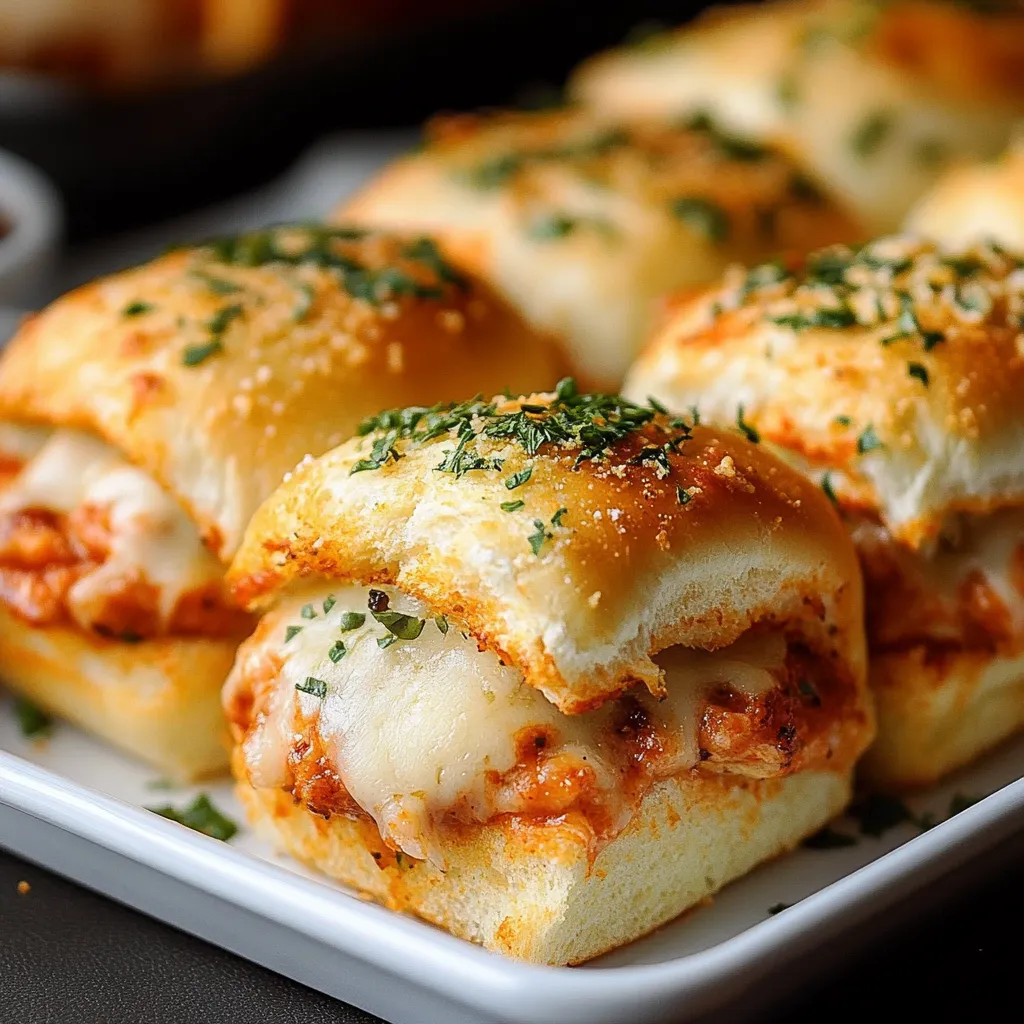
These Chicken Parmesan Sliders turn traditional comfort food into adorable mini sandwiches that'll wow any crowd. The combo of crunchy fried chicken, flavorful tomato sauce, and stretchy cheese tucked inside soft Hawaiian rolls makes them vanish in minutes whenever they hit the table. When that garlic butter and herb smell fills your kitchen, everyone starts hovering around the oven in anticipation.
I brought these to a backyard hangout last Sunday and they disappeared before I could even tell folks they were ready. My buddy's partner, who usually turns his nose up at anything beyond basic chicken dishes, asked me how to make them before heading home.
Key Components and Shopping Advice
- Hawaiian Sweet Rolls: The touch of sweetness works magic against the savory stuffing
- Breaded Chicken Tenders: Grab ready-made ones to cut down on prep time
- Pasta Sauce: Don't go cheap here - quality marinara makes a huge difference
- Cheese Combo: Mozzarella brings the gooey pull, Parmesan adds that sharp kick
- Garlic Butter Mixture: This is what takes these sliders to the next level
Step-by-Step Preparation Guide
- Oven Temperature:
- Warm it to 350°F. This temp lets everything heat up nicely without burning the tops.
- Get Pan Ready:
- Butter a 9x13 pan really well. This stops sticking and adds extra flavor to the bottom rolls.
- Set Up Base Layer:
- Put the bottom half of all rolls in your pan, keeping them connected for easier handling.
- Chicken Placement:
- Layer your pre-cooked chicken pieces across the buns, slightly overlapping to cover everything.
- Sauce Distribution:
- Drizzle sauce across the chicken layer. Go easy - about 2-3 spoonfuls per slider works best.
- Cheese Application:
- Mix your shredded cheeses in a bowl first, then scatter generously over the sauce.
- Complete Sandwich:
- Place the top half of rolls over everything, lining them up with the bottoms.
- Mix Flavor Boost:
- Melt some butter and stir in garlic powder until well mixed. Want more kick? Bump it to 1½ teaspoons.
- Brush On Topping:
- Drizzle your garlic butter all over the tops, then sprinkle with Italian herbs.
- Two-Phase Cooking:
- Cover with foil and bake 10 minutes to melt the cheese inside, then take off the foil and go another 10 minutes until tops turn golden and crispy.
 Pin it
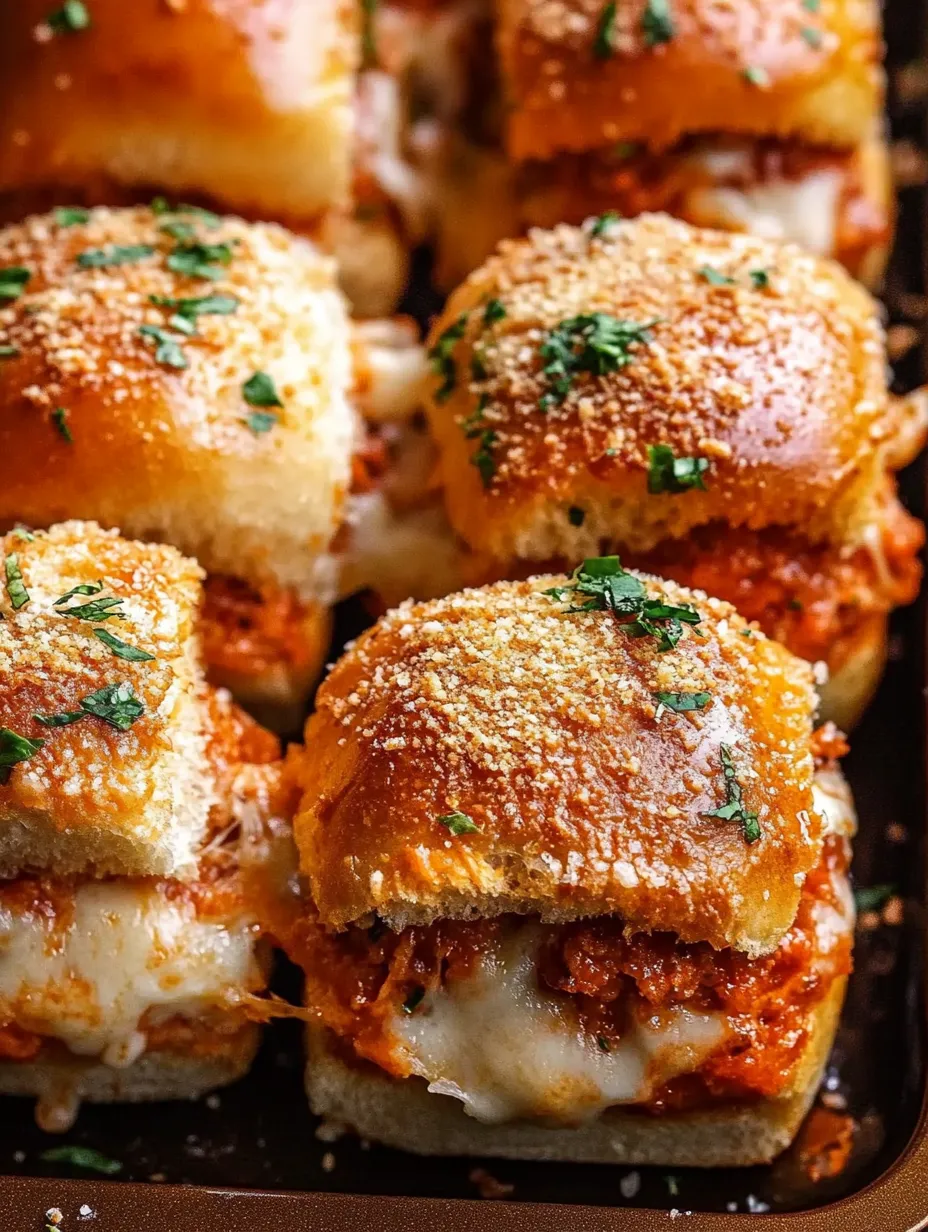
The first time I tried making these, I ended up with mushy bottom buns. I found out putting sauce right on the bread was the problem. Now I always lay down the chicken first as a shield against sogginess.
Adaptable Alternatives
These mini sandwiches can easily fit different diets and tastes. You can swap in grilled chicken instead of breaded for something lighter, or use veggie chicken strips for your non-meat-eating friends. Want some heat? Toss some chili flakes into your butter mix or try spicy tomato sauce. When my friends who can't handle gluten come over, I grab some gluten-free rolls and chicken pieces so they don't miss out.
Great Side Dishes
Make a whole slider station by adding other types like mini meatball sandwiches or miniature cheesesteaks. Pair with fresh veggie trays, Italian skewers, or a simple green salad to cut through the richness. A chilled pasta salad with tangy dressing works really well with these flavors. When I'm hosting, I put everything on a big wooden platter for that wow factor.
 Pin it
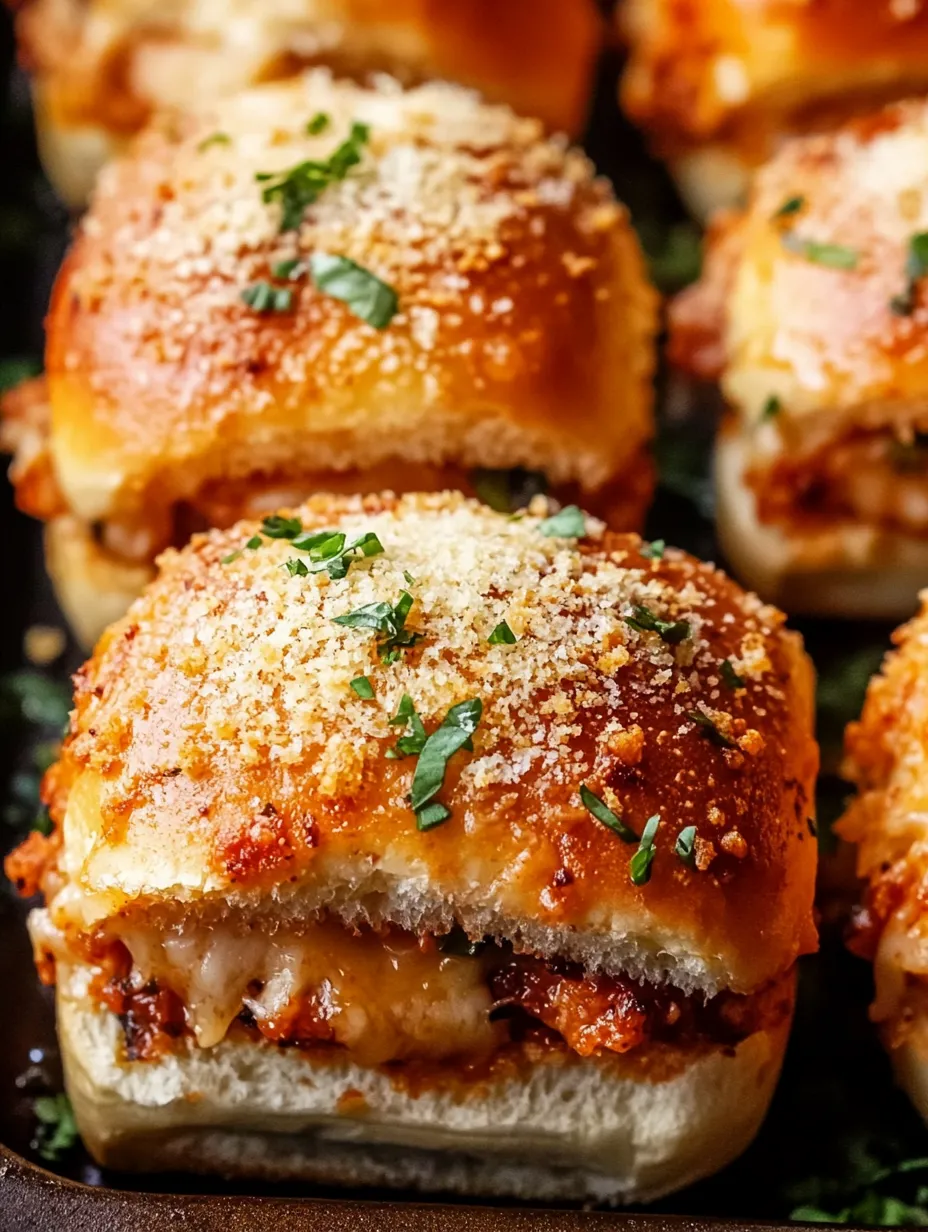
Quick Preparation Tricks
While these aren't super time-consuming, you can make them even faster. Grab some store-bought rotisserie chicken and toss it with Italian breadcrumbs for a similar taste without any frying. Bags of pre-shredded cheese save precious minutes, though freshly grated does melt better. The assembly part is actually great for getting help - my kids love putting on the chicken and sprinkling cheese while I handle the hot stuff.
Prep-Ahead Options
These taste best fresh from the oven, but you can get stuff ready beforehand. Cook your chicken a day early and keep it in the fridge, then warm it up a bit before putting everything together. Mix your cheeses ahead and keep them in a plastic bag. You can even make the garlic butter earlier and just warm it up when needed. Don't assemble the whole thing until you're ready to bake or you'll end up with soggy rolls.
 Pin it
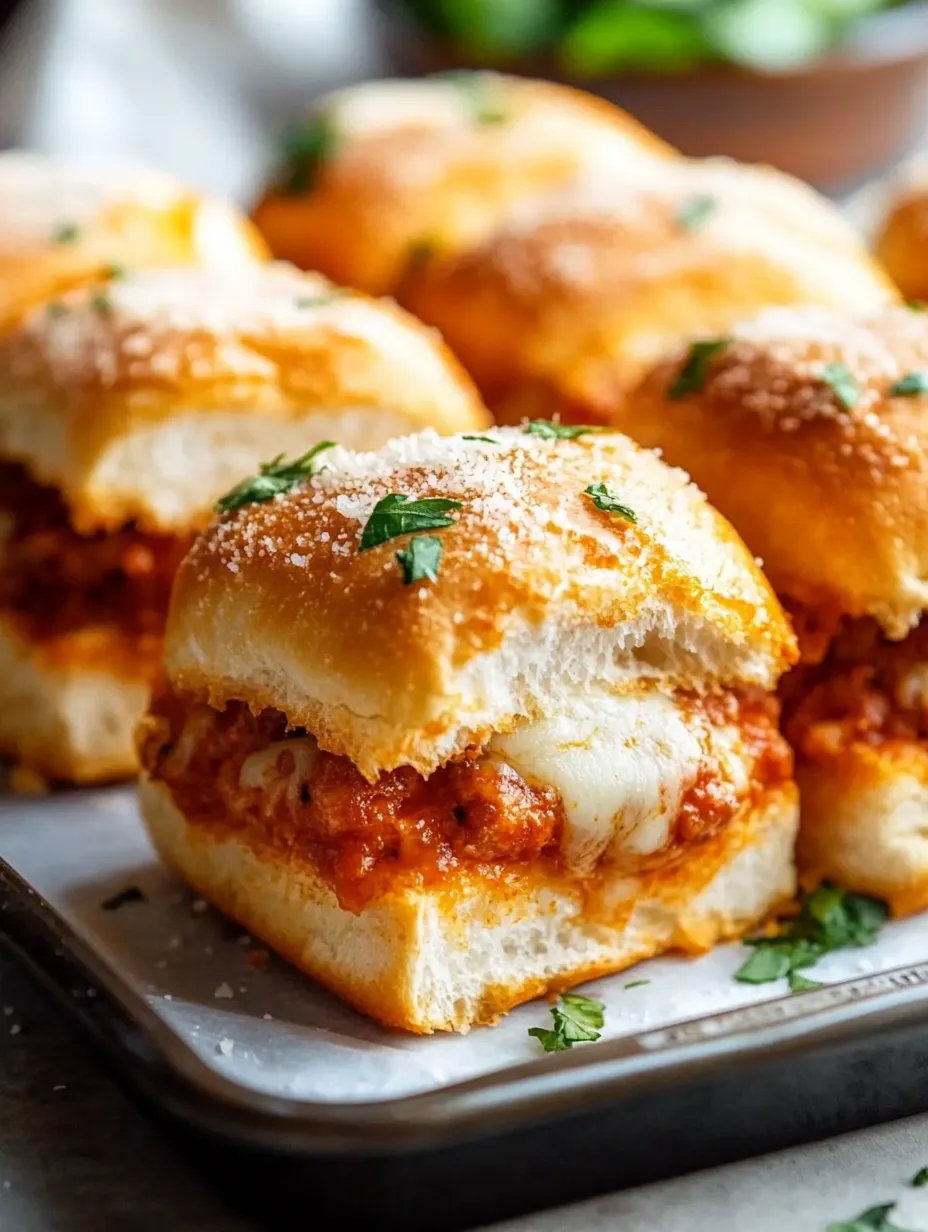
Closing Thoughts
These Chicken Parmesan Sliders hit that sweet spot between easy-to-make and amazingly tasty. Every bite gives you that chicken parm comfort transformed into something special through a few smart cooking moves. Whether you're feeding a bunch of friends during the big game or just looking for something different for family dinner, this dish shows how simple ingredients can come together to create something everyone will ask for again and again.
Frequently Asked Questions
- → Can I swap in my own chicken?
- Definitely! Homemade breaded chicken works great.
- → Can these be prepped early?
- Yes! Prep them up to 4 hours ahead, keep them cool, and bake when ready.
- → What bread should I pick?
- Hawaiian rolls, slider buns, or any soft dinner rolls will work fine.
- → How do I keep extras fresh?
- Store in a sealed container in the fridge for 2 days max. Pop them in a 350°F oven for 10 minutes to warm up.
- → Can I toss in extra toppings?
- Sure thing! Add fresh basil, pepperoni, or roasted red peppers for a twist.