
 Pin it
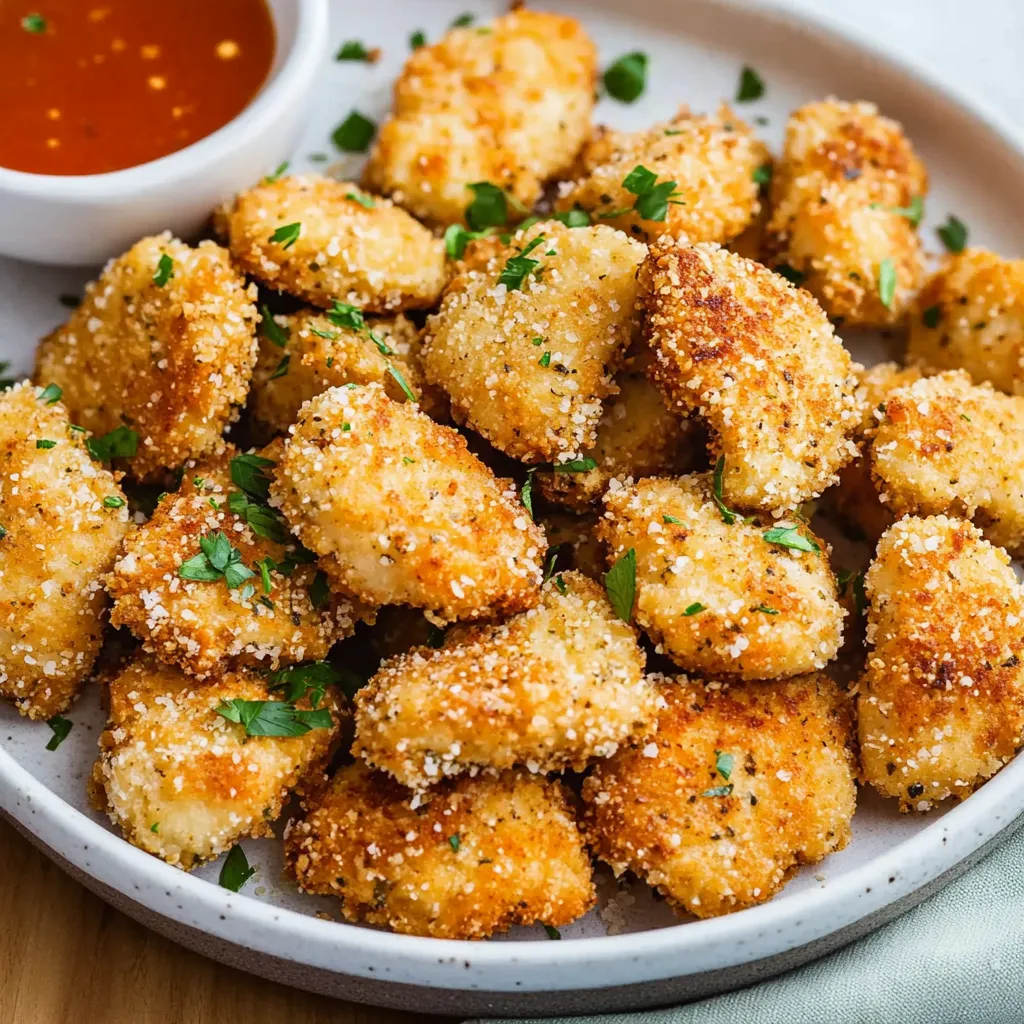
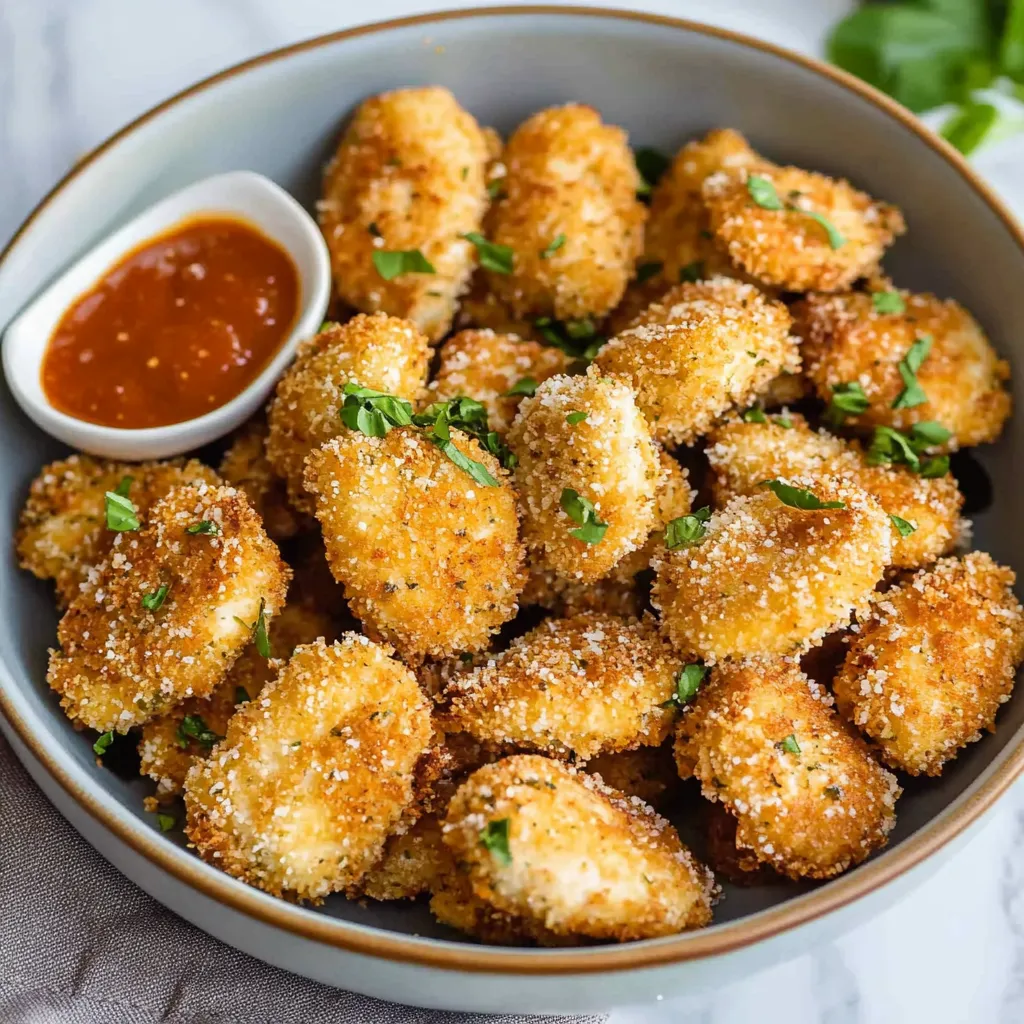
Skip the fast food line - these homemade garlic parmesan chicken chunks will totally transform your mealtime routine. After trying dozens of methods to nail that crunchy coating at home, I've discovered that mixing melted butter, chopped garlic, and parmesan creates bites that blow store-bought options away. And knowing exactly what ingredients you're using makes sharing them with your loved ones so much more rewarding.
Yesterday, I cooked these for my niece and nephew, and instead of begging for takeout like usual, they asked for extra helpings. What's the trick? It's all about that garlicky butter mix and nailing the breading texture. Sometimes the most basic ingredients come together to make the tastiest food.
Essential Components and Their Importance
- Chicken: Thighs or breasts both do the job. Just cut them into equal-sized chunks so they finish cooking at the same time. I like thighs best since they don't dry out as easily
- Butter: Use the real stuff, not substitutes, for that golden, rich coating. Melt it gently so it stays smooth
- Fresh Garlic: Chop it yourself - the jarred kind doesn't pack the same flavor punch
- Breadcrumbs: Standard or panko work fine. I actually mix both for the ideal texture
- Parmesan: Grate it yourself for best results. The container stuff doesn't brown or melt properly
- Fresh Parsley: Gives nice color and brightness that you just can't get from dried herbs
Detailed Chicken Chunk Creation
- Step 1:
- Set up your workstation with bowls arranged in order and a clean dish ready for your coated chicken. Put parchment on your baking tray to make cleanup easier, and grab some paper towels to dry your chicken pieces.
- Step 2:
- Gently melt your butter and mix in your chopped garlic while it's still warm. Give it a good stir to blend the flavors and keep it slightly warm so it doesn't harden.
- Step 3:
- Combine your breadcrumbs and cheese, breaking any lumps with your fingers. Add your spices and taste to check if it needs more salt.
- Step 4:
- Use one hand to dunk chicken in the butter mix, then use your other hand to roll it in the crumb mixture. Press lightly to help the coating stick better.
 Pin it
Perfecting Your Baking Technique
- Heat your oven to 450°F and arrange chicken pieces with gaps between them on your tray.
- Pour any remaining garlic butter over the tops.
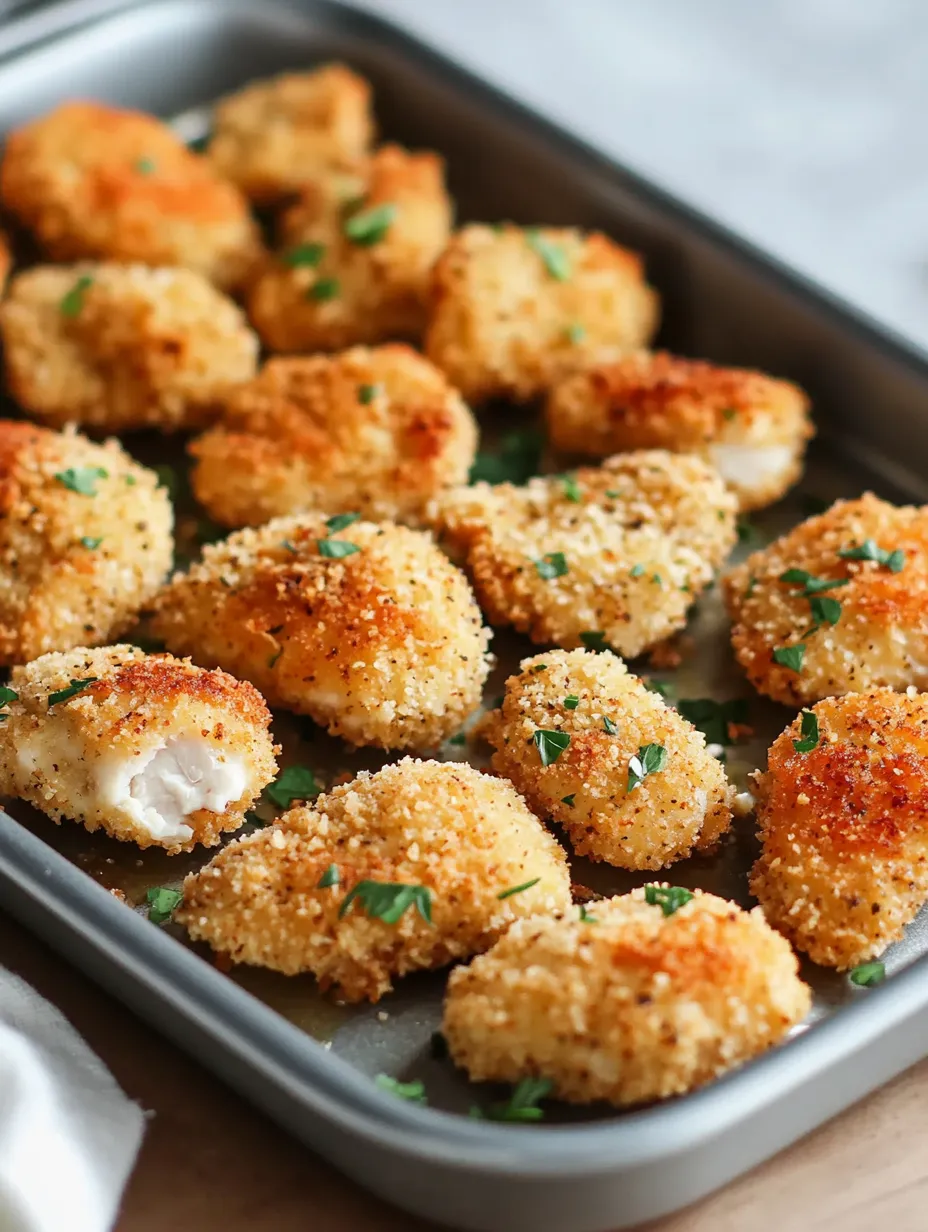
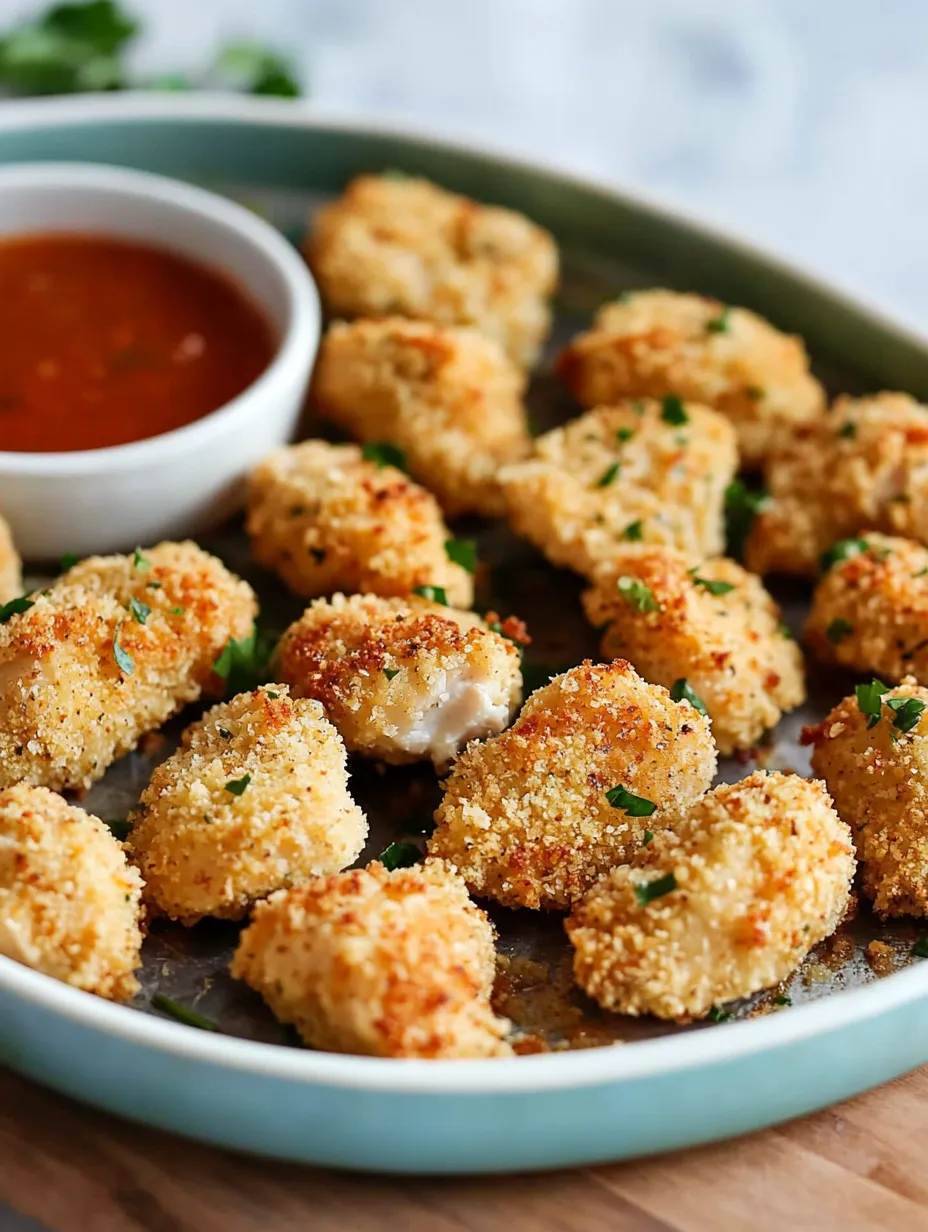
- Cook for 15 minutes until the edges turn golden. Make sure they reach 165°F inside.
- Let them sit for a few minutes after cooking to lock in moisture.
Keeping and Enjoying Leftovers
These tasty bites can be just as good the next day if stored properly. Keep them in a sealed container in your fridge, and warm them in the oven or air fryer - skip the microwave unless you don't mind soft breading. They're actually pretty tasty cold too, cut up and tossed on top of your greens.
Sauce Pairings to Try
- Mix mayonnaise with pesto for a quick herby dip
- Combine honey and Dijon for something both sweet and sharp
- Blend ranch dressing with hot sauce - sounds odd but tastes fantastic
Prep Now, Cook Later
You can coat these up to 24 hours ahead - just wrap them up in the fridge. The breading actually sticks on better when it sits a while. Just take them out about 15 minutes before cooking so they're not ice cold going into the oven.
 Pin it
Perfect for Gatherings
These work great for get-togethers because you can make them beforehand and heat them as guests arrive. I usually count on 6-8 pieces per person for snacking, or more if they're the main dish.
Pro Hints for Outstanding Results
- Add spices to your chicken before breading for flavor in every bite
- When your coating mixture gets lumpy, start fresh
- A quick spray with cooking oil before baking helps them brown evenly
- Cool them on a wire rack instead of paper towels to maintain crispiness
 Pin it
Lasting Impressions and Family Connections
These chicken bites have grown into a family tradition for us, not just another dinner option. From helping my kids learn basic kitchen skills to bringing them to community potlucks and game nights, they've been part of so many special moments. I love seeing how everyone adds their own special touch to the basic recipe. Cooking isn't just about food - it's about creating moments, showing love, and feeding both hunger and happiness. These simple chicken pieces might not seem fancy, but they've brought so much joy to our dinner table over the years.
Frequently Asked Questions
- → Why is drying the chicken important?
- It helps the coating stick better and makes the nuggets crispier.
- → Can thighs be used instead of breasts?
- Absolutely! Thighs work just fine when cut into bite-sized pieces.
- → Why isn’t my coating crunchy?
- Preheat your oven fully and ensure space between each nugget for airflow.
- → Is it possible to prep them in advance?
- They’re best fresh but reheating in the oven can bring back the crisp!
- → Can these be frozen?
- Yes, bake first, then freeze. Reheat directly in the oven for a crispy finish.