
 Pin it
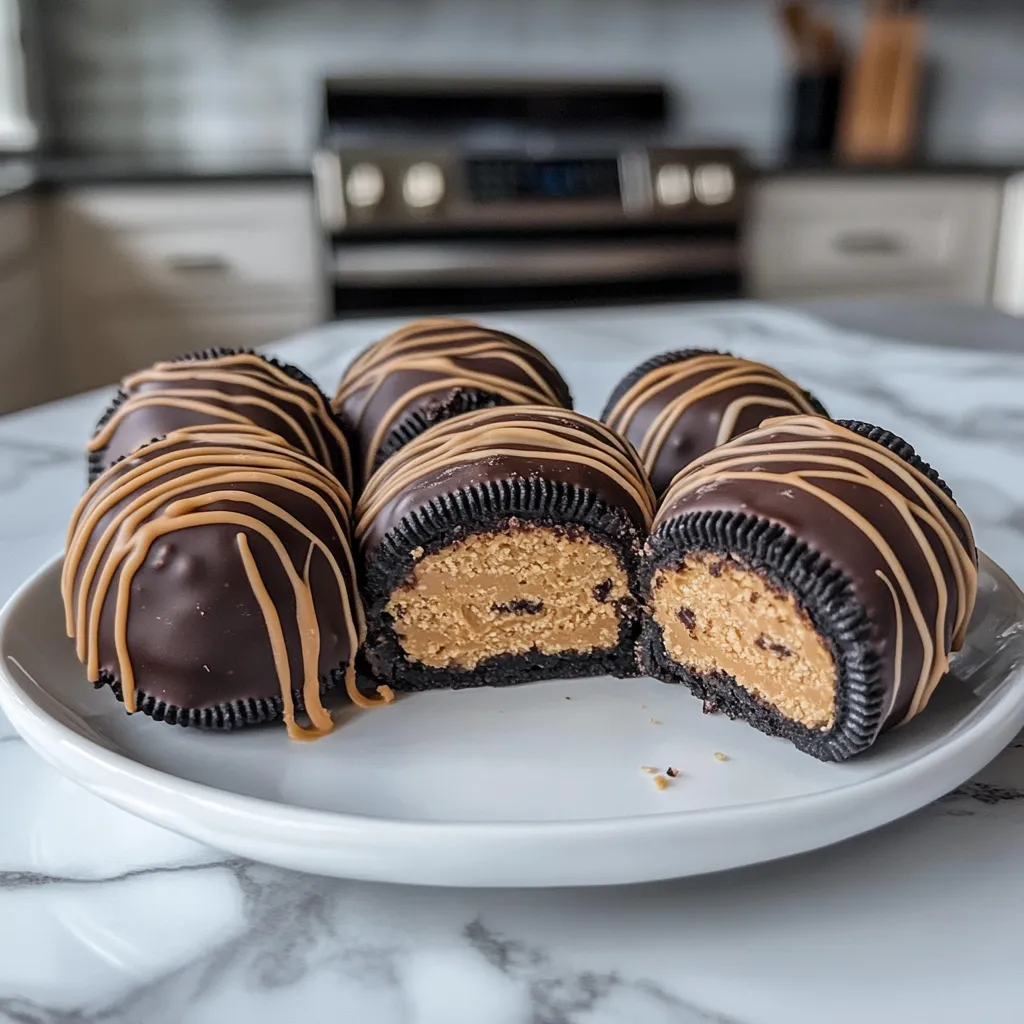
These 3-Ingredient Peanut Butter Oreo Cookie Balls are your answer for a quick no-bake snack when you're craving something sweet without any fuss. With the blend of crunchy Oreos, smooth peanut butter and a shell of chocolate, these little bites come together quickly and vanish from the plate even faster. I stumbled upon this idea when I needed a quick dessert for friends who dropped by unexpectedly, and now it's my favorite emergency sweet fix.
I took these to our block party last weekend and came back with nothing but an empty dish and several neighbors asking how to make them. There's something about the mix of Oreo bits and peanut butter that makes people keep grabbing "just one more."
Key Components and Smart Picks
- Oreo Cookies - Original works wonderfully; don't remove the filling as it helps bind everything
- Peanut Butter - Regular, creamy types work best; stay away from natural kinds that might separate
- Chocolate for Coating - Candy melts or baking chips in your choice of milk, dark, or white variety
The real wonder happens when you mix smashed cookies with peanut butter and end up with a moldable mixture that's just right for shaping into tasty little bites.
Step-by-Step Making Process
- Step 1: Smash the Oreos
- Drop Oreos (cream filling included) into a food processor and run until they turn into small crumbs. You can also put them in a zip bag and crush them with a rolling pin until fine.
- Step 2: Mix in Peanut Butter
- Put your Oreo crumbs in a bowl and add peanut butter. Try using about ½ cup peanut butter for every 20 crushed Oreos.
- Step 3: Blend Everything
- With a wooden spoon or your fingers, mix the crumbs and peanut butter until you get a paste that sticks together when squeezed.
- Step 4: Form Your Balls
- Take about 1 tablespoon of the mix and roll it between your hands to make a ball. Set it on a tray lined with parchment paper.
- Step 5: Cool the Balls
- Put the tray in your fridge for at least 30 minutes (or freezer for 15-20 minutes if you're in a rush). This step is super important so they stay firm during dipping.
- Step 6: Get Chocolate Ready
- While your balls chill, melt your chocolate in the microwave in a bowl. Heat for 20 seconds at a time, stirring after each burst, until it's completely melted.
- Step 7: Coat in Chocolate
- Using a dinner fork, dunk each cold ball into the melted chocolate. Tap the fork lightly on the bowl edge to shake off extra chocolate.
- Step 8: Top Them Off
- While the chocolate's still wet, you can add extra bits like crushed Oreos, chopped peanuts, or colorful sprinkles if you want.
- Step 9: Let Them Harden
- Put the chocolate-covered balls back on the paper-lined tray and stick them in the fridge until the coating sets firm, roughly 15-20 minutes.
- Step 10: Enjoy Now or Later
- Munch on them right away or keep them in a sealed container in your fridge for up to seven days.
 Pin it
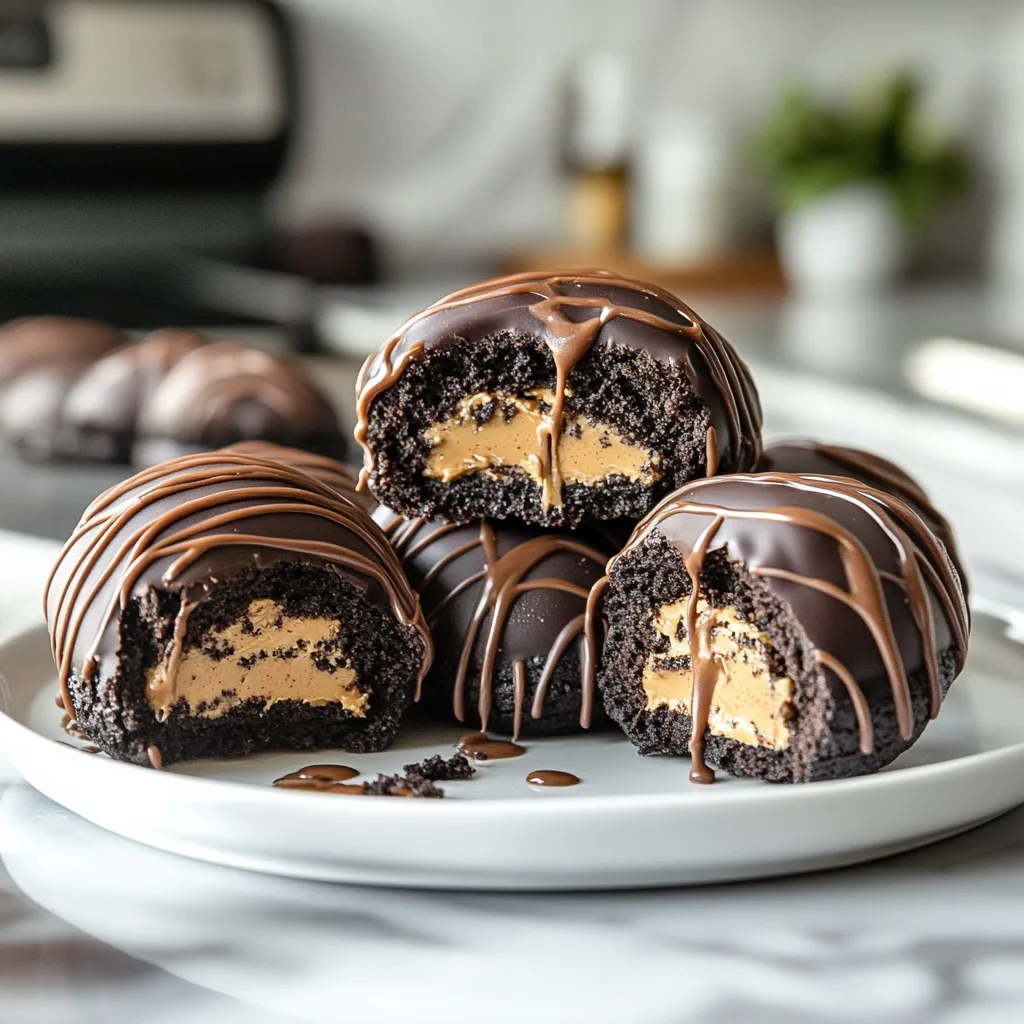
I found out how important proper cooling is when my first attempt turned into a gooey mess in the warm chocolate. Now I always give them extra time to chill for perfectly formed, easy-to-coat balls.
Stunning Group Treats
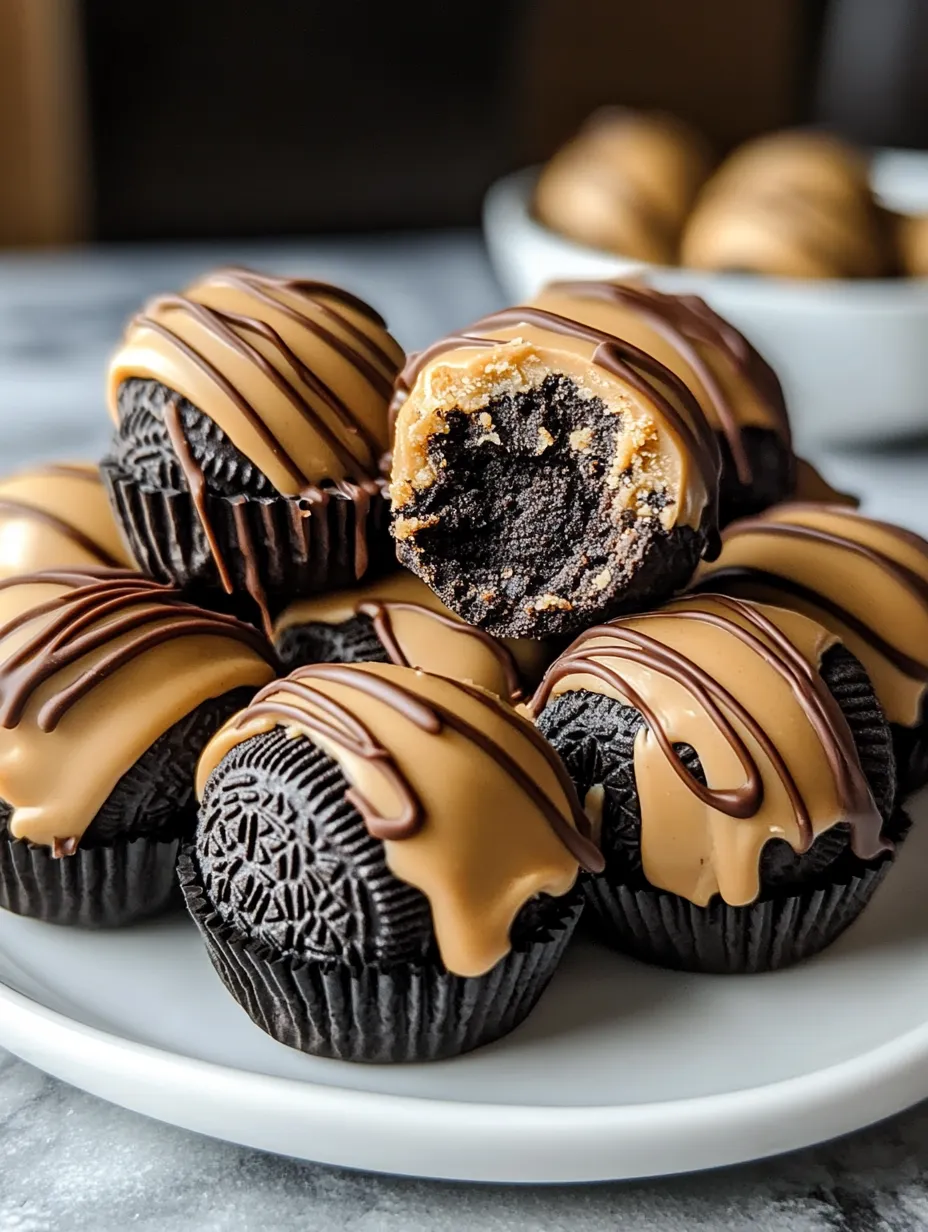
These little snacks have become what I'm known for bringing to get-togethers, from simple TV nights to fancy holiday parties. They look fancy enough that people think you spent ages making them, but they're so simple that anyone can pull them off. Their small size makes them great for dessert platters, and they're rich enough that eating one or two will satisfy any sweet tooth. I've noticed they're a hit with both kids and grown-ups, making everyone happy regardless of age.
 Pin it
Amazing Flexibility
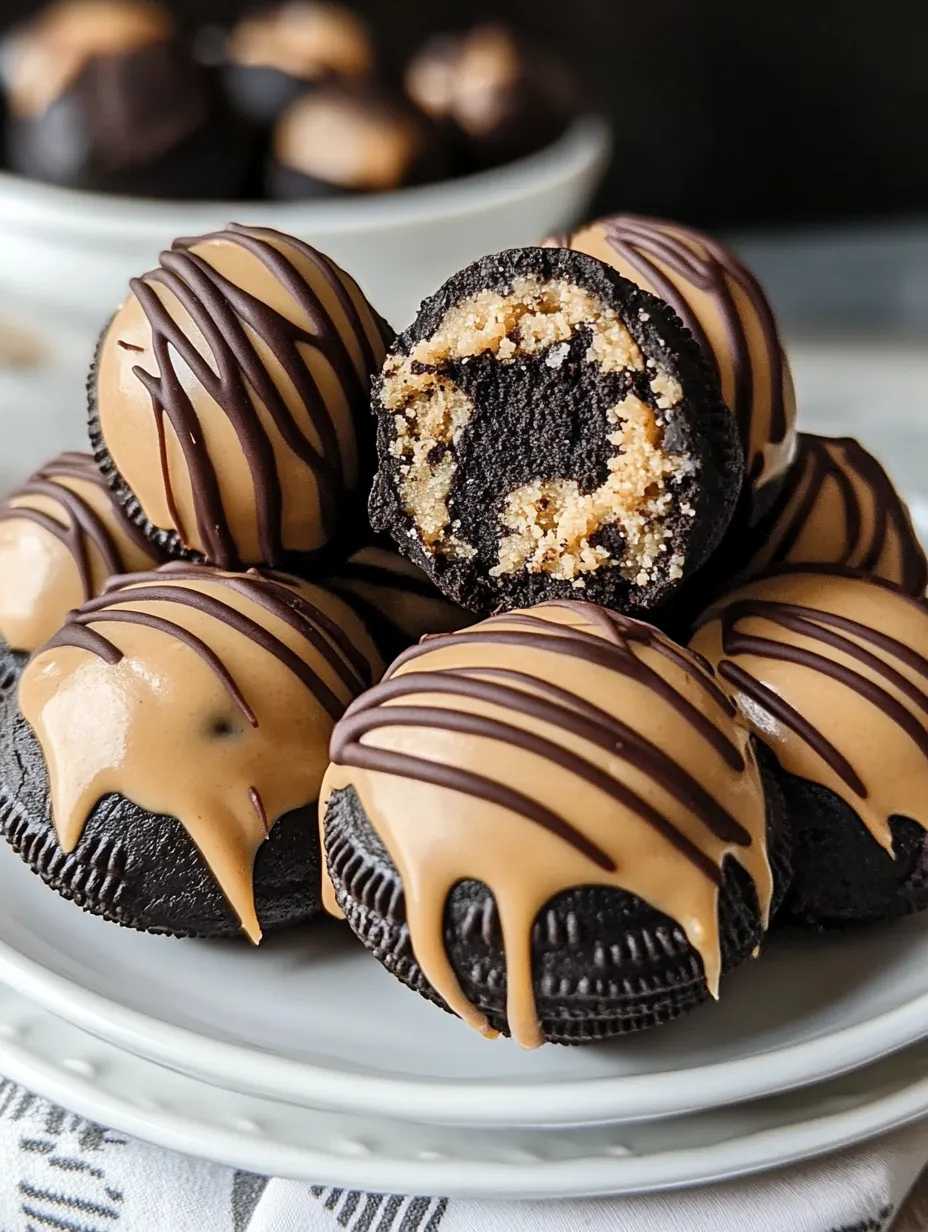
The best thing about these cookie balls is how easy they are to change up. While the original recipe is fantastic, I've tried tons of different versions. You can use golden Oreos with white chocolate for a lighter look, or mint Oreos with dark chocolate for a cool twist. You can swap the peanut butter for cookie spread, Nutella, or almond butter if someone has allergies. Each change keeps the simple three-ingredient approach but gives you a totally different flavor.
Prep-Ahead Wonder
As someone who often hosts gatherings, I love desserts I can make well before the event, and these cookie balls are perfect for that. You can make them a week early and keep them in the fridge, or freeze them for up to two months before you need them. I often make twice as many, eating some right away and freezing the rest for surprise visitors or when I just want something sweet. The chocolate coating actually helps lock in freshness until you're ready to serve them.
Pro Pointers
- Use a small ice cream scoop for balls that are all the same size
- Wash your hands with cold water if they get sticky while rolling
- Mix a bit of coconut oil into your melting chocolate for a smoother, glossier finish
- Roll each ball twice if you want them perfectly round
- Take them out of the fridge about 10 minutes before serving for the best flavor
I've gotten better at making these over time, especially after finding out that slightly damp hands make rolling much easier and create smoother balls.
These 3-Ingredient Peanut Butter Oreo Cookie Balls show that you don't need fancy recipes or hours of work to make amazing desserts. The simple combo of everyday ingredients turns into something way better than you'd expect - a treat that tastes sophisticated but takes minimal effort.
 Pin it
Whether you need a quick dessert for unexpected company, a make-ahead option for busy holidays, or just want to satisfy a chocolate-peanut butter craving, this simple idea will wow everyone every time you make it.
Closing Advice
- Put them in mini cupcake papers for a fancier look at parties
- Try adding streaks of different chocolate (white over milk or the other way around) to make them prettier
- Make tiny ones using just a half tablespoon of mix for smaller bites
- Make sure to mention the peanut butter if serving at gatherings because of allergies
- For gifts, pack them in small boxes with parchment paper for a special homemade present
Frequently Asked Questions
- → Why not use natural peanut butter?
- It's too runny and doesn’t help the mixture keep its shape.
- → Can I use flavored Oreos?
- Sure, but classic Oreos pair best with peanut butter.
- → What's the best way to melt chocolate?
- Microwave in short bursts, stirring after each round.
- → Can these be stored ahead of time?
- Yep, keep them in the fridge for up to 7 days.
- → Should I remove the Oreo cream?
- Nope, leave it—it helps everything stick together.